Post Production

Get Cinematic Sound with LAYERING

Foley Art is the process of recording everyday and run of the mill sounds and adding them BACK into the film.

You may think Foley is just recording everything you see in the film and trying to sync it all up. Well...it is, but it CAN be a very creative storytelling tool with a technique called LAYERING.

Foley-Art-&-Layering.gif

Without Foley, a film will feel unnaturally quiet. If there was one element of sound design you NEED in your film, it’s foley. It’s definitely worth the time and effort and will get you closer to achieving the film look.

Foley-Art-&-Layering1.gif

Layering is quite easy if you categorize sounds into different groups:

First of all, you have sounds which are low frequency: bassy, rumbly, dark sounds. Then you have mid-frequency sounds; clear, audible, and comfortable for the most part. And finally you have high-frequency; squeaky, buzzy, and sharp.

The idea of layering is to fill out the soundspace by choosing some high, mid, and low frequency sound effects and place them on top of each other. This will give the sound effect a richer tone and extra punch.

Lets use our film The Asylum Groove as an example:

We have a moment in the film where our character Sam, played by Chris, runs, kicks a bucket, trips over, and hits the ground with a thud.

When we filmed this scene, Chris jumped and landed on a pile of cushions, so we are actually starting from scratch.

Foley-Art-&-Layering2.gif

We are going to scrap all the production audio, other than the grunt from Chris, and build it up from scratch, starting with the impact with the bucket, then the impact with the floor.

The first thing we want to do is add a bassy impact sound.

Foley-Art-&-Layering3.gif

We recorded hitting a cushion with a broom handle in the location. This sound will give the impact some weight and intensity because of the low-frequency thud and the long echoey decay.

Next we need a mid-frequency sound.

Foley-Art-&-Layering4.gif

We recorded myself jumping onto a cushion. Originally I thought this would provide a bassy sound from hitting the cushion but the noise is actually coming from my boots hitting the floorboards.

In sound design there are no mistakes, only new discoveries! And the last thing we need to complement the low and mid frequency sounds is a high-frequency sound!

Foley-Art-&-Layering5.gif

As the bucket is a metal, hollow container, it will provide us with a tinny, high pitched sound effect. So we recorded picking up and handling the bucket.

One sound effect which will really bring the shot home is adding some sound for the post-impact. This will change depending on the shot you are working on, but for this shot, we used a sound of the bucket being kicked and rolling along the floor.  

Foley-Art-&-Layering6.gif

This is very likely the first sound effect you’ll record if you want a “bucket kicking” sound effect. But layering them together definitely gives the impact more cinematic punch! And this is good proof that using the obvious first choice isn’t always the best!

Once we fill in the scene with more sound effects, it really starts to give this shot life. 

With some simple layering, we have given this scene emphasise. It’s an important part of the plot and character development, so giving it some extra OOMPH helps tell a better story.

When layering, try not to add too many sound effects of a similar frequency because you will start to muddy the audio and won’t be able to recognise each sound.

And remember, you don’t ALWAYS have to fill the sound space. Sometimes two or even one sound element will do the trick.

Sound design is all about experimenting, so try things out and see what works.


This video was Sponsored By

🎵 http://bit.ly/tflpb-mrboogeyman - Click here to download this episode's track. Check out Premiumbeat.com to discover a huge range of exclusive royalty free music!


DISCLAIMERS:

Some of these links are affiliate links, if you purchase gear via these links The Film Look will receive a small commission, but there will be no additional cost to you. Thank you!
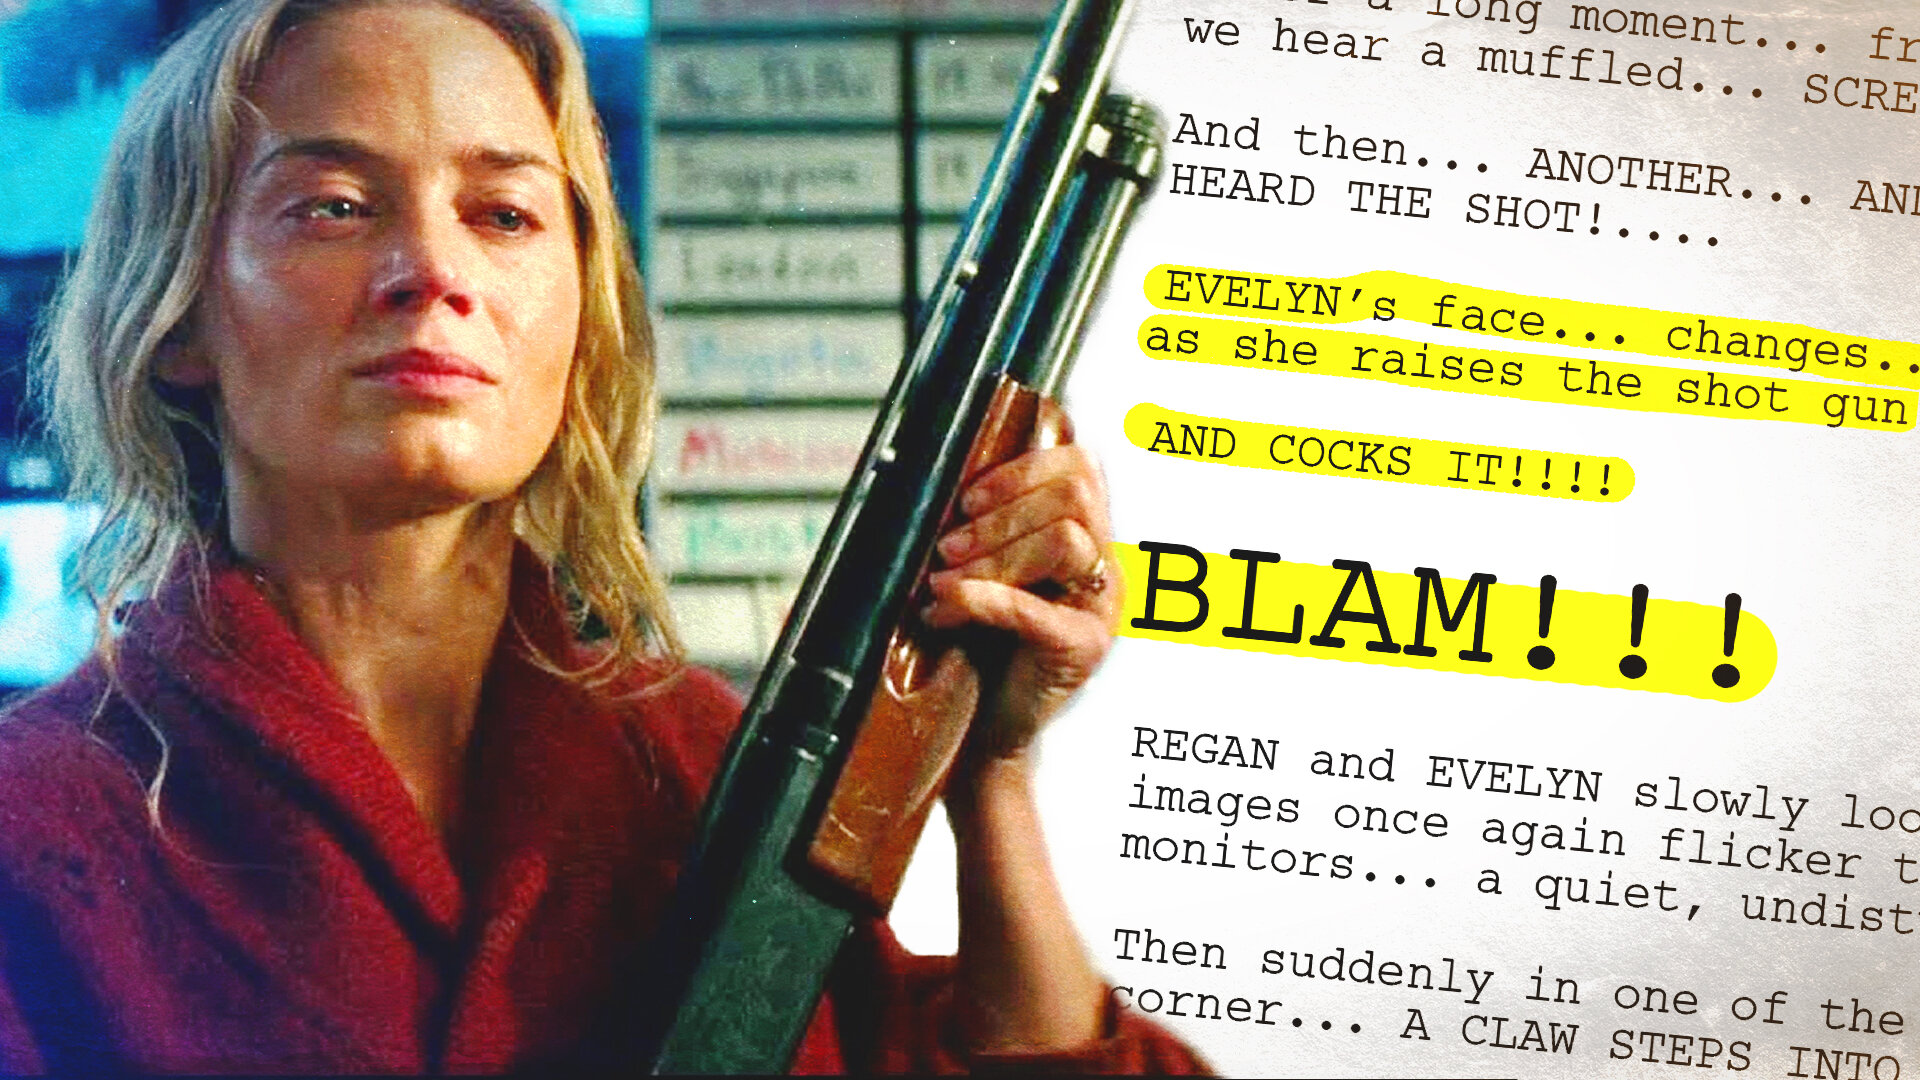
DIY Equipment Cart

We’ve all been on set were all of your camera equipment is spread out on the floor in various black camera bags, hidden in a side pocket, or out of reach.

To solve this problem we have made a DIY equipment cart which can be used in a studio or on set.

The cart we used can be found on amazon: it is 75cm long, 70cm tall, the width is 35cm, and has 3 shelves. The wheels that come with this cart work for the amount of weight we are going to store on it, but you can always add some heavy duty wheels if you want.

We added pieces of carpet to each shelf, creating a softer surface for our equipment to be placed onto, and so it wouldn’t roll around.

We kept the top shelf of the cart clear so when setting up our camera rig we had a place for all of the pieces of equipment to go, whilst we assembled the rig on a tripod.

One thing we did attach to the top shelf was a flat headed screwdriver so anytime you need to add or remove the tripod plate you don’t need to be searching around for a coin in your pocket. Also, we added a bunch of Allen keys we use for our camera rigs.

Most equipment on the cart can be accessed from both sides, but we have made one side the front and one the back.

We’ve done this so everything will be setup in the same order, and if you are in a small place you can park it up correctly so you still have access to everything.

The second shelf is where most of the action is happening. On the right hand side we have all of the chargers we use which are connected to a extension cable that hangs off the side when not being used.

The main charger we use is for our Sony NP batteries as we use them to power our camera via a dummy battery, which you can find a video about that here.

Video Block
Double-click here to add a video by URL or embed code. Learn more

The charger we has a battery level percentage which comes in very handy.

The box behind has extra batteries and chargers that we do not use often, and it is also used to store the batteries and chargers when in transport.  

Once a battery is fully charged they move to a section on the left hand side.

We divided this section up with some white backing card, but cardboard would do the same job. Having it divided clearly shows were the charged batteries go.

Next we have a small section for the lenses we are using on the shoot. For our short films we switch between a 35, 58, and 85mm and having them on hand in a safe place saves time finding them in a bag. When a lens is being used, the caps from the lens are left on the cart, so they don’t go missing.

Since camera batteries and lenses are the thing you will will change the most, having a dedicated space allows everything to be stored correctly and safely.

It’s also a lot easier to direct someone to one place when changing a battery or lens, instead of them trying to find a battery in the pocket of a camera bag.

On the second shelf we also added LED lights so when it gets dark we can still see where everything goes.

The bottom shelf is where we store small equipment cases, as these normally still have power and audio cables, clips, and extra accessories inside which we might still need.

Next we have a place for our tool bag which is always handy on set, and the final box is where the flat batteries go when all of the charges are being used. Having this on a separate shelf makes sure the flat batteries do not get mixed with the charged ones.

On the front of the cart we have a plastic tube which holds our coloured gels, a velcro tape holder, a tin to store pens. These are all connect via bolts and wing nuts so everything can be easily removed if needed.

We also have a place for all of our metal clips and pegs to go. These are clipped on a piece of card so when in transport they can all be taken out of a camera bag and clipped to the cart.

This cart works well for us in our studio or on our short films. We already had some of the materials we used for this cart like the carpet and bolts, but we have estimated it would cost around £60 to make it from scratch and you can just keep adding to it until it suits you.

A professional equipment cart can cost over £1000, but this is because they are being used on films which has camera equipment that are much heavier and can cost hundreds of thousands pounds, so you will probably want to use a cart that costs thousands.

We still have a few things we want to add to this cart and we would love to hear your suggestions.

🎥 This episode's kit/gear/equipment:

🇺🇸 US links:

Cart - https://amzn.to/2JkVz1E

Flat-headed screwdriver - https://amzn.to/2xuUH5E

Allen Keys - https://amzn.to/2Hb3uJF

Sony NP Battery Charger - https://amzn.to/2sw4p27

Sony NP USB Charger - https://amzn.to/2J5S4bN

LED Lights - http://amzn.to/2fQ67ZF


🇬🇧 UK links:

Cart - https://amzn.to/2sri5ft

Cart Carpet - https://amzn.to/2sri5ft

Flat-headed screwdriver - https://amzn.to/2J7kWoo

Allen Keys - https://amzn.to/2J7kWoo

Sony NP Battery Charger - https://amzn.to/2xydkFP

Sony NP USB Charger - https://amzn.to/2kEbs50

LED Lights - https://amzn.to/2smXUPW


This video was Sponsored By

🎵 http://bit.ly/track-tell-me - Click here to download this episode's track. Check out Premiumbeat.com to discover a huge range of exclusive royalty free music!


DISCLAIMERS:

Some of these links are affiliate links, if you purchase gear via these links The Film Look will receive a small commission, but there will be no additional cost to you. Thank you!

Get Better Looking Gunshots in the Dark

Gunshots: one of the most popular visual effects techniques used on YouTube. Getting gunshots to look great can take some tweaking - and achieving a realistic gunshot effect in the dark is even more difficult. But there are some things YOU can do to help achieve a realistic gunshot in the dark.

Shooting gun.jpg

A gunshot is essentially a small explosion. And an explosion primarily produces light and sound. The sound part of this technique is pretty straight forward. You download a gunshot sound effect, sync it to the muzzle flash, tweak the sound a bit, and away you go.

If your gunshots are sounding too similar and you are starting to hear some repetition, we have a video about how to make them sound better:

The explosion from the gunshot produces a massive amount of light in a split second, and in a dark scene this will be amplified.

You CAN add some fake light spill in post-production for your daytime shots. You can do this by duplicating your layer, mask around the subject where you want it to brighten, brighten it up with something like a curves or exposure adjustment, and feather out the mask to blend it all together. It only shows for a single frame so it works well enough. But this won’t work for a dark environment because you simply can’t fake a realistic fall-off of light.

fake light.jpg

In this case, you’ll need to produce a real-life flash during the gunshot. This is what we learned from the process:

Using a Flash

flash#.jpg

The initial idea was to use a portable camera flash. It has a button on it to test the flash so the plan was to hit the flash whenever the subject fires. After trying this out we soon realised that because of the small differences in shutter speed, frame rate, and rolling shutter, the flash was giving us shutter interference, resulting in a frame that looked like this. No good.

Gunshots in the Dark.00_01_45_21.Still001.jpg

Flashlight

flashlight.jpg

Next on the list was a flashlight. This was getting us closer to the result but it simply wasn’t bright enough.

Aputure LED panel

LED panel.jpg

Finally we tried this LED panel from Aputure. The great thing about this light for this effect in particular is that it has a light switch separate from the intensity dial. Some cheaper lights have a dial which clicks on then turns up. But if you can get a light which switches on and off with a simple click, it will make this effect a lot easier. 

Gunshot in the Dark.jpg

Our findings

So the light must be super bright. You want it to highlight your subjects face and light up some of the background for maximum effect. We dialled it in so it didn’t completely blow out but produced a very hot highlight.

Now the most important part of making this effect look good are the steps you’ll take to capture the light flash.

A muzzle flash from the gun happens directly after pulling the trigger, but BEFORE the recoil from the explosion. The recoil is the pressure of the gun jolting your wrist back, so the steps are very important to make it look realistic.

LED wide.jpg

Pull the trigger, then freeze in place. Flick the light on, then flick the light off. Then simulate the recoil. Rinse and repeat.

In your editor you will make a cut on the frame the trigger is pulled. Then go to where the light is at its brightest, make a cut, delete the footage in between and join it together. Then scroll along and find the moment of recoil. Make a cut and take out the gap here too. The light should be on screen for only a single frame, and this is where you will add your muzzle flash and smoke elements.

One downside to this effect is that we were only able to produce it from a static camera angle. We tested a few different ways to simulate the light in a moving shot: one by shooting a take without the light, then shooting a take with the light on, and trying to match up the takes. But unless the takes are near identical, the cut looks far too jarring. So if you guys think you have a solution for producing this in a moving shot, let us know in the comments below, or better yet, show us how you did it in a video!

Visual effects work most effectively when they EMBED into the physical scene. Compositing effects onto footage without ANY physical interaction will result in tacky-looking VFX. So if you want your visual effects to shine, think about what those effects would produce in the real-world and try to replicate it.


This video was Sponsored By

🚀 http://bit.ly/tflrs-ricochet - Give your action scenes extra impact with RocketStock’s muzzle flash and gun smoke VFX library, Ricochet. This high-caliber pack features over 450 stunning elements.

🎵 http://bit.ly/track-rollthedice - Thanks to PremiumBeat for providing the music for this week's episode. Check out Premiumbeat.com to discover a huge range of exclusive royalty free music!


🎥 This episode's kit/gear/equipment:

US links: 

Aputure HR672S: https://amzn.to/2s15wY2

UK links:

Aputure HR672S: https://amzn.to/2GICoJu


DISCLAIMERS:

Some of these links are affiliate links, if you purchase gear via these links The Film Look will receive a small commission, but there will be no additional cost to you. Thank you!

Match your Audio to a Hollywood Film

Before you hit the final export, there are some things you should be doing to make sure your film’s sound is audible, clear, and comfortable for your audience. Let me show you TWO tricks that will help your sound stand out from the crowd! 

Just like testing the picture of your film on a bunch of different TVs, phones, and computer screens, you should also be DEVICE TESTING the sound before you export the final mix.

If you are in the recording, editing, or mixing process: check out our indie film sound guide here for all the basics of sound. 

First of all, try listening to your mix on the best quality audio device you have access to. In our case, this is a set of studio audio monitors owned by our friend Jordan, a musician and producer. But not everyone has the space to set up an acoustic-proof studio with mega expensive equipment.

Jordan Miller

For most of us, and that’s us included, a set of headphones is what we have access to for the majority of the sound editing and mixing process.

If you are serious about your sound, it’s worth investing in a strong and great-sounding pair of headphones which give you great dynamic range, rich tone, and are built to last.

For Rob, this wasn’t the case. I bought these headphones 15 years ago and gave them to rob when I upgraded 3 years ago. They’ve lasted, but the audio quality isn’t great and they are quite literally falling apart.

Rob's dodgy headphones

The team over at 1more heard Rob’s cries and have sent over their Triple Driver Over-ear headphones for us to try out.

After using them for sound mixing, listening to music, and watching films, myself and Rob both pretty much said the same thing “It’s not like it makes things just louder or even just more clear, you can literally hear sound which you can’t with other headphones”, which is funny when we found out that 1more’s tagline is “hear more”.

1more triple driver headphones

But honestly, they’re a great bit of kit: sound great, built really well, comfortable, and at a price which a zero-budget filmmaker can actually afford.

So if you are on the market for a new set of cans, follow the link: 


So once you’ve listened to and are happy with your your mix on the good sound kit, it’s time to work your way down the audio-clarity scale.

Think about where your film is going to be listened to the most. If you’re putting your film on YouTube for example, you’ll want to listen to your film on a phone, a laptop, through earbuds, and on a TV. These are the most common devices used for watching YouTube videos, so cater the sound mix to the majority of your audience.

Laptop phones earbuds TV.jpg

You may find that some sound effects or lines of dialogue that are clear using headphones aren’t being picked up on a TV, for example.

Go back to your mixing application and boost the sounds you feel have been washed out, but don’t push it so far that it sounds bad on your default headphones. Try to find yourself a happy medium.

Another mistake we zero-budget filmmakers can make is exporting the film without VOLUME REFERENCING the sound.

We came under this problem with our last film, Backstage. The audio was mixed so the sound effects, foley, dialogue, and music were working together and were clearly defined in their own soundspace, but when we played it on a TV, we had to push the volume up a lot more than usual.

So even though everything was mixed together correctly and sounded loud enough on the PC through headphones, it was simply too quiet on everything else.

Mixing Backstage.jpg

In order to make sure the loudness of your film is matched with that of TV shows and films, you can do something called VOLUME REFERENCING.

For a quick and easy way to accomplish this; find an episode of your favourite TV show or Film on Netflix or a Blu-ray, set your volume to a comfortable level you’d usually set it to and listen to it for a few minutes.

Then pause the film and listen to your own film. If you needed to grab the remote and turn the volume right up to match the previous film, your mix is simply too quiet.

By doing this, the volume of your film will match (to a decent degree) that of films and TV.

When you are mixing audio on one device it can sound as loud as needed. But until you reference your film’s audio to something else, you might not realise it's too quiet or sometimes even too loud.

The audience shouldn't have to adjust the volume of the film mid-way through. It’s not like you have a remote in your hand in the cinema! And if you are planning on taking your film to festivals, you don’t want YOUR film to be the one which nobody can hear!

Match your Audio to a Hollywood Film

This video was Sponsored By

🎵 http://bit.ly/track-rollthedice - Thanks to PremiumBeat for providing the music for this week's episode. Check out Premiumbeat.com to discover a huge range of exclusive royalty free music!


DISCLAIMERS:

Some of these links are affiliate links, if you purchase gear via these links The Film Look will receive a small commission, but there will be no additional cost to you. Thank you!

4K Video Editing PC 2018

4K Video Editing PC 2018

My computer is lagging, crashing, and just general zapping away my creativity. It’s time for an upgrade!

MSI, the sponsors of this episode, have heard my cries and sent us their brand new X299 SLI PLUS motherboard along with a bunch of badass components that go into their new 4K Video Editing PC.

They reckon it’s the bee's knees. Let’s see what it’s all about.

CPU

The X299 SLI PLUS supports the newest Intel X-series CPUs. In here we have an i9 7900X which has 10 cores - perfect for a beasty 4k workflow.

Power phases on a motherboard control and regulate voltage. The X299 SLI PLUS has made these completely digital which aids the motherboard in controlling the voltage more precisely, giving you a more stable CPU. This results in a longer system lifespan and lower operating temperatures.

To give the CPU a test we threw up some 4k footage into Premiere Pro,, added a heavy grade, overlaid the footage with some 4K film grain, added a bunch of transitions between the clips. It didn’t drop a single frame.

We also loaded up CineBench and it gave out a reading of 2193.

CPU Cooling

4K Video Editing PC - Cooler Master.jpg

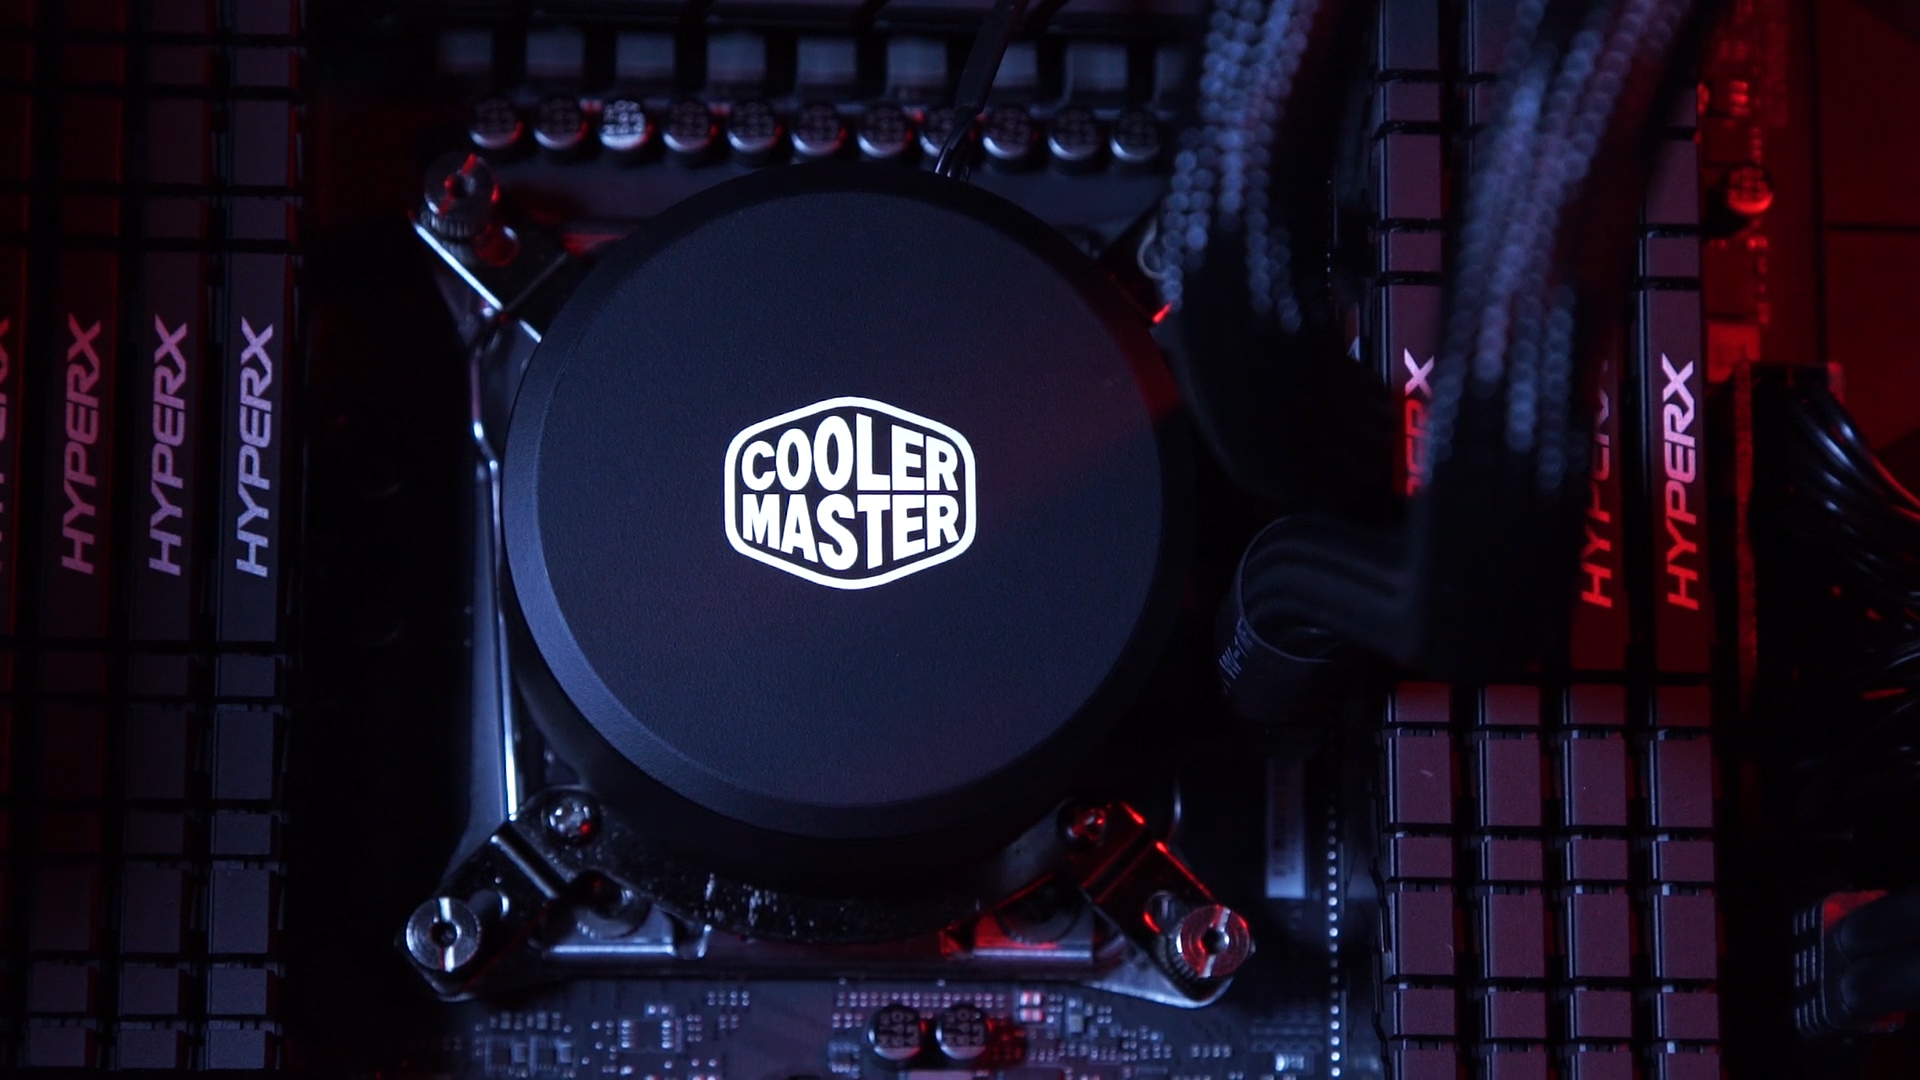
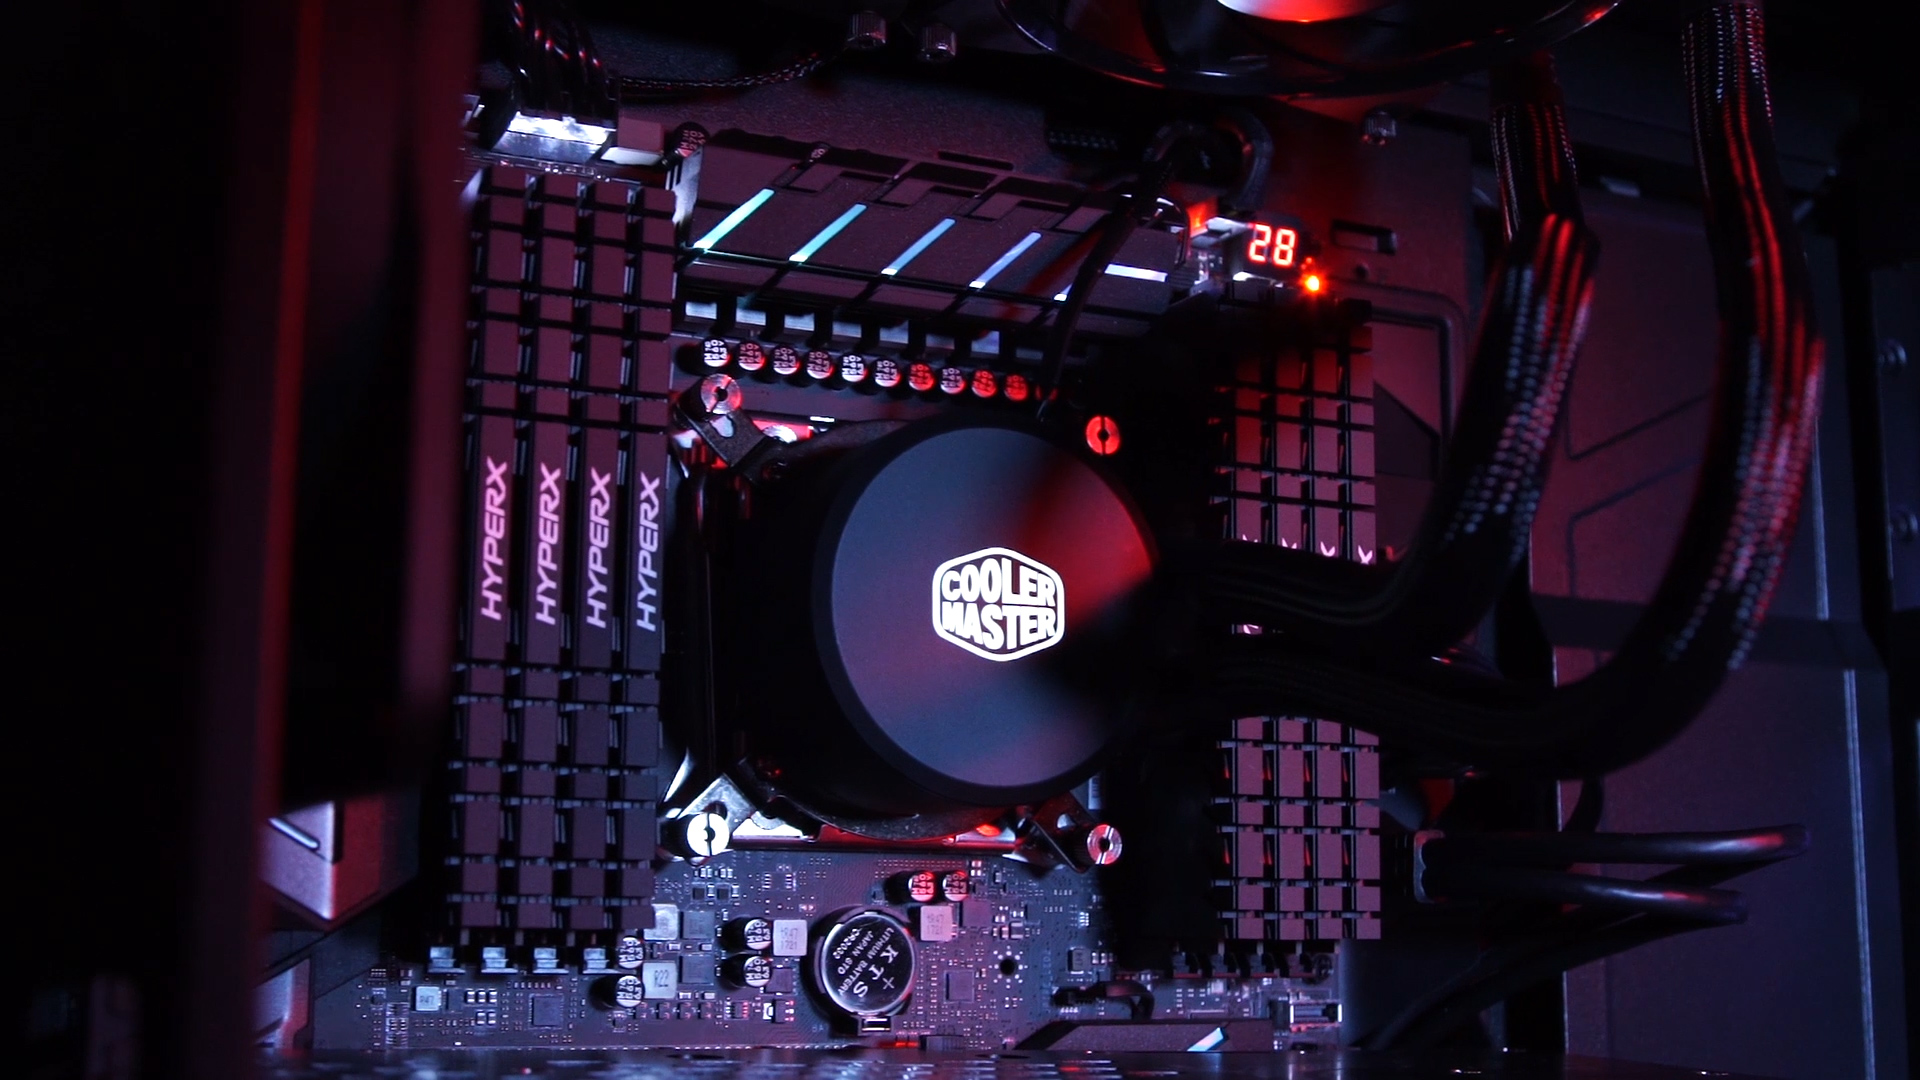
Editing can use a lot of CPU power which means that the processor is going to get hot as hell under a stressful edit. To combat this, the PC has been installed with a Cooler Master MASTER LIQUID 240.

It combines liquid and air cooling in one closed system. It’s super quiet, is unaffected by moisture, and its fiber-reinforced polymer construction resists a broad range of chemicals.

Strapping this to the CPU will stop it from overheating and thermally throttling, which is one of the main causes for your editing programme to lag and crash when you need it the most.

Graphics Card

4K-Video-Editing-PC

The graphics card inside this machine is an MSI 8gb GTX 1080. Editing programmes tend to favor the CPU but that doesn’t mean we video editors stick to just one programme.

In most video projects I am importing compositions and artwork from Photoshop and After Effects, which can favour the GPU over the CPU. Your editing programme can also benefit from GPU acceleration, giving you another bump in performance and improved export times.

We also tested the GPU in CineBench giving a readout of 154 frames per second.

It’s also wicked for playing games, so if you’re an editor as well as a gamer, you may as well build a system that can do both.

Memory

4K Video Editing PC - 32 GB RAM.jpg

Memory is what loads up video previews in your editing application. In order to preview at full resolution without dropping frames, a 4K system will need a lot of it.

The X299 SLI PLUS has 8 slots for DDR4 memory supporting up to 128GB of RAM. This system has 32GB of Hyper X Predator memory for butter smooth 4K editing.

Memory performance can get affected by signals from components on the motherboard. This motherboard has DDR4 BOOST TECHNOLOGY which creates an isolated circuit area so the memory isn’t affected by foreign signals.

SSD

4K Video Editing PC - M.2 SSD.jpg

Installing your OS on a SSD over a hard drive turns start up times and application loading into seconds rather than minutes.

M.2 SSDs are the fastest drives currently out available. The X299 SLI PLUS features two m.2 SSD slots for this exact reason. One slot has an m.2 shield with a thermal pad for improved heat dissipation. Installed in this machine is a 256GB Intel 600P.

We timed the start up of the PC at 31 seconds including POST menus and BIOS logos.

USB

Whether it's external hard drives, card readers, or simply peripherals, the USB port is essential to an editor.

The motherboard in this system has two LIGHTNING USB 3.1 Gen2s, one Type A, and one new Type C. These are the fastest USB ports to date and will eventually become the norm, so you’re covered in terms of future proofing. The X299 SLI PLUS also has 10 USB ports on the back panel ranging from USB 2.0, 3.1, and 3.1 Gen 2.

I use a graphics tablet for drawing in Photoshop as well as a USB keyboard and mouse so having a bunch of extra USB 2.0s just for plugging in peripherals is a well thought out addition.

Not to mention the four ports on the front of the case: two USB 2s, and two USB 3s.

The motherboard even comes with X-BOOST software which boosts USB speeds for mass transfer.

Dual Intel LAN Ports

The motherboard also has two Intel LAN ports. This is great if you are connecting to the internet as well as a internal server. The connections won’t interfere with one another, so you won’t ever have to compromise on download and upload speeds.

Hard Disk Drive

Videos take up a shed load of storage space. But worse than running out of storage is having a hard drive failing to spin or corrupt your precious footage. This is why this build has a 8TB Seagate BarraCuda Pro, the fastest 3.5 inch drive on the market, and specifically designed for creative professionals. This hard drive comes with a 5-year limited warranty and a 2-year rescue plan.

Case

4K-Video-Editing-PC-MSI

There are three things which make a great PC tower: cool, clean, and classy.

The CoolerMaster MasterCase H500P features two 200mm RGB fans at the front, giving superb airflow to keep core temperatures at an all time low and it’s grill-less front design is incredibly sleek. It has a tempered glass side cover which is easy to remove and lets you show off the parts inside. And it even has cable management covers for a sleek cable-less look.

4K Video Editing PC 2018.jpg

PSU

This build also features a Cooler Master v750 compact power supply. It’s small, quiet, fully modular, and has more than enough juice to power this machine.

Outro

When you make 2 videos a week for YouTube, shoot and edit short films, and run a video production company, every minute you can save is a massive improvement in productivity.

This PC might not be in everyone’s price range, but for a video professional, it’s a necessity. Don’t let your equipment stop you from making something great.

MSI Vegas Pro Offer

If you do decided to go for a build like this, MSI is offering customers a 60-day trial of Vegas Pro if you buy a Z370 SLI PLUS or the X299 SLI PLUS. You just need to register the product on the MSI website or follow the link below.


This video was Sponsored By

https://msi.com/to/edit-video-uk-film... - Thanks to MSI for sponsoring the episode! Check out their new 4K Video Editing Build for a PC which won't let you down.


DISCLAIMERS:

Some of these links are affiliate links, if you purchase gear via these links The Film Look will receive a small commission, but there will be no additional cost to you. Thank you!

Editing and Feedback | Episode 7: Video Production Guide

You’ve finished shooting your client’s video - now you need to edited it. 

Welcome to The Film Look and episode 7 of the Video Production Guide.

Video Production - Editing.jpg

So you have finished shooting your client’s video. You have a bunch of cards you need to unload onto the computer which contain the picture and sound elements to piece together the video.

Before you begin editing, you’ll want to create a clear folder structure. To do this we use a program called Post Haste which is free.

Post Haste - https://www.digitalrebellion.com/posthaste/

Video Production - Post Haste.jpg

Post Haste comes with a few folder structured templates for different creative workflows. You can also create a custom project folder structure which suits your workflow. This is the one we have created that works the best for us as each type of media for your project has it’s own folder. You could just create the folders the normal way you do on windows or mac, but Post Haste saves time and everything is always structured correctly and consistently.

We keep the bin structure in our editing software the same as the Post Haste folder structure as it helps to keep everything organised. To save more time when setting up your project, create a project template that has only this bin structure and save it on your hard drive. When you create the project folder structure with Post Haste you can set it to import this template into your project, again saving more as you only have to create it once.

Make sure you have all of the main files in your editor and you can start to edit.

Interviews

The way I edit interviews is to first get the full interview in a sequence, bring in the B camera shot if I have one and the audio. Then I sync everything up. Lets call this sequence INTERVIEW_1_SEQV1.

Then I duplicate this sequence calling the new sequence INTERVIEW_1_SEQV2 and I lock and close sequence 1. I do this just encase I make a mistake or need to go back and check something I have cut out. In sequence 2 I cut out all of the dead space in between the person's interview, you can do this quickly by just looking at the wave form as you can clearly see where they are speaking. I also cut out anything they have spoke about which I know will not be used in the final video.

When you have edited about 100 interviews you learn what you can just cut straight out.

I duplicate the sequence once more, then i start to assemble the interview, moving and cutting out parts until I have something that tells the right story.

The length and structure of your interview will all depend on the subject, for the video we made for Sian Jordan Designs the interviews was very linear. We started of with an introduction, how she got started in watercolour, and then talking about the type of work she creates.

The video we made for Pamplemousse Recording Studio was very structured as they were talking about the services they sell, and was a lot more direct.

B-Roll

Video Production - Editing B-Roll.jpg

Once you have cut down your interview and it has a structure, you can start add your B-Roll. Go through the B-Roll you have shoot and pick the section you think you might use. You can subclip these into subfolders or just simply but them onto your timeline is a rough order. Go through and place shots that compliment what your interviewee is talking about. Your B-Roll is also used to place over and hide the cutting points on the timeline.

Logos

Video Production - Company Logos.jpg

Most client videos will require you to add their company logo and contact details to the edit. My advice would be to send your client a draft edit which have placeholder slides for where this information will go. I say this because companies have many different logo version, phones numbers and email address. Save time and let them send you the correct information.

Music

We spoke about how to choose the right music for your projects in the last video, so if you missed it, go check it out.

Send to client

Once you have a good first draft it’s time to send it to your client to see what they think. We use a website called Screen Light were you upload the video file and your client can leave feedback which is linked to the time code. You get a 1GB of storage for free as well which is more than enough, as you don’t need to upload the highest resolution video since this is only a draft.

Video Production - Screen Light.jpg

Screen Light - https://screenlight.tv/ 

The Feedback/Changes

When you get the feedback from your client take on board what they say and make the changes, but remember they are paying you not just because you have a camera, they are paying you for your creative knowledge so if there is a change that you know will not work, advice them.

If they still want the change, do it and let them decide if it works.

Video Production - Edit Versions.jpg

Have a limit to how many changes your client can have, we normally say when they have seen the 3rd draft this is when everything should be 100% complete.

Delivery

Once the video is complete it is time to export and deliver it. The quick and easy way is to just send the high resolution version via WeTransfer, but if you can take it to them in person this might get talking about the next video they want making.

Over Deliver

When we deliver the final video we always try to over deliver when possible. Normally this is done by giving them many different version of the video for different social media platforms. If the final video is 2 minutes long give them a 20 second version they can use as a preview, or for Instagram. You can also give them any stills you took during the shoot.

Your client may not be paying for these extra videos or even use them, but it just shows that you have gone above the original brief. It should only take you about 30 minutes to create them, and it might help you get the next job.  


The Video Production Guide is a step by step series teaching you the basics of shooting videos for clients.

Episodes released Weekly:

Want to make videos for a client: https://youtu.be/bBkQpobfAjU

How to get the job: https://youtu.be/A1-09ESSZew

How much to charge: https://youtu.be/3Djuh-xTL6Y

Preparing for a client shoot: https://youtu.be/sDbbKaaPjc4

How to shoot an interview: https://youtu.be/8TRdmj0Ao4k

Shooting b-roll: https://youtu.be/RYc2y_dsexI

Editing and Feedback: https://youtu.be/ipMmMp-241o

The Client Video: https://youtu.be/X9VZTuxvT9w


This video was Sponsored By

http://bit.ly/synergy-pack - Get professional assets for your video from RocketStock.com. Their "Synergy" video pack is perfect for video editors and animators looking for versatile elements for any type of project.

http://bit.ly/track-hot-fusion - Click here to download this episode's track. Check out Premiumbeat.com to discover a huge range of exclusive royalty free music!


DISCLAIMERS:

Some of these links are affiliate links, if you purchase gear via these links The Film Look will receive a small commission, but there will be no additional cost to you. Thank you!

Animated Duct Tape Titles

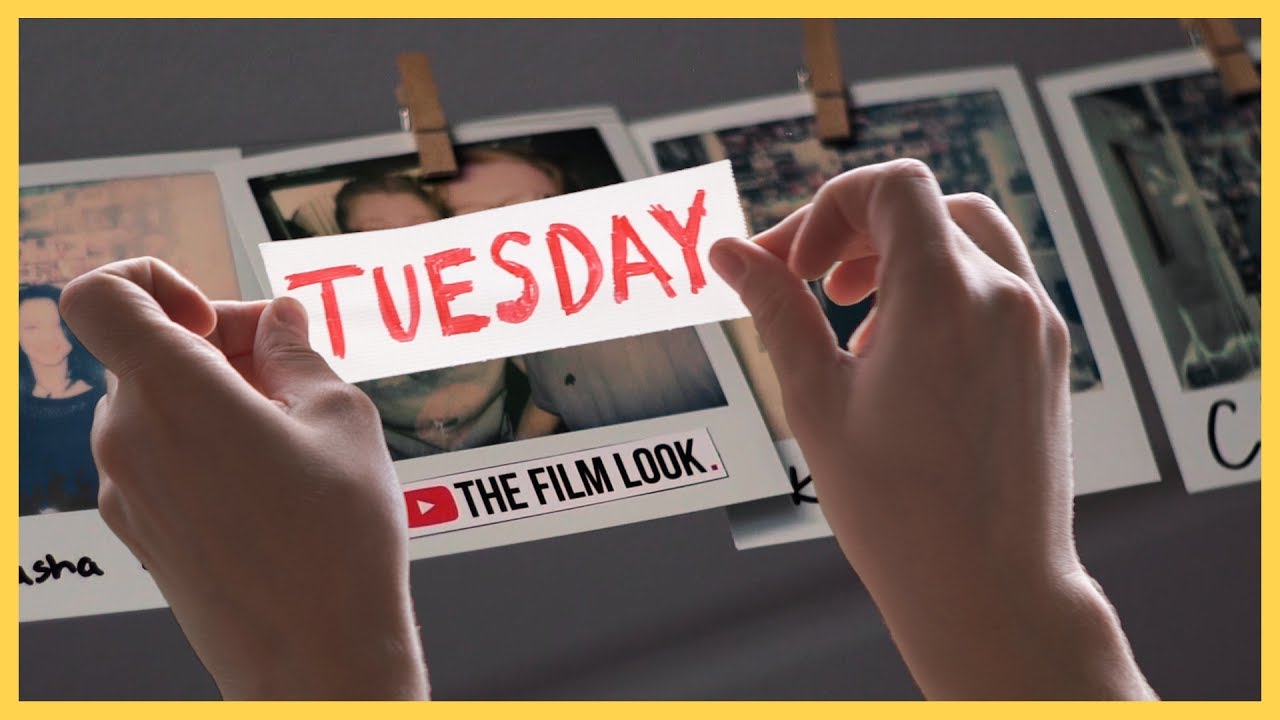
Today we are going to make some animated duct tape titles just like these using a green screen, some duct tape and a pen, and a window. 

We’ve created stuck-on titles in the past for an episode of our Sunday show, The Film Look vlogs; we used them as lower thirds. The setup worked, but we’ve found a much easier and potentially cheaper way to execute this technique.

Previously we had strung up a green screen, lit it, then shot against a mounted plate of glass on an angle to prevent any reflection. It worked well enough, but sourcing a plate of glass this large is time consuming and can be expensive. Then there is the difficult task of mounting it for shooting!

So what is something most people already have access to that will work just the same? How about a window?

Find yourself a window with a view to outside. The trick to a good key from a green screen is to light it as evenly as possible. If you don’t have the right kind of lights, this can be tricky, so putting the green screen outside is the next best thing. Just make sure whatever location you do use, it is getting caught by even sunlight, or in our case, an overcast day.

Green-Screen.jpg

We don't have a collapsible green screen, but we do have these green sheets! So we pinned the sheets to our collapsible backdrop with pegs to remove any creases.

If you have the cash, a proper collapsible green screen is going to help a lot more than our method. We just used what we had access to, to demonstrate the technique.

To avoid any reflections of ourselves and the camera against the glass we took a large piece of cardboard and cut out a hole for the lens. We did this in order to create a consistent reflection which removes background details.

With a studio setup you would have the camera in total darkness to avoid reflection on the glass but since we are shooting during the day inside a house, we found this to be a cheap and effective alternative method that most people can do at home.

Frame up the camera so the green screen covers the whole frame and expose the image of the subject, in this case it's the duct tape titles, and set it a stop under over exposure so you don't blow out the white tape.

Okay, so here’s a rundown of the setup! Green screen outside, pinned out so it doesn’t have creases. The window is in front where we are sticking the duct tape titles, the camera is behind this with a wall of cardboard to create a blank canvas of a reflection.

Green-Screen-Setup.jpg

Now it’s time to hit record and stick them to the window!

We recorded a bunch of titles including monday to sunday, thanks for watching, and subscribe, sticking them on the window and then pulling them off. So now that we have the footage, let's get it on the computer and keyed out!

Duct-Tape-Titles.jpg

Not everyone has the same programmes on their computers, so I won’t get application specific. I’m using after effects, but I do believe you can achieve this in a range of different editing and visual effects applications.

Firstly, apply the key plugin. I’m using KeyLight. Grab the eyedropper tool and click on your green screen. If you have an even screen, so no creases and an even light, it should get rid of 90% of the green on the first click. There are jog bars you can play around with if you need to tune your key in, and use masks to get rid of large portions which are never touched, such as this corner here.   

With a bit of fine tuning and toying with the parametres, this is the final result.

Duct-Tape-Titles1.jpg

This video was Sponsored By

http://bit.ly/stanza-pack - If you're looking for stylish transitions for your video, then check out "Stanza" by RocketStock!

https://bit.ly/track-urbanmyth - Click here to download this episode's track. Check out Premiumbeat.com to discover a huge range of exclusive royalty free music!


Animated Duct Tape Titles

DISCLAIMERS:

Some of these links are affiliate links, if you purchase gear via these links The Film Look will receive a small commission, but there will be no additional cost to you. Thank you!

Hand Drawn Animated Lower Thirds

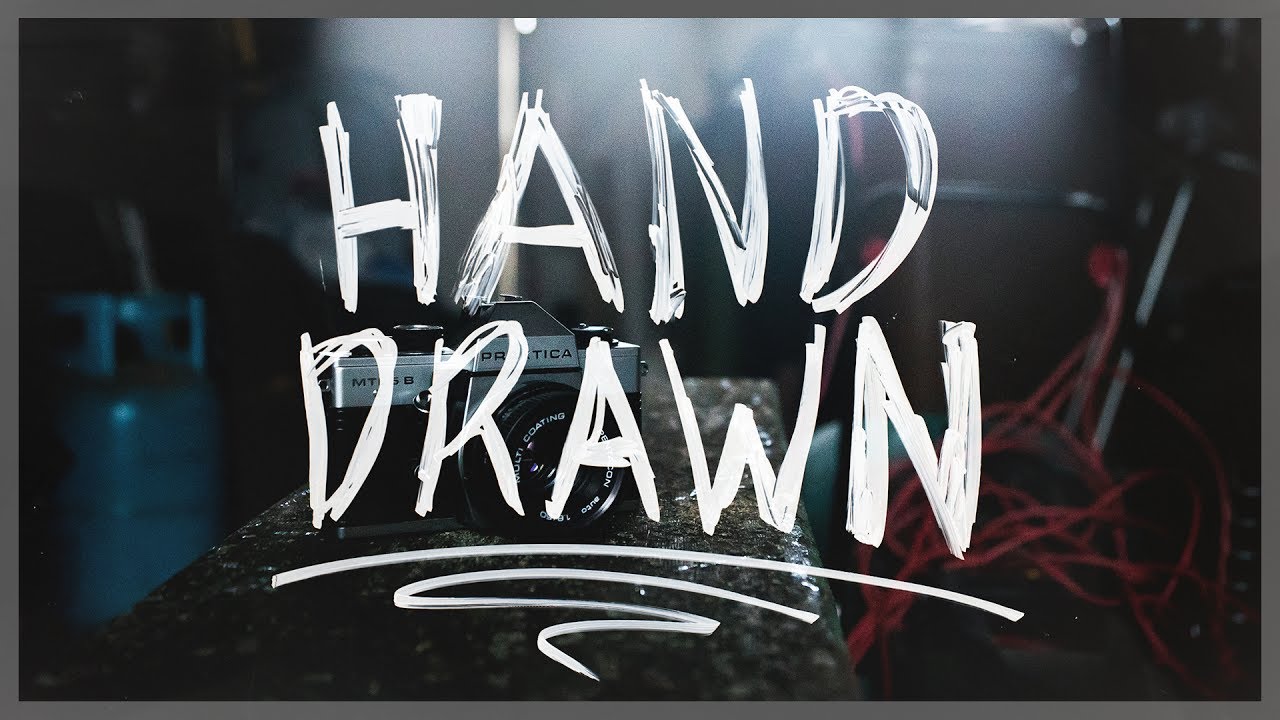
Some lower thirds can be a bit slate. We wanted something a bit different for the vlogs, so I grabbed a whiteboard, a pen, and used a little post-production magic.

Firstly you’ll need a whiteboard. Place it somewhere it is going to get a lot of light, or if you have some lights, blast them at the whiteboard as evenly as you can.

Animated-Lower-Thirds.jpg

We want to overexpose the image of the whiteboard until it goes completely white. When we invert the footage in post-production it will go completely black which means we can utilise blending modes that turn the black pixels transparent, revealing the layer beneath it whilst retaining the pen strokes.

Because we are inverting the image, you will have to take into account that all of your colours will invert too. A black pen will turn white, a red pen will turn green, etc. etc.

You can find out which colour you will need by searching for complementary colours and finding the inverse.

Then it’s a case of hitting record and drawing out what you need.

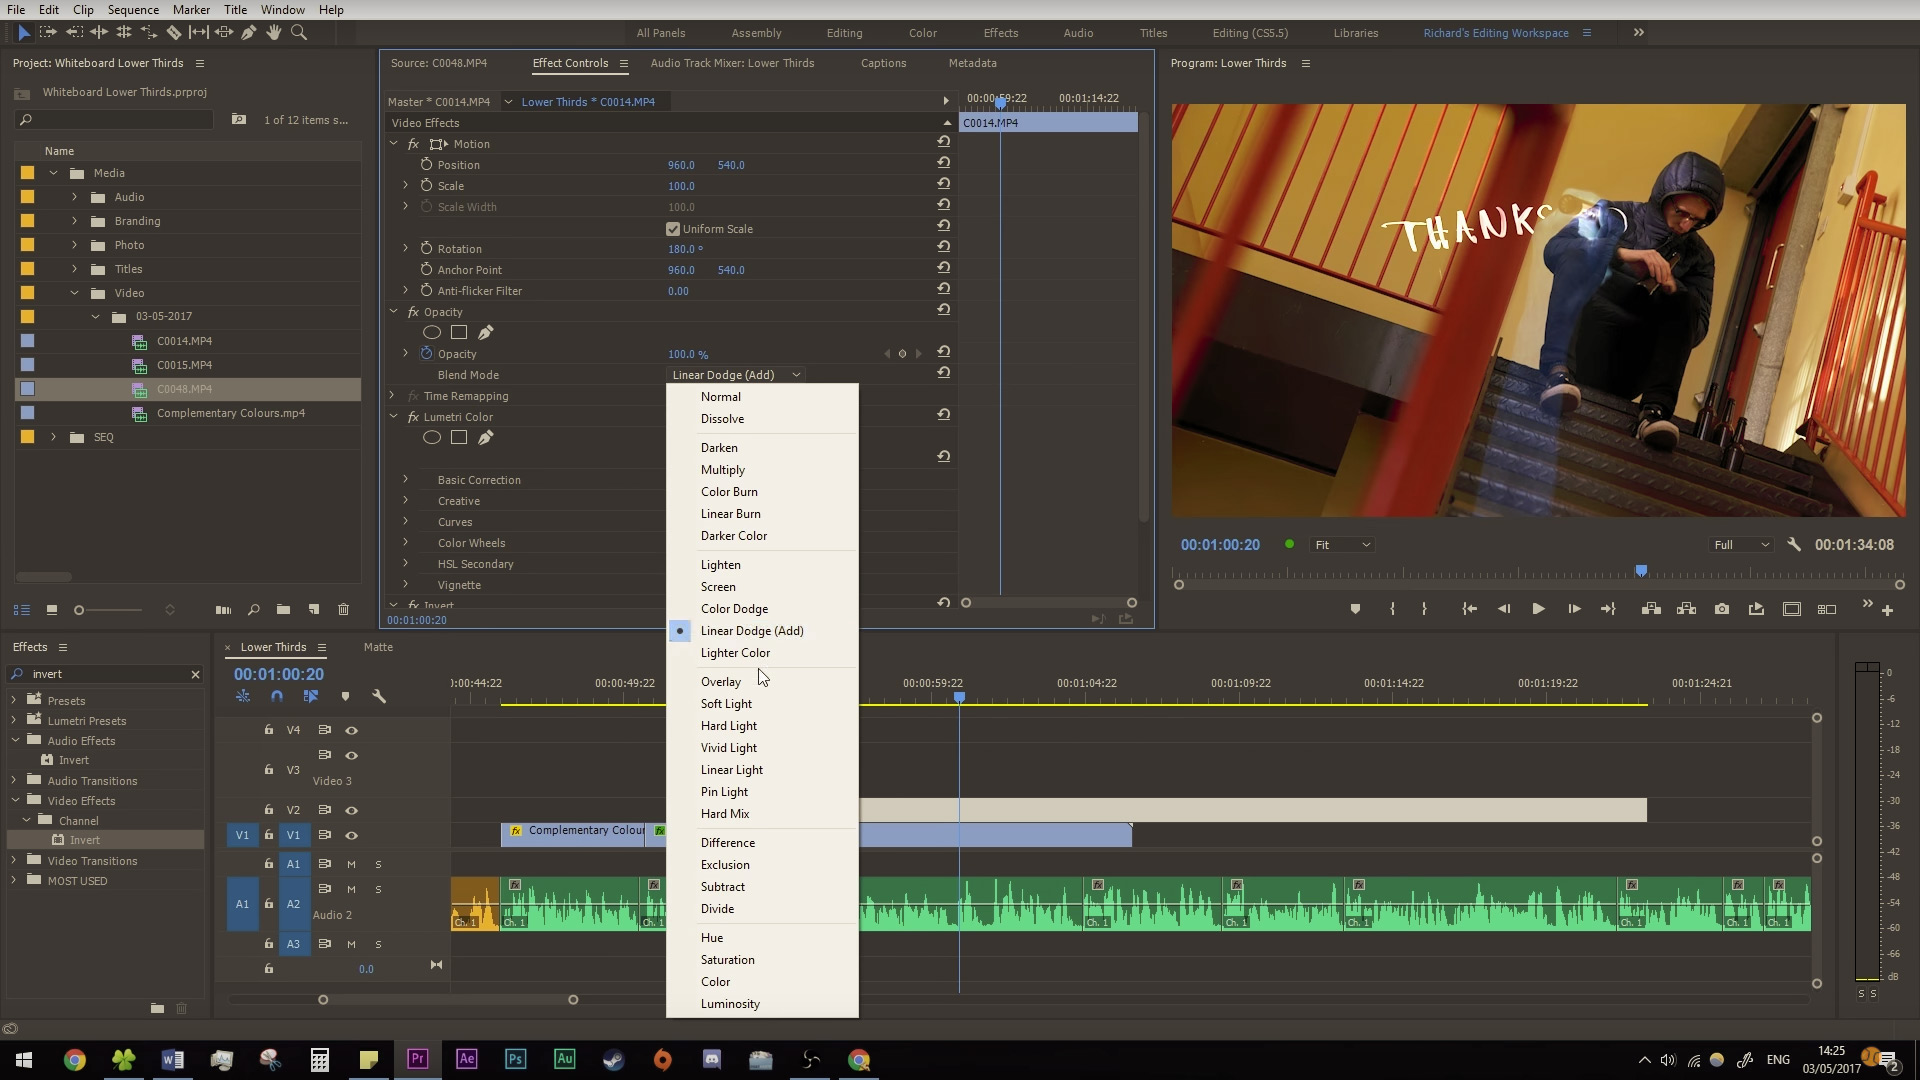
In the editor, layer your whiteboard art clip above your footage, invert it, and then change the blending mode to lighten, screen, or colour dodge. Have a play about and find the right blending mode for your project.

Animated-Lower-Thirds-Blend-Mode.jpg

This can be used for lower thirds, title cards, transitions, and loads more. You don’t always have to shoot video – you can even do it with stills if you wanted something static.

There is a link in the description where you can download all of the samples I have made to use in your projects.

Simple stuff really, but if you want something a bit more practical and different, it’s a pretty cool visual element that we certainly going to use in our vlogs and even offer our clients.

You can download these Lower Thirds from our store for free.


This video was Sponsored By

http://bit.ly/synergy-pack - If you need some sweet corporate video elements, check out "Synergy" by Rocket Stock! Head over to RocketStock.com for professional assets for your next video!

http://bit.ly/track-brooklyn-drive - Thanks to PremiumBeat for providing the music for this week's episode. Check out Premiumbeat.com to discover a huge range of exclusive royalty free music.


Hand Drawn Animated Lower Thirds

DISCLAIMERS:

Some of these links are affiliate links, if you purchase gear via these links The Film Look will receive a small commission, but there will be no additional cost to you. Thank you!

Should You Go To Film School?


The big question is “Should I go to Film  School?”.

This is a question that will be answered differently by every person you speak to. Me and Rob both went to university and studied a form of filmmaking. I studied Visual Effects & Animation, and Rob studied Media Production.

Film school is perfect for those who want to create a filmmaking network. If you don’t have any filmmaking friends, you’ll find some at film school. It’s great for accessing equipment too. They will have everything you need and more, and it’s all available to you. It’s also a good way to give you a target when you begin making movies. Assignments and coursework will give you a goal to aim towards, so it’s perfect for someone who might not have the mind-set to create their own tasks. If this is what you need, then go for it. Film School is for you, and you’ll get a lot out of it.

But there is another option. Both myself and Rob have learned a load more about making films from YouTube videos and free online tutorials, than we ever did at Film School. You can teach yourself the techniques you’d learn at film school by grabbing whatever camera you can get access to, including your phone, and heading out and just start shooting stuff, using YouTube videos as a guide.

Because of this, we thought we would create a “YouTube Film School”; a list of all of our favourite YouTube and online resources which have made us better filmmakers throughout the years.

Let’s start off with some great variety filmmaking shows:

Film Riot (Film Riot is a household name in terms of YouTube filmmaking resources. If you could only sub to one channel, make it Film Riot. They cover pretty much everything on their channel, all super high quality)

https://www.youtube.com/user/filmriot

Indy Mogul (Indy Mogul has been around forever, and they cover videos about DIY practical effects, visual effects, hacks, and filmmaking tools. Their catalogue is worth watching from the very start)

https://www.youtube.com/user/indymogul

D4Darious (Darious Britt has one of the most underrated YouTube channels. He has cinematography breakdowns of films, a massive list of writing techniques, and a bunch of others that are all worth watching)

https://www.youtube.com/user/D4Darious

Cinematography Database (Cinematography Database breaks down the Cinematography of films like no other, along with his knowledge of the industry you’re sure to pick up some tips)

https://www.youtube.com/user/cinematographydb

Next we have some channels that are great for kit reviews and DIY solutions:

Dave Dugdale (Dave creates some of the most in-depth kit reviews you can find. If you are thinking of getting a new camera and Dave Dugdale reviews it, you’ll know the entire A-Z.)

https://www.youtube.com/user/drumat5280

Philip Bloom (The good thing about Philip Bloom’s reviews are that he spends a good couple of weeks with a camera or a monitor before reviewing it. He goes very in-depth and talks about the kit in a practical sense)

https://www.youtube.com/user/philipbloom

DLSR Video Shooter ( DSLR Video Shooter is hosted by Caleb Pike and is another one of those channels that reviews camera equipment, he also loves a good camera DIY hack)

https://www.youtube.com/user/dslrvideoshooter

DIY Perks (This channel is not all about filmmaking as he builds lots of DIY projects, but his most notable projects involved building DIY lights and as filmmakers we need light)

https://www.youtube.com/user/DIYPerks

The Basic Filmmaker (The Basic Filmmaker has a lot of variety on his channel, and his kit reviews are especially great.)

https://www.youtube.com/user/TheBasicFilmmaker

If Post Production and Visual Effects takes your fancy, here are our favourites:

HitFilm (Hit film’s YouTube channel teaches you many different techniques about filmmaking, mainly in the post production side, this is because they also have an editing and visual effects program which you can download for free)

https://www.youtube.com/user/FXhomeHitFilm

Mike Russell (Mike Russell from Music Radio Creative has some really great tutorials for post-production sound. Making voices sound better, getting a Stephen hawking voice. He’s got you covered!)

https://www.youtube.com/user/musicradiocreative

Video Copilot (Most visual effects artists will know the name Andrew Kramer. The guy is a god of visual effects and has over 10 years’ worth of tutorials on his page. If it’s post production visual effects you want to study, he’s the guy to follow).

https://www.youtube.com/user/videocopilot

We have two channels we watch for interviews with filmmakers, actors, writers, and directors:

Film Courage (Film Courage interviews people in the industry, giving their insight into writing, producing, acting, directing, and more. These videos are great to put on in the background and listen to, like a podcast.)

https://www.youtube.com/user/filmcourage

The Hollywood Reporter (The Hollywood Reporter interviews the top Hollywood stars, getting an insight into their world. Their series The Roundtable has Hollywood stars chatting about the industry and their views, and some last over an hour.)

https://www.youtube.com/user/thrnetwork

Video Essays are a great way get grips with studying film, and learning the theory behind techniques helps you understand WHY you are using that technique. Get subscribed to these guys for some great binge watching videos about film and filmmaking:

Extras:

The Art of Photography (The Art of Photography is not strictly about filmmaking, it’s about Photography, but these videos from Ted will help you learn all you need to know about some of the best Photographs)

https://www.youtube.com/user/theartofphotography

Websites:

No Film School (Whether it’s on their website or their Facebook page, No Film School is a site you should be following. They post articles and videos daily, giving you the best resources from around the globe into one news feed. And a quick shout out to V from No Film School; Thanks for posting our videos, we really appreciate it!)

http://nofilmschool.com/

If we didn’t mention any channels that you think we should be following, leave us a comment! We’d love to know what we are missing out on. As always, we are on Facebook, Twitter, and Instagram. Thanks for watching, and we’ll see you next week.


Should You Go To Film School.jpg

DISCLAIMERS:

Some of these links are affiliate links, if you purchase gear via these links The Film Look will receive a small commission, but there will be no additional cost to you. Thank you!

Video Editing PC Build 2017


They say it doesn’t matter what camera you’re shooting on as long as you are telling interesting stories. But how can I edit stories when my laptop’s halting efficiency and holding back creativity?

My current computer is getting old – it’s time to build a new one!

So Mac or PC? PC. The specs I chose on PC came to £1300. On a Mac, 4 grand!

Now I’m not hating on Apple! I own a Mac Book Air. It travels everywhere with me.

Here’s a rundown of the specs.

Intel i7 6800k. 6 cores, this is a beast for editing.

The Asus x99-A II. I chose this because it fits my CPU. It’s also got USB 3.1, 128GB of ram space, and is built for overclocking.

I’m gonna be overlocking the CPU, so I needed something that was going to take care of all the extra heat. I got the Corsair H110i GTX.

Video-Editing-PC-Build-2017-Corsair-H110i.jpg

I got 32 gigs of Corsair Vengeance RAM. Premiere Pro doesn’t really improve past 16GB so I went safe and got 32 just to be sure.

I’ll be installing Windows 10 on this SSD, along with my programs, so it’s gonna be much quicker than a hard drive!
I have 3 hard drives to storing media, which I already own.

GTX970. This has more than enough juice to edit nice and smooth.

I put a Corsair 850 watt PSU in because the overclocking will need a little bit more power.

I’ve put it all in a Cooler Master Pro 5. It’s got loads of room to work in, easy access hard drive bays, and cable management was simple!

Video-Editing-PC-Build-2017-CoolerMaster_Pro_5_Case.jpg

Altogether, it has come to £1350. I could have spent around £1100 on this build and the system would have been great, for now. But I spend a little more for future proofing.

Why did I only spend £1350. Well you have to set your limit somewhere.

You can find the benchmarks and parts list below.

  • Parts List

  • CPU – Intel 6800K

  • Motherboard – Asus X99-A II CPU

  • Cooler – H110i GTX

  • RAM – Corsair Vengeance DDR4

  • GPU – MSI GTX 970 4GB

  • Power Supply – Corsair CX850M

  • Case – CoolerMaster Pro Case 5

  • SSD – Patriot Blast 240GB

  • Hard Drives – 3x 2TB


Video Editing PC Build 2017.jpg

DISCLAIMERS:

Some of these links are affiliate links, if you purchase gear via these links The Film Look will receive a small commission, but there will be no additional cost to you. Thank you!

Get the Bloody & Beaten Look | Season 2: Episode 8

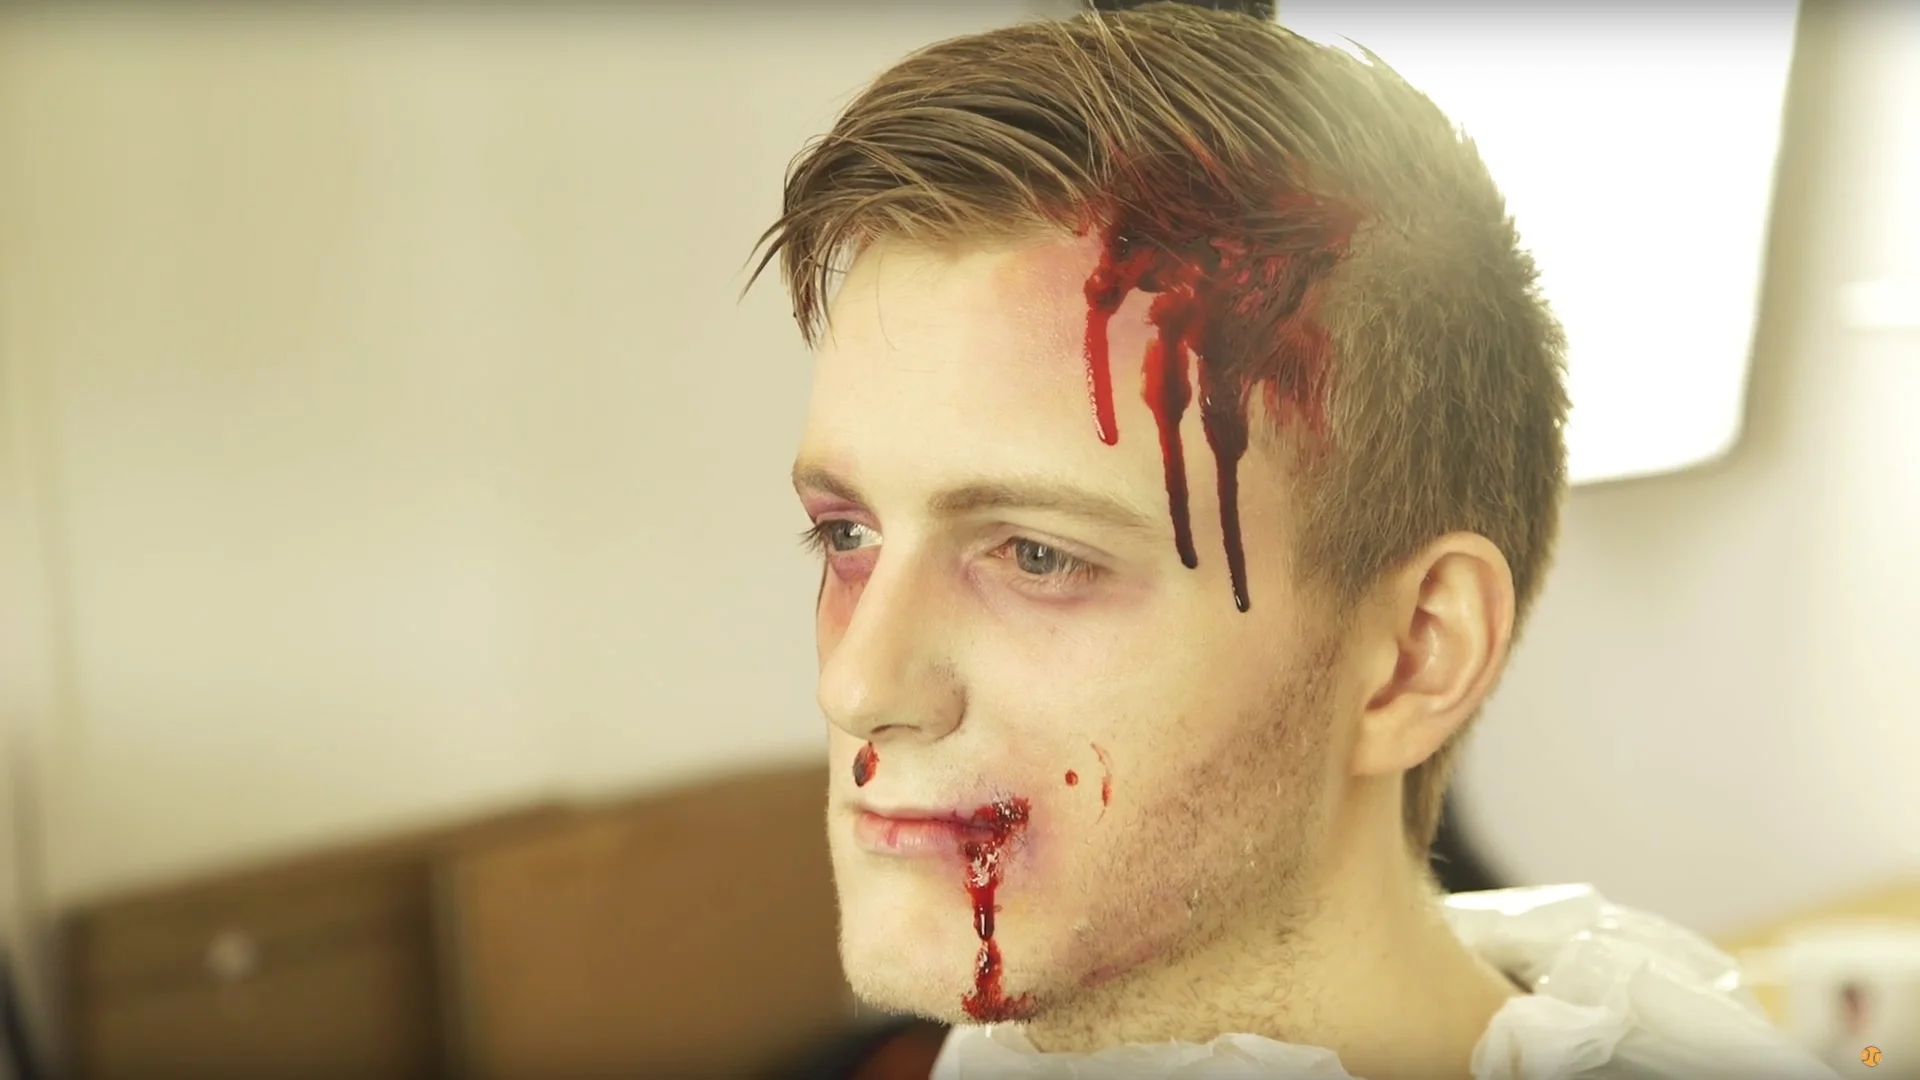
We wanted the bad guys in Corpse to look beaten and bruised, and in some cases they needed to look like they had been bleeding. With Rob and myself knowing absolutely nothing about how to achieve that look, we brought in special effects make up artist Natasha. Here is how she made the characters in Corpse looked like they had survived all 12 rounds.

We got our friend Natasha to take over from here:

Makeup-Artist---The-Film-Look.jpg

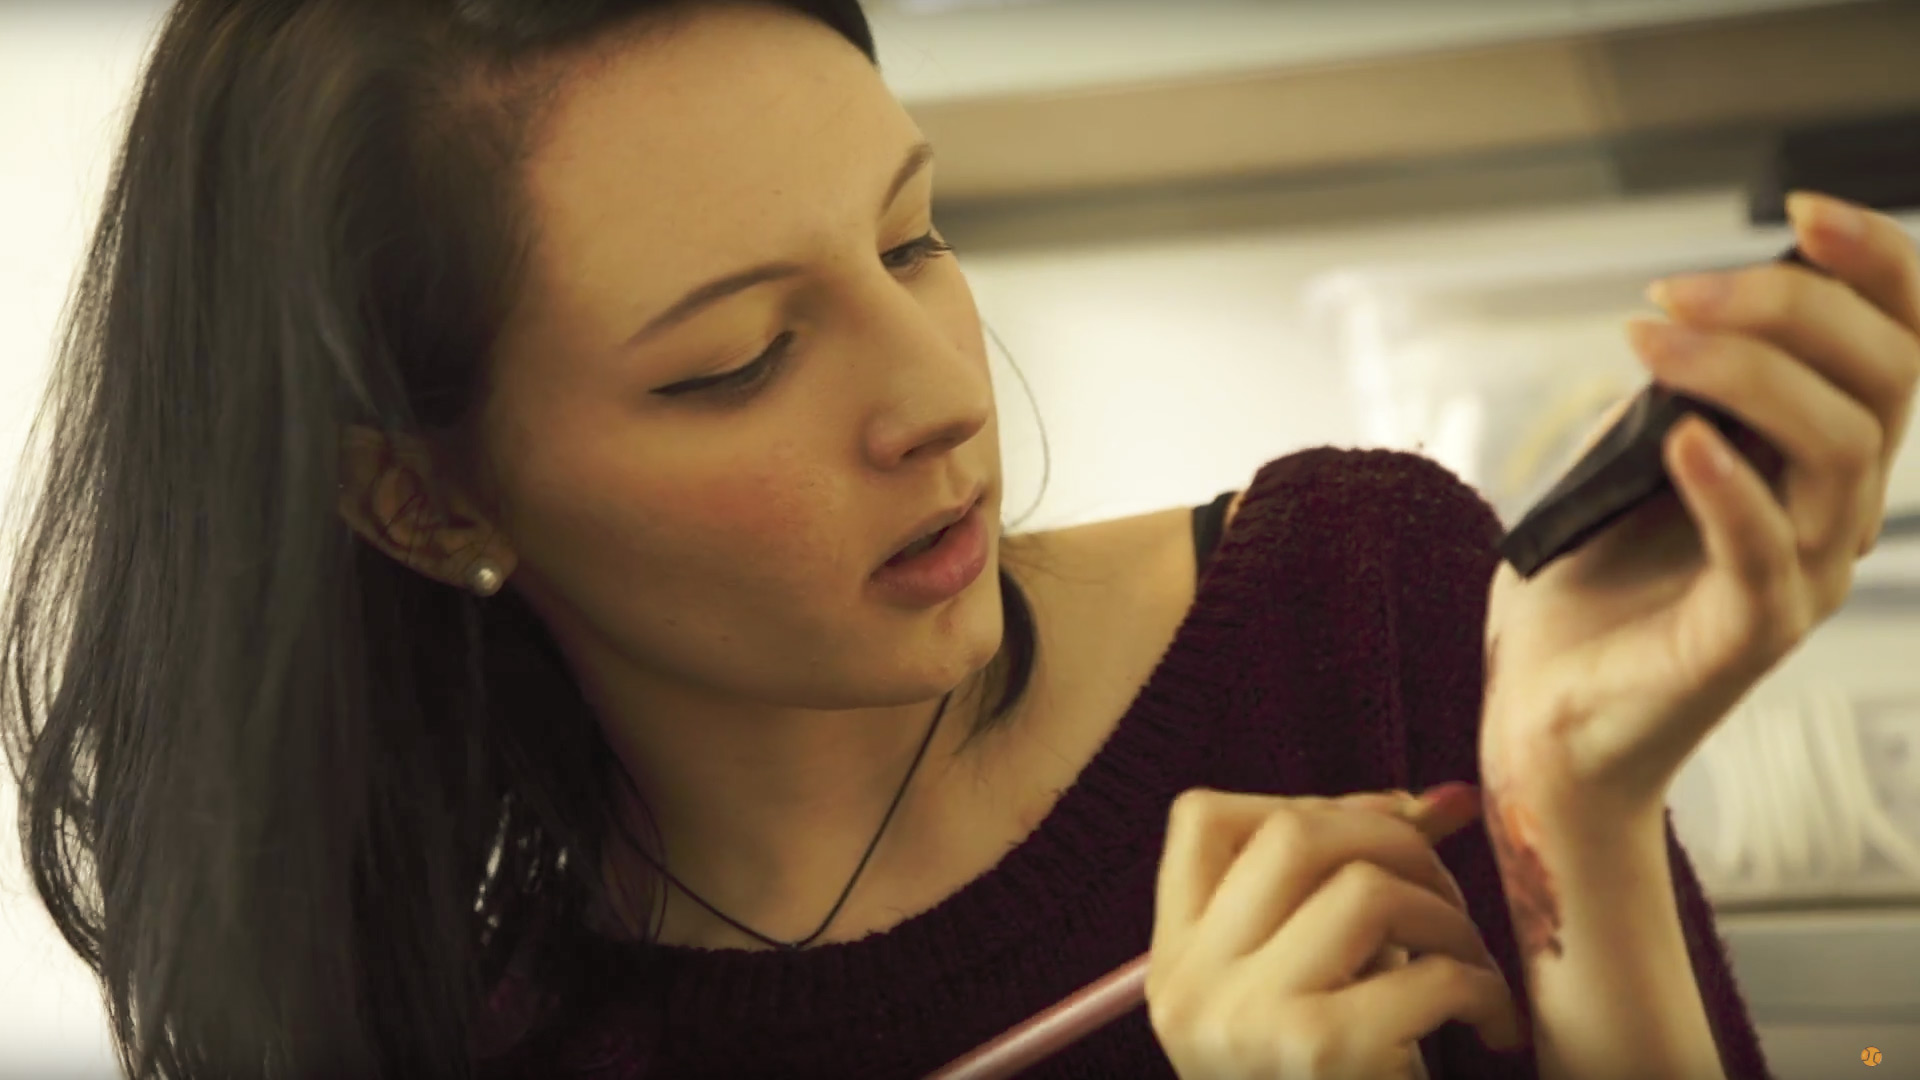
Hi, I'm Natasha. I did the bruising and bloody faces make up in Corpse.
Here is what you'll need to make your actors look bloody and beaten up.

  • Face wipes.
  • Moisturiser.
  • A pale foundation.
  • A bruise wheel which contains purple, red, blue face paint.
  • Additionally, you'll need yellow, black, and brown face paint.
  • Vaseline.
  • A variety of fake blood.
  • A bunch of sponges.
  • Smaller brushes for detailed work.
  • A big brush for blending.
  • A cup of water.
  • And some Bin Bags.
Makeup-Artist-Supplies.jpg

Firstly, is preparation.

Wipe the subject's face to make sure you get rid of any sweat, oils, and dirt. You want to start with a clean canvas.

Makup-Clean-Canvas.jpg

Take a generous amount of moisturiser and apply it to the subject's face. This will increase the durability of the make up, and make the subject look sweaty. It's stressful being beaten up.

Apply the foundation to the entire face. This will take out any red in the face, making the subject appear lifeless.

Take the brown face paint and contour the face following the bone structure. Apply it very sparingly.

You can make the subject appear tired by adding further colour under the eye. This depends on the natural colour of the person's under eye. Purples and reds, mainly.

The next step is adding bruises.

Decide where you want to add your wound. In our case, we have chosen the eye, lip, and forehead.

Makeup-Eye-Bruise.jpg

For smaller cuts, a bruise isn't as necessary, but for bigger impacts it is essential.

The bruises I am adding today will resemble something a few days old.
A day old bruise will have tones of blue or purple because the swelling causes the oxygen to be cut off.

Start with a red base, patting and stippling. Then add darker colours, such as blues, purples and a touch of black, to give it more depth. Add yellow to the outsides of the bruised area to give it an aged look.

The skin around the eye is thin so it easily bruises. When the eye is injured, blood pools in the orbital bone below the eye. So the bruise is darkest across this bone.

Take a small amount of vasoline on your finger and dab it onto cheek bone, under the eye brow, and along the eye lid.

It's called a shiner for a reason.

Now it's time to add the bloody wounds.

Outline where you want your wound using the dark red paint as a base. Your blood will lie on top of the paint, so the size of the area will depend on your wound.

If it is a cut, a thin line is all you'll need. If it is a head wound, you'd use a larger area.

Using black paint, you can fill in the deepest part of the wound. Then, use some thick blood and cover the base and let it drip down the subject's face.

Get-the-Bloody-&-Beaten-Look.jpg

With some thinner, lighter blood, apply long drops in the way they would naturally fall. When the blood dries, it will go flaky, making it look older.

And there you have it. Your subject now beaten and bloody.


Get the Bloody & Beaten Look.jpg

DISCLAIMERS:

Some of these links are affiliate links, if you purchase gear via these links The Film Look will receive a small commission, but there will be no additional cost to you. Thank you!

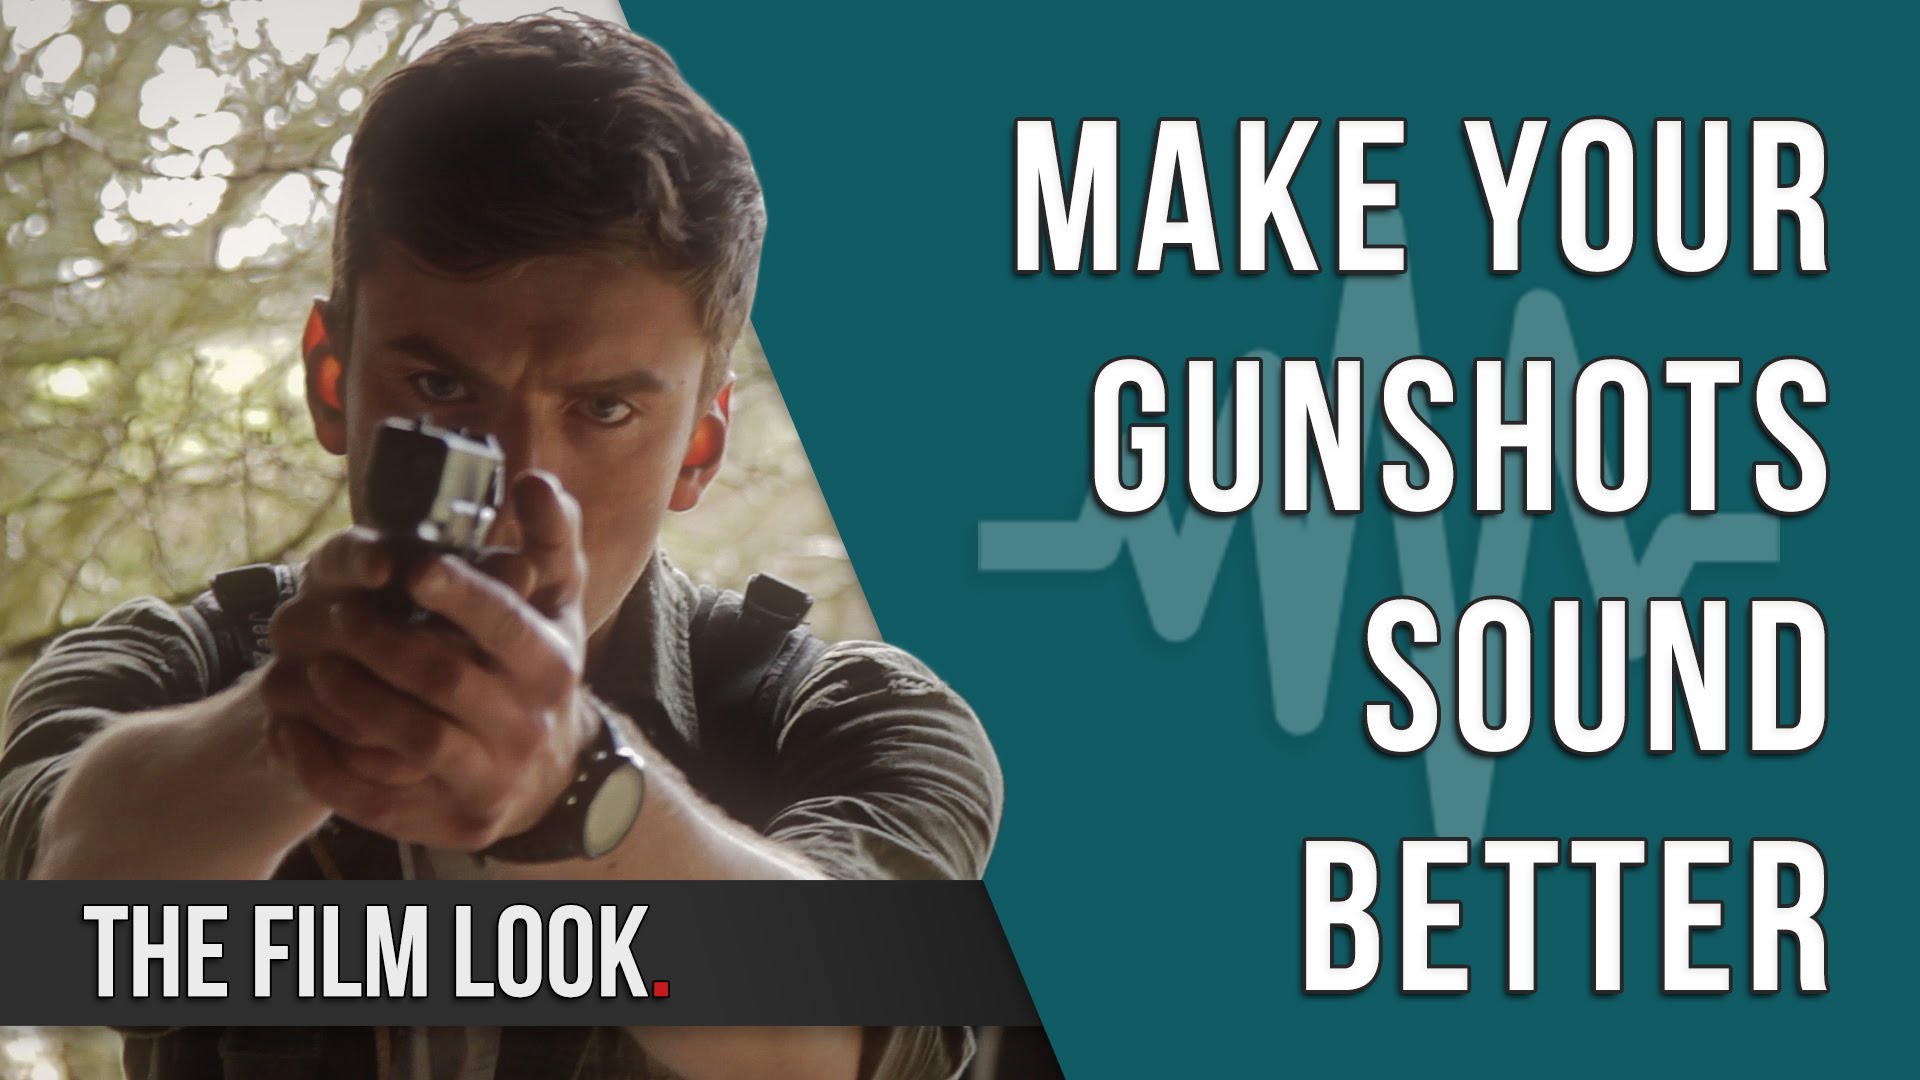
Make Your Gunshots Sound Better | Season 2: Episode 1

Guns. The staple foundation for a lot of young film-makers when they get started, myself included.

But there's one thing that makes gunshots seem to stick out like a sore thumb.

Repetition. The sound of it being copied and pasted on the timeline over and over. It pulls you out of the film.

Well here's a quick tip to help make your gunshots sound a little more organic.

So you have your sound effect. 

A pistol shot. 

Match it to your muzzle flash and you have a gun firing! 

But if your subject fires in quick succession...like here...it starts to sound synthetic.

Editing-gun-shot-sounds.jpg

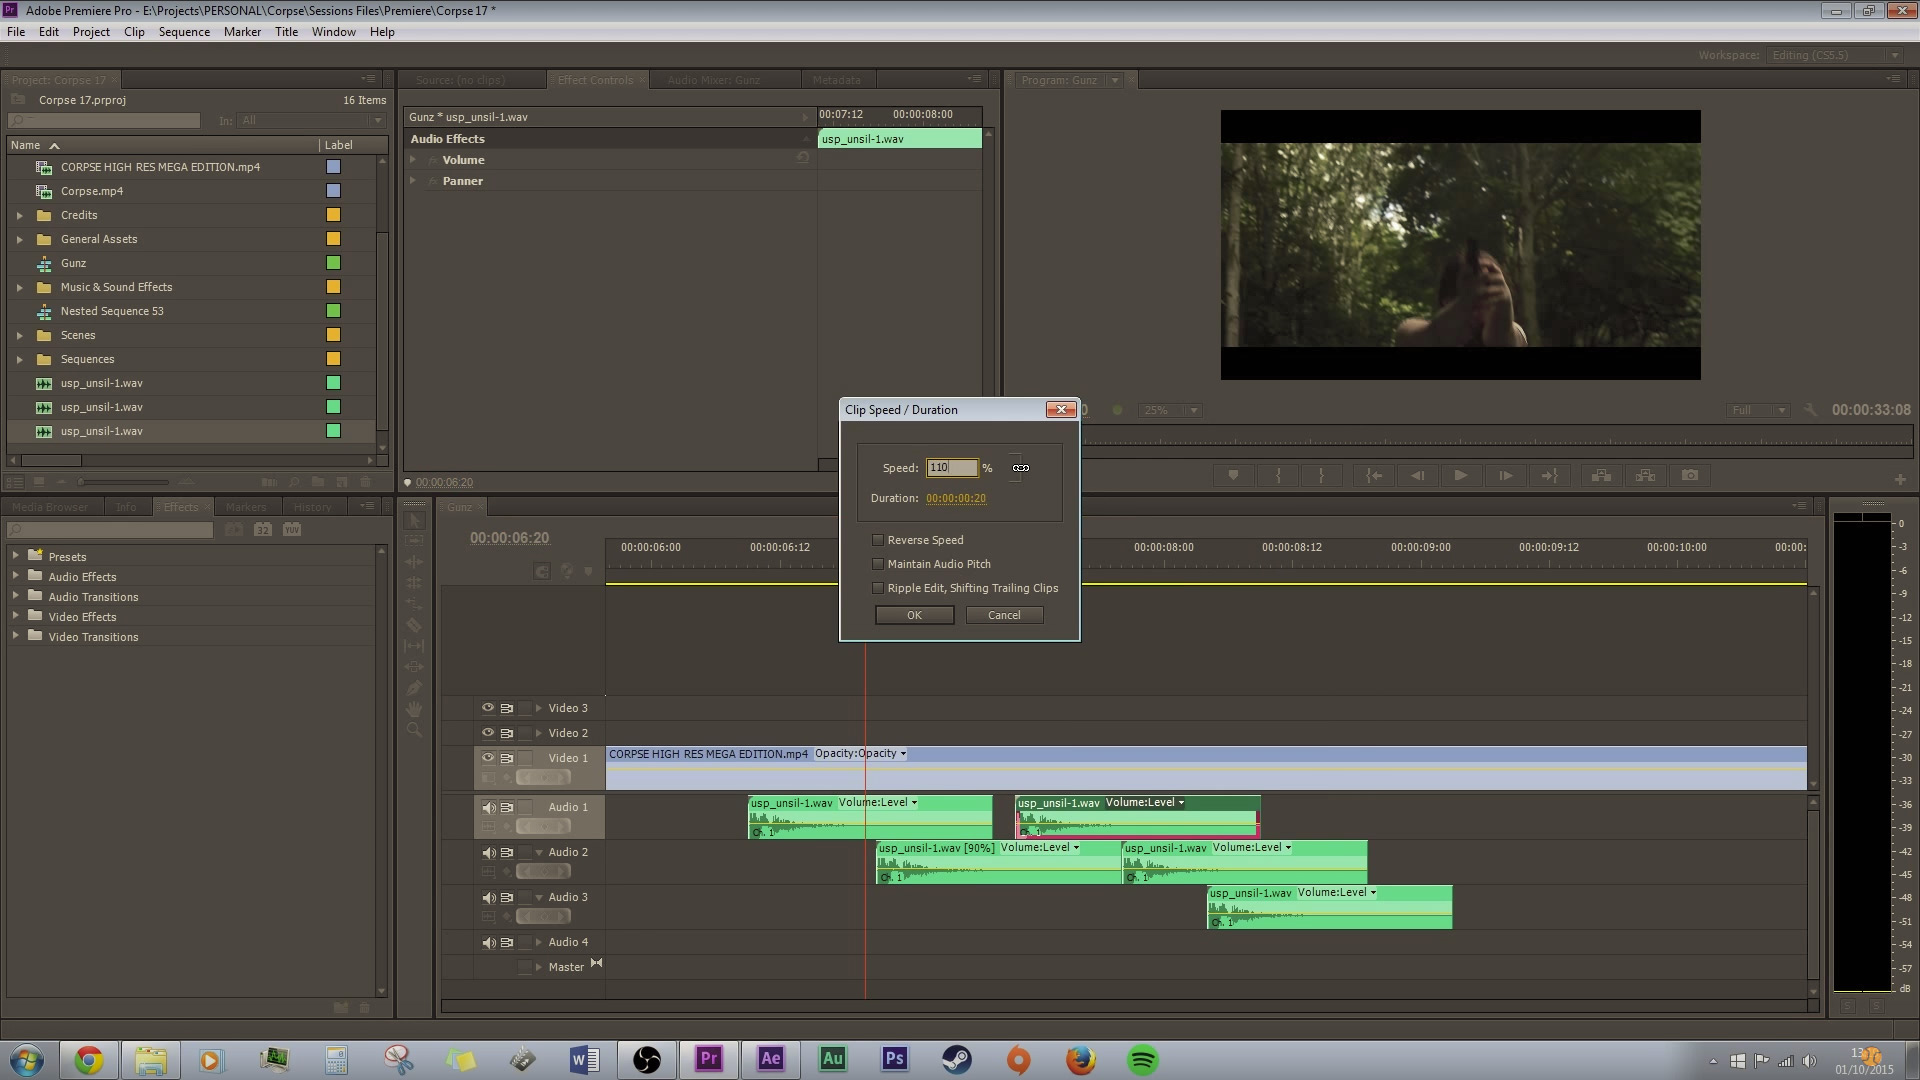
To avoid this, alter the speed of each sound. So this one is 90%, the next can go at 110%, and so on. Between 80-120% of your normal speed is usually a good bracket.

Editing-gun-shot-sounds_1.jpg

It sounds more embedded into the scene.

The sound of gunfire is just the bi-product of gun mechanics. It's a natural sound, and natural sounds are never identical. This method places the sounds back into reality.


Make Your Gunshots Sound Better.jpg

DISCLAIMERS:

Some of these links are affiliate links, if you purchase gear via these links The Film Look will receive a small commission, but there will be no additional cost to you. Thank you!