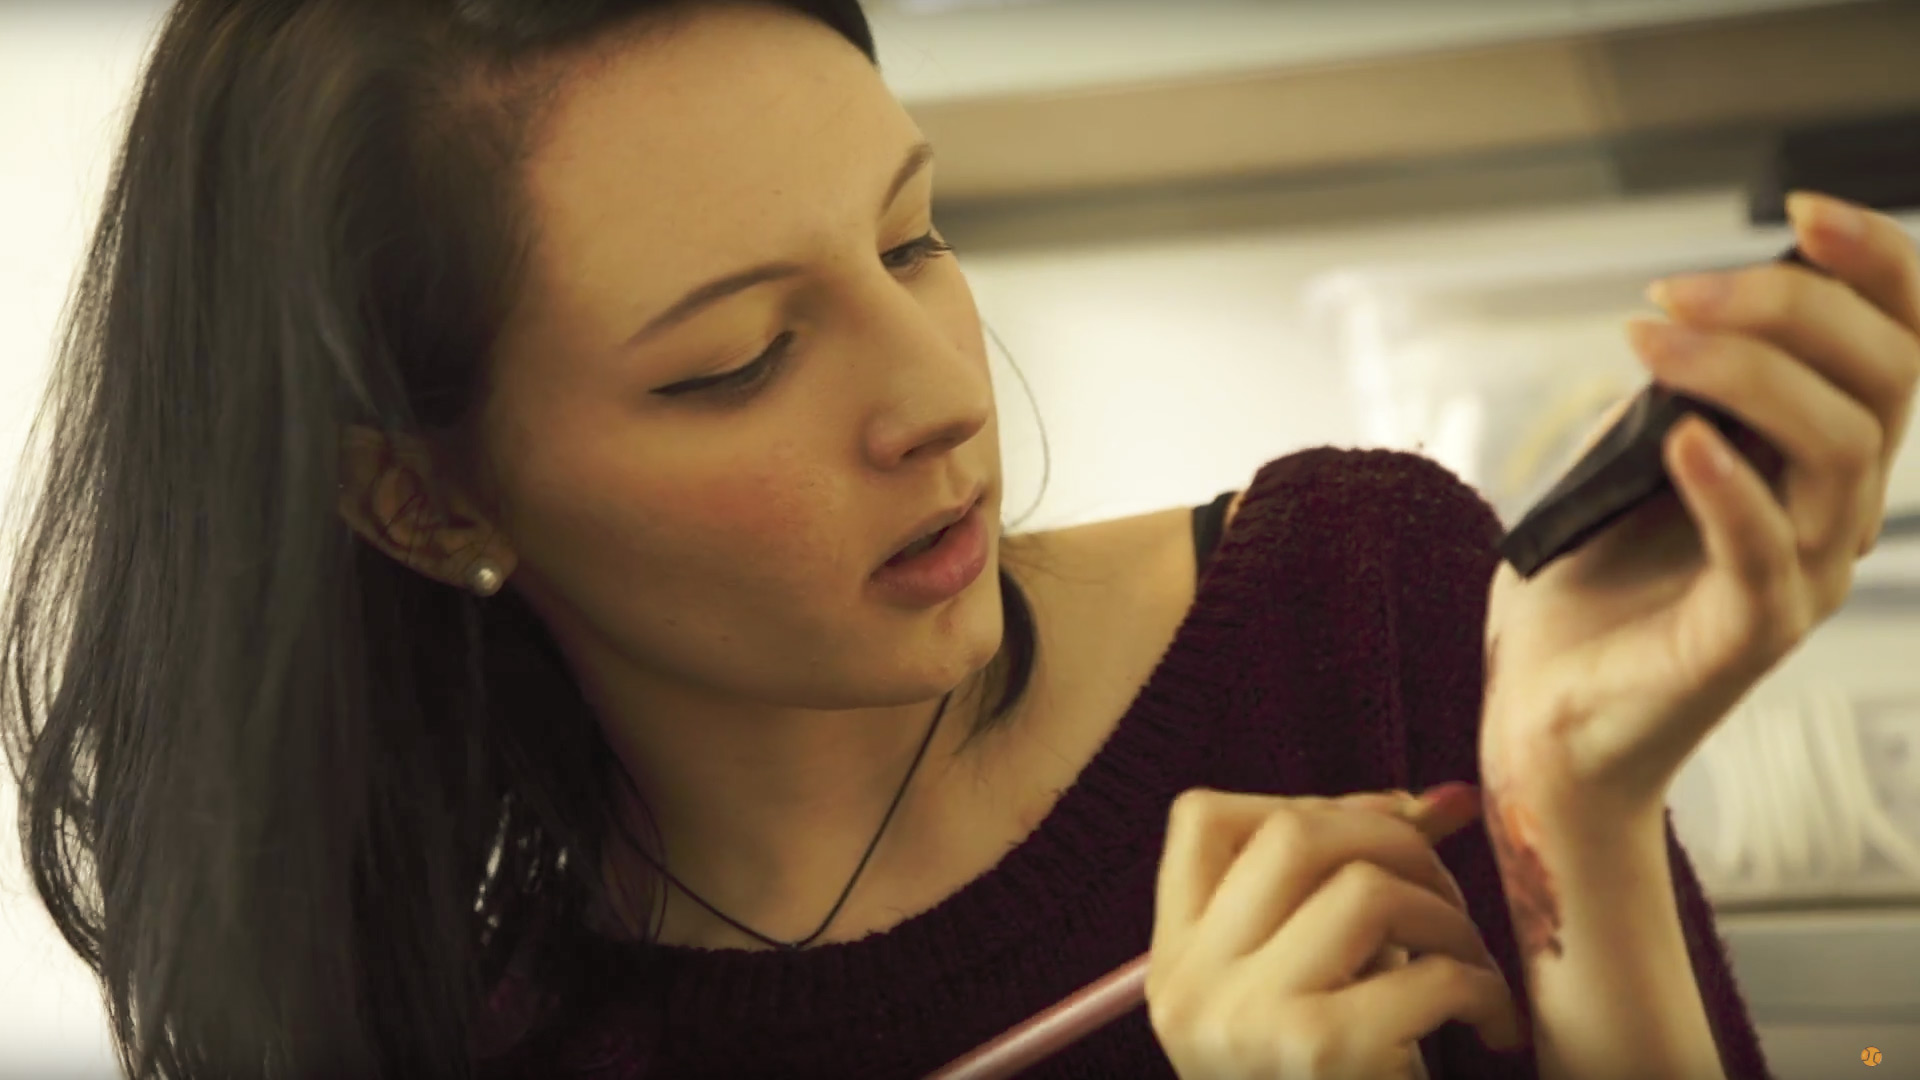
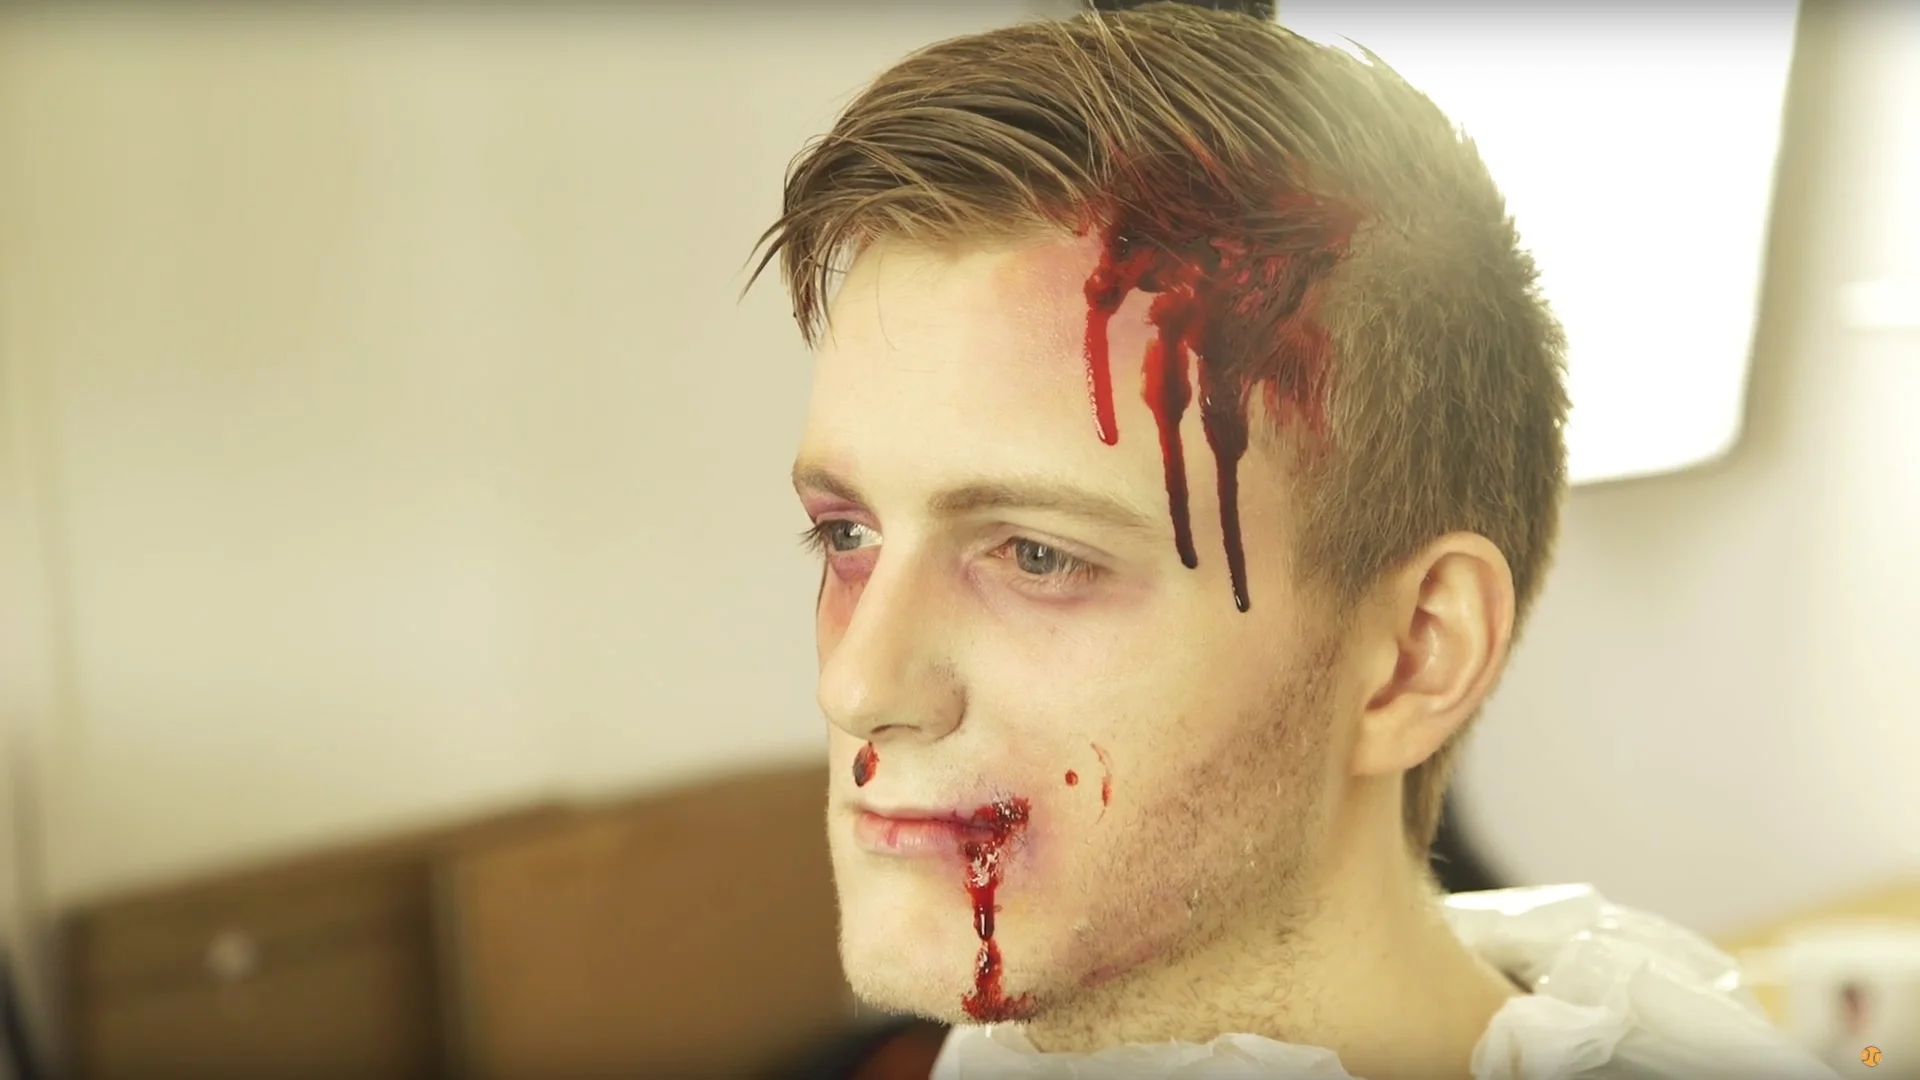
We wanted the bad guys in Corpse to look beaten and bruised, and in some cases they needed to look like they had been bleeding. With Rob and myself knowing absolutely nothing about how to achieve that look, we brought in special effects make up artist Natasha. Here is how she made the characters in Corpse looked like they had survived all 12 rounds.
We got our friend Natasha to take over from here:
Hi, I'm Natasha. I did the bruising and bloody faces make up in Corpse.
Here is what you'll need to make your actors look bloody and beaten up.
- Face wipes.
- Moisturiser.
- A pale foundation.
- A bruise wheel which contains purple, red, blue face paint.
- Additionally, you'll need yellow, black, and brown face paint.
- Vaseline.
- A variety of fake blood.
- A bunch of sponges.
- Smaller brushes for detailed work.
- A big brush for blending.
- A cup of water.
- And some Bin Bags.
Firstly, is preparation.
Wipe the subject's face to make sure you get rid of any sweat, oils, and dirt. You want to start with a clean canvas.
Take a generous amount of moisturiser and apply it to the subject's face. This will increase the durability of the make up, and make the subject look sweaty. It's stressful being beaten up.
Apply the foundation to the entire face. This will take out any red in the face, making the subject appear lifeless.
Take the brown face paint and contour the face following the bone structure. Apply it very sparingly.
You can make the subject appear tired by adding further colour under the eye. This depends on the natural colour of the person's under eye. Purples and reds, mainly.
The next step is adding bruises.
Decide where you want to add your wound. In our case, we have chosen the eye, lip, and forehead.
For smaller cuts, a bruise isn't as necessary, but for bigger impacts it is essential.
The bruises I am adding today will resemble something a few days old.
A day old bruise will have tones of blue or purple because the swelling causes the oxygen to be cut off.
Start with a red base, patting and stippling. Then add darker colours, such as blues, purples and a touch of black, to give it more depth. Add yellow to the outsides of the bruised area to give it an aged look.
The skin around the eye is thin so it easily bruises. When the eye is injured, blood pools in the orbital bone below the eye. So the bruise is darkest across this bone.
Take a small amount of vasoline on your finger and dab it onto cheek bone, under the eye brow, and along the eye lid.
It's called a shiner for a reason.
Now it's time to add the bloody wounds.
Outline where you want your wound using the dark red paint as a base. Your blood will lie on top of the paint, so the size of the area will depend on your wound.
If it is a cut, a thin line is all you'll need. If it is a head wound, you'd use a larger area.
Using black paint, you can fill in the deepest part of the wound. Then, use some thick blood and cover the base and let it drip down the subject's face.
With some thinner, lighter blood, apply long drops in the way they would naturally fall. When the blood dries, it will go flaky, making it look older.
And there you have it. Your subject now beaten and bloody.
DISCLAIMERS:
Some of these links are affiliate links, if you purchase gear via these links The Film Look will receive a small commission, but there will be no additional cost to you. Thank you!


