For the last couple of years, we have been using these 160 LED lights and these can lights which use household bulbs.
We have used these lights to shoot a lot of videos and they have been a great budget option for us, but it was time to upgrade.
In this video, we are going to review the Mini-20D and Mini-20C from Aputure and why they are the best lights we have ever used.
We have the 3-light mini 20 kit, which has two mini-20Ds with a colour temperature of 7500k, a beam angle of 20 to 80 degrees as the light has a built-in fresnel.
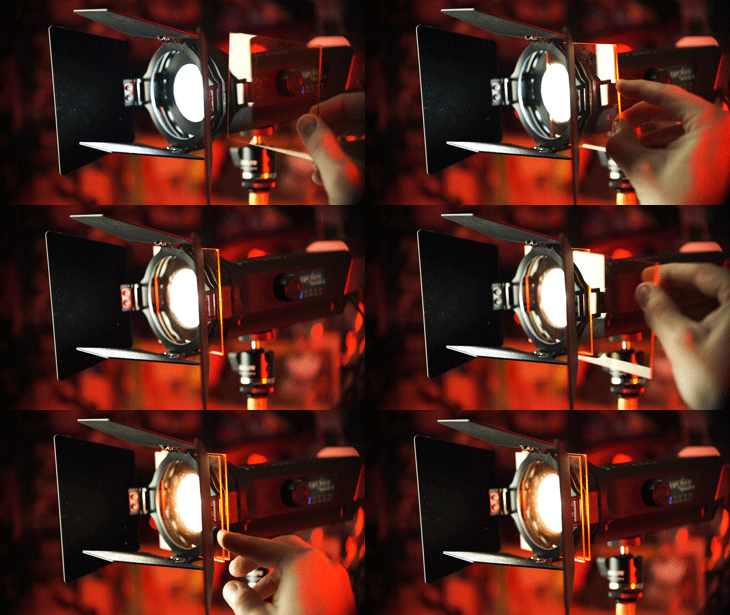
The colour temperature of the 20d is at the higher end of the Kelvin scale and gives you a bluer light, but in the kit, Aputure does provides gels to bring the colour temperature down to 5500k and 3200k, but it’s nice to have the option of shooting at 7500k which is something we will be doing for our next short film.
We have a video all about white balance here if you want to check it out.
We also have one mini-20C which has a colour of 3200 kelvin to 6500 kelvin and a beam angle of 20 to 60 degrees.
Both lights can dim down to 20%, but the mini-20c only has half the brightness of the mini-20d in both flood and spot mode. By the time you have gelled the mini-20d from 7500 Kelvin down to 3200 Kelvin, you do get about the same output of brightness.
I’ve said mini-20d and mini-20c way too many times already, so I hope you are still following along.
You get everything you need to use these lights and more in the kit.
First, the case is rock solid and has enough room for everything. As you can see I have labelled ours up with gaff tape so we know where everything is and should go.
The three lights sit in the middle of the case and we leave the ball heads attached to the lights so we can screw them straight to the light stands.
We have many ball heads and they are all rubbish compared to the one you get in the kit, and they make adjusting the direction of the lights so much easier. I wish every light we had used them.
The light can be powered in 3 different ways. First, via a wall plug, second via a USB power supply; your output does drop by 25% if you use this method but it’s always nice to have.
And finally, via the NPF battery plate which is the option we use 90 percent of the time.
The NPF battery plate attaches to a crab clamp, which then clamps to the light stand. From the NPF battery plate, you plug in the d-tap cable into the light. Then the light is ready to be used.
At first, I wondered why the battery plate was separate from the light, but after using them a bunch this setup method helps to distribute the weight of the light and make it easier to operate.
Two quick points before we get into how we have been using them. First, unlike all other Aputure lights, these can not be controlled with a remote, and the lights have a fan which turns on when they get hot.
They’re super quiet and we have not had a problem with them whilst recording audio as most other sounds are louder than the fan and our microphones are never close enough, or directed towards, the light, but it’s worth knowing.
Right, now we have all of the boring spec stuff out of the way. Why do we think these are the best lights we have ever used?
We’ve been using the mini-20s for edge and hair lights, background and to motivate other light sources.
We wanted to see if we could use them as a large soft source, and we found you can when shooting in dark situations.
When you are shooting in a large bright space like when we shoot our short film The Asylum Grove, you will need lights that are a lot stronger like the Aputure 120 or 300d’s to create a large key light.
For our next short film which is called Sixty Seconds, we wanted to have two lights that beam across the room, acting as an edge light for each character, but also shine light onto the wall across the room.
Before we got the Mini-20s we tried using a 160 LED with black wrap around it to help focus the light. We got the look we wanted, just about, but adjusting the brightness and direction took way longer than it should.
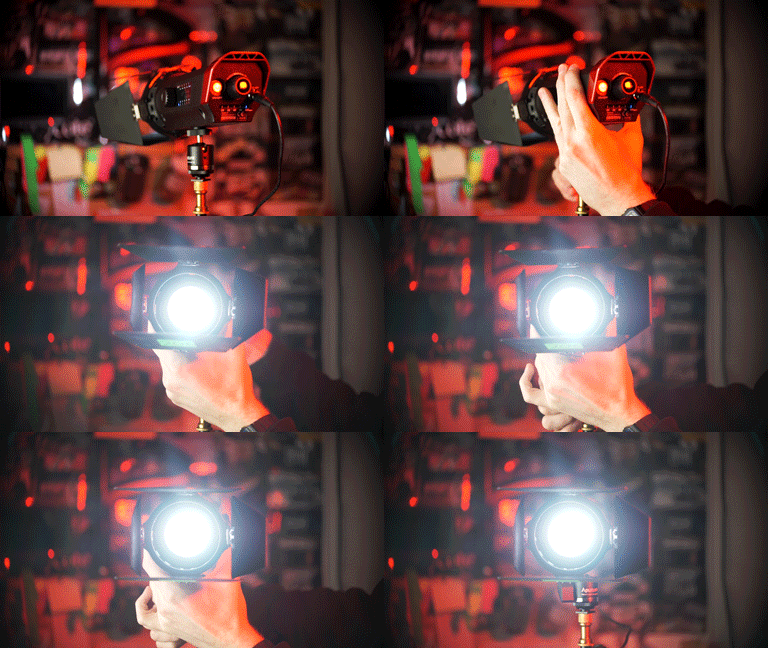
With a mini-20d we were able to set up the light, try different looks by adjusting the flood and spot mode, along with the barn doors in seconds and with ease.
We’ve also been using these light a lot in our studio as we can flag the light from spilling off the walls since we are shooting in a small space.
The edge light on my left now is one of our can lights and to flag it from spilling everywhere we have taped black cardboard onto the side of it. It doesn’t look pretty and it has been working, but by using one of the mini-20s I can set up and adjust this light in less time than it would take to mess around with the cardboard, gaff tape, and flag.
Now with Aputure Lights
So the whole debate on, “Does it matter what you shoot with?” goes on.
We can achieve a similar look with the budget-friendly options we have used for about 5 years, and I would highly recommend those budget-friendly options when you are just starting out.
But after using the Mini-20s I wouldn’t want to go back, as these lights give you the creative freedom to adjust how the light is affecting our image with ease, which also gives you the creative freedom to try new things and see if they work.
Who are these lights for?
If you don’t already have a key light source such as an Aputure 120d or 300d, LED panels and ways to diffuse them. Get those first before buying the mini-20s. If you have your keys lights sorted and want to add a creative hair light or background light, the Aputure mini-20s has a great price to quality ratio coming in at around $250 per light.
We have a set of three which are around $720, but you can start off by buying one and see how it does.
In this video, we review the Apututre Mini-20d and The Aputure Mini 20c LED light kit. We have replaced our old LED panels to these as they allow you to be more creative with ease.
🎬 In case you missed it
Cheap RGB Light | AL-360RGB Review - https://youtu.be/iUBJc4qeI98
LEDGO G260 LED RGB Light Review - https://youtu.be/_ML9dFIoKEU
Aputure 300D Alternative? | NiceFoto HA-3300B Review - https://youtu.be/P-id-55KQ4Y
How to Light an Exterior Night Scene - https://youtu.be/foEV4YGXqGU
🎥 This episode's kit/gear/equipment:
🇺🇸 US links:
Aputure Mini 20 Kit - https://amzn.to/2LyVCsR
Aputure Mini 20d - https://amzn.to/2Vf05jY
Aputure Mini 20c - https://amzn.to/2YlgJQZ
Small LED Light - https://amzn.to/2YiNq1y
RGB LED - https://amzn.to/2DXXXHr
Can Light - https://amzn.to/2DZxEAH
🇬🇧 UK links:
Aputure Mini 20 Kit - https://amzn.to/2Hcdg0e
Aputure Mini 20d - https://amzn.to/2LuYabo
Aputure Mini 20c - https://amzn.to/2LJuGXg
Small LED Light - https://amzn.to/2VoODHr
RGB LED - https://amzn.to/2Lv1DGY
Can Light - https://amzn.to/2DXxnOJ
🎧 Listen to our Podcast!
iTunes: https://goo.gl/hikhGF
Android: https://goo.gl/fmsp4s
📞 The Socials
Website: http://thefilmlook.com
Twitter: https://twitter.com/TheFilmLook
Facebook: https://www.facebook.com/TheFilmLook
Instagram: https://www.instagram.com/thefilmlook
(#filmmaking #aputurelights)
DISCLAIMERS:
Some of these links are affiliate links, if you purchase gear via these links The Film Look will receive a small commission, but there will be no additional cost to you. Thank you!


