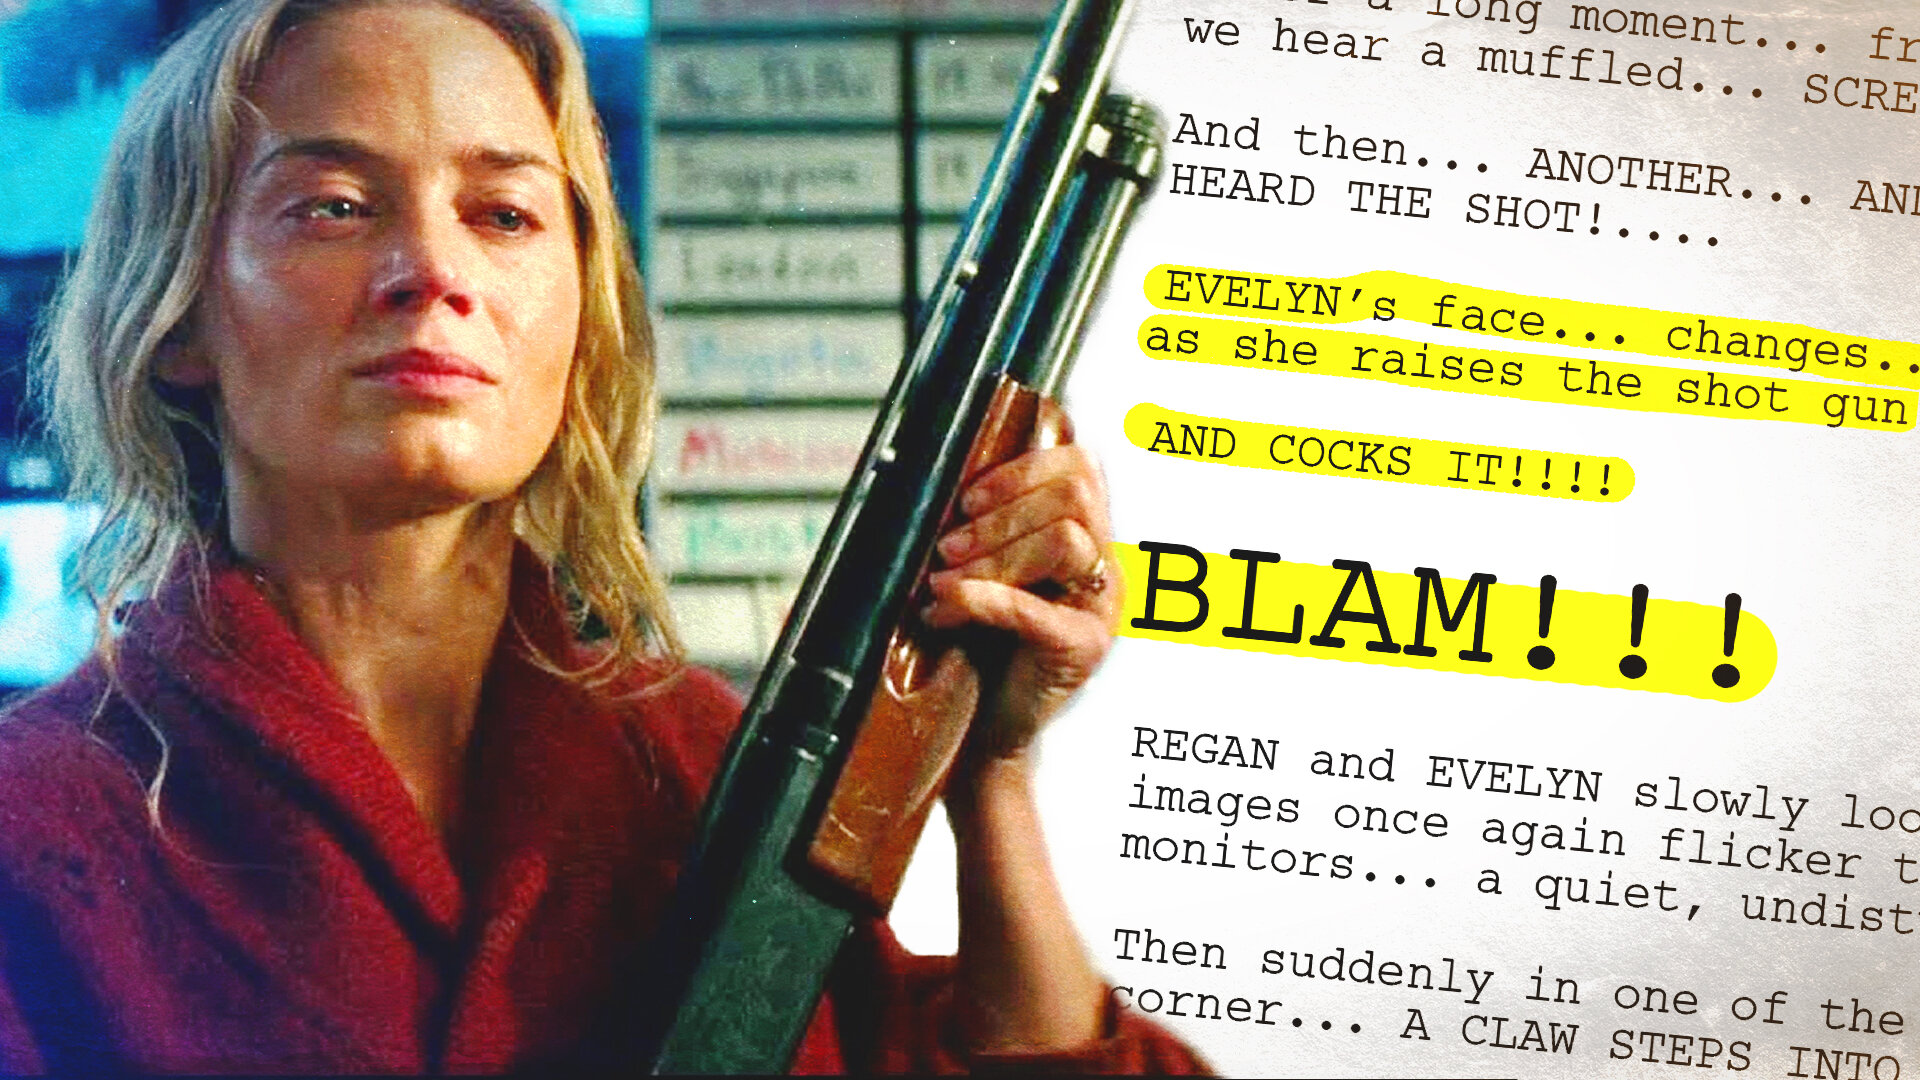
The final two shots in our short film The Asylum Groove were inspired by this piece of art which we randomly found online when looking for inspiration for this film.
In this video we are going to talk about the setup and how we lit those two shots.
Both shots were filmed in the same location as the first scene of the film. The location was 16.2 by 7.5 meters and had 6 windows which were 1.2 by 3.2 meters high.
To start, we positioned the electric chair in the spot we wanted and screwed it to the floor. Our actor would be strapped into the chair and wouldn’t be able to get out without assistance.
For his performance, we wanted him to to try and force his way out. Screwing it to the floor meant the chair would not tip over.
To make it as comfortable as possible for our actor, we made some soft straps for his wrists and ankles so he could pull as much as he liked and he would not be hurt.
Having so much natural light coming through the windows worked great for all of the other shots in the film, but for these two shots, we needed it to be completely dark.
Unfortunately, we could not shoot the scene at night as we could not get access to the location later in the day, so we shot it during the day. We made the location as dark as possible in two ways.
The location was a old school hall which had a lighting rig built in and had large blackout curtains. The curtains had been damaged over time and did not cover all of the windows, but it was a good start. We also used some of the curtains to block out the entire background for both shots.
Next we used the law of physics and something called inverse square law, let me explain.
The closer your light is to the subject, the brighter it will be, and the fall off will be harsher. The further away your light is from the subject, it decreases in brightness and the fall off is a lot more even.
The sunlight coming through the windows was further away our key light, which was about 1 meter away from our subject.
When we correctly exposed the camera for the closest and brightest light, this made all over light darker.
We have linked to an article from Petapixel and a video from a youtube channel called Wolfcrow which goes into a lot more detail about the inverse square law if you want to check it out.
For the shot we hung an Aputure 300d from the lighting rig that was all ready in the room. We did this by using a rail clamp which was attached to the bars of the rig. Attached to that was a C-Stand arm so we could bring the light further down, getting it about a meter away from our subject, and it also meant we could easily adjust the angle if needed.
We also attached a safety harness to the light just encase the clamp decided to fail. You can never be to careful.
One advantage of using the Aputure lights was the remote it came with which lets you wireless control the brightest and switch the light on and off.
As the light was up high, having the remote meant we didn't have to get the ladder back out to adjust it, which saved us a lot of time on set.
One of the main reasons we rented the Aputure 300d was because you can attach different mounts to the front of the light creating many different types of light sources.
For the first part of the film we used the space light attachment which we spoke about more in last week’s video.
For this shot, we attached a Fresnel lens which helps to focus and create a beam of light. The light was set at 75% brightness, angled just in front of our actor Chris, creating dark shadows on his face.
Before we filmed the shot we got someone to stand in for Chris, so our 1st AC Rob could get focus marks with the PD Movie Wireless Follow focus we were using.
It’s best to do these technical things with a stand-in. That way your actors aren’t standing around in front of lights all day as well as giving a performance.
We had to film this shot a couple of times because we had some technical issues with the straps not being tight about, causing it to fall of Chris’s head during the take.
One decision we made early one was avoid giving our actor an eye light for this shot. This was because we wanted his eyes to look dark and dead, unlike the previous scene where it was very light. In retrospect, this is actually something we would like to change because you can't read his reaction as well because you can’t see his eyes.
The last shot of the film was this one.
We took the inspiration for this shot from this image we found online. We knew straight away this is how we wanted the film to end with the reflection of people watching him from the observation room.
So we built an observation room. We randomly had access to a window which was big enough and mounted onto a stand which was already in the room. Then we built a blanket fort around the window with the help of the blackout curtains, c-stands, more blackout material and lots of clips.
Now we had a room which was facing the chair and was completely blacked out all the way around, apart from the window. We did this to help emphasise the reflection of the people. By blocking out the background, this meant we would only get their reflection and nothing else.
To achieve the reflection of the people in the window we used an Aputure 300d with a space light and set it to 100% brightness which is around a 2k light. This was placed outside the fort, shining through the window, as we could not fit it in side.
Then we boomed an LED panel into the fort as the main key light for Emily who was playing the woman’s hand in the film. For Ed, who was playing the executioner, we had an Aputure M9 light just to bring him up a little.
We are not sponsored by Aputure - we just really like their lights.
One thing we learned from this shot was just the sheer amount of light you need to add in order to achieve a bright enough reflection to see the subjects.
Another thing we decided early on which helped seeing them in the reflection was dressing them in white. And because I was in the fort operating the camera, I made sure to wear black to avoid being picked up by the camera.
With the camera being in the fort on a slider, the reflection was so strong we could see it in the window. So to combat this, any part of the camera that reflected light, was gaff taped up and it solved the problem.
The final part of the shot were the curtains falling which was achieved by clipping blackout material to the outside of the window and having two people let go on action.
These two shots did take around 4 hours to setup and the footage in total lasts for about 40 seconds, but we think it was totally worth it and without the crew, it wouldn’t be possible so big thanks to them.
Equipment Used
🎥 This episode's kit/gear/equipment:
🇺🇸 US links:
Aputure 300D - https://amzn.to/2L7JZI2
Aputure Space Light - https://amzn.to/2NK8QA8
Aputure Fresnel Mount - https://amzn.to/2mfuOhD
🇬🇧 UK links:
Aputure 300D - https://amzn.to/2L8CnSe
Aputure Space Light - https://amzn.to/2Lctas0
Aputure Fresnel Mount - https://amzn.to/2LcLaCL
This video was Sponsored By
🎵 http://bit.ly/pbtfl-themaster - Click here to download this episode's track. Check out Premiumbeat.com to discover a huge range of exclusive royalty free music!
DISCLAIMERS:
Some of these links are affiliate links, if you purchase gear via these links The Film Look will receive a small commission, but there will be no additional cost to you. Thank you!


