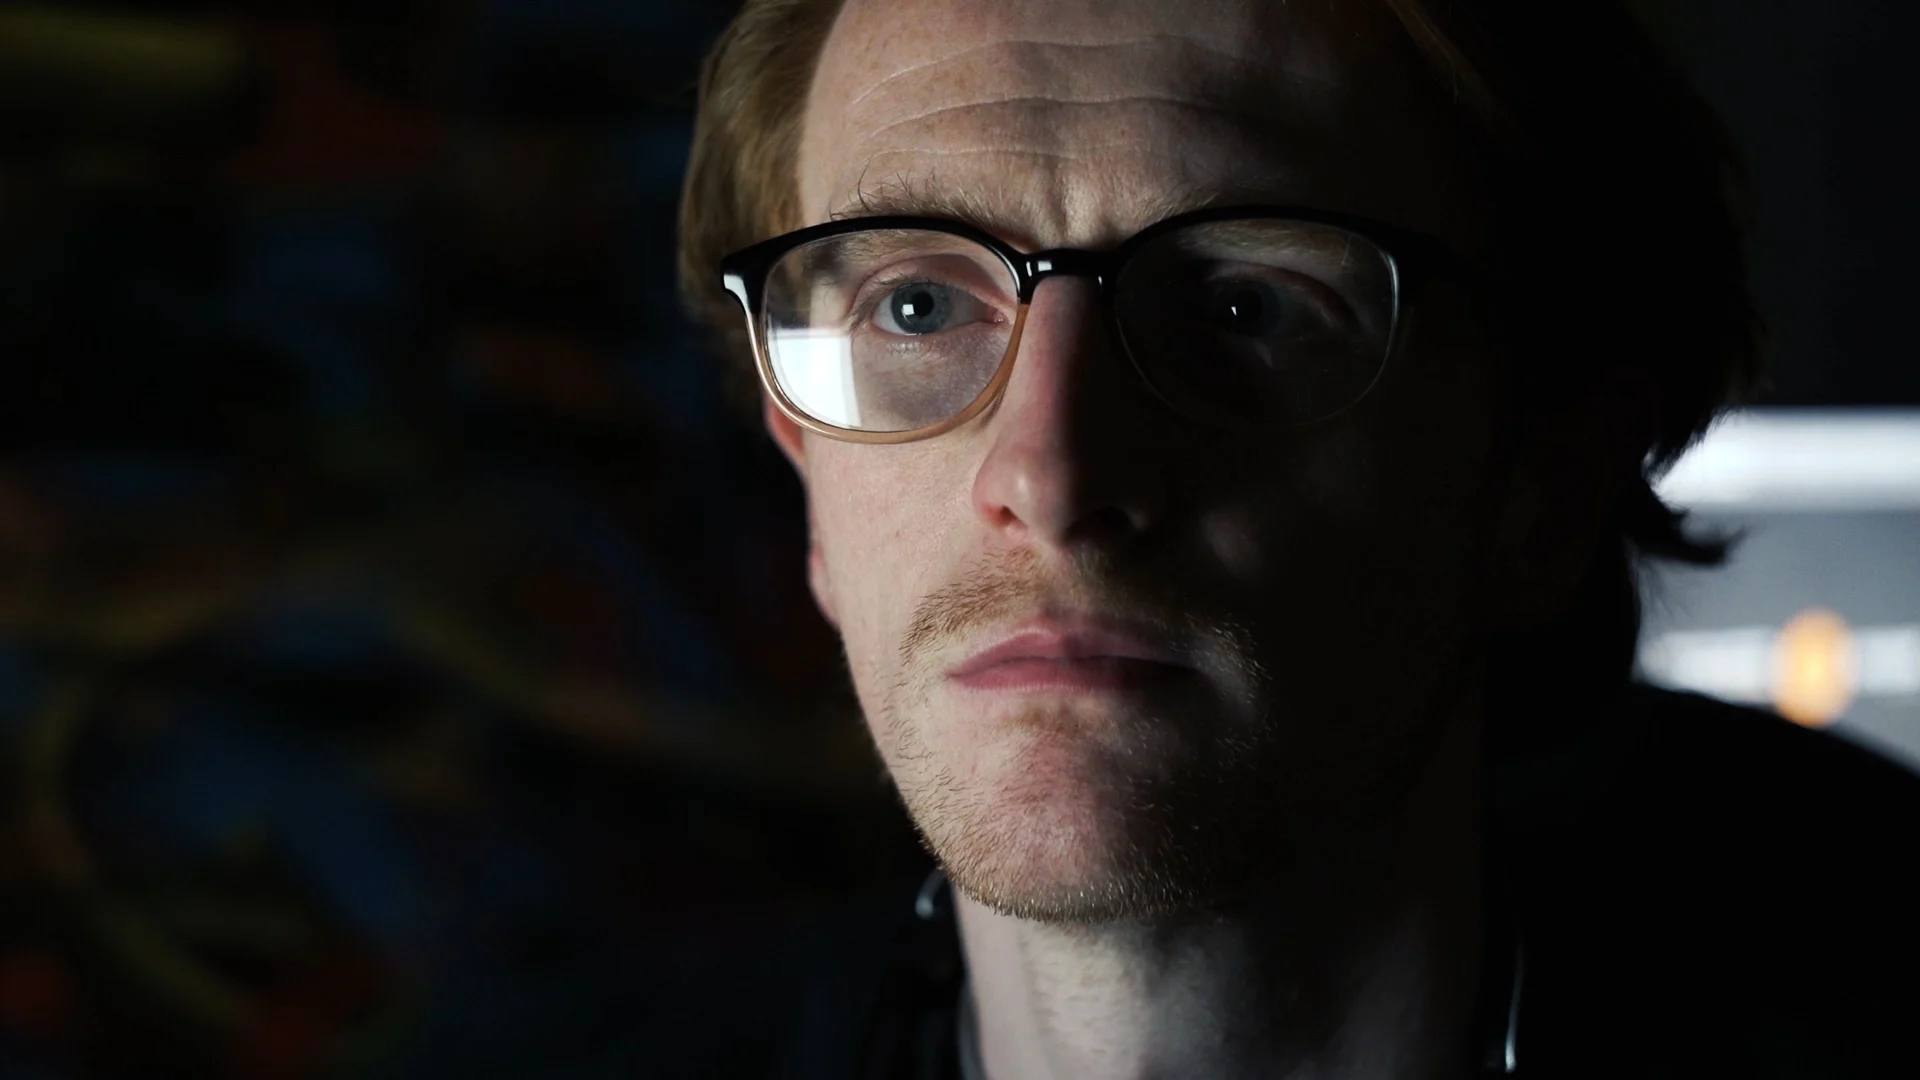
Today I’ll show you how we setup a scene like this: a moody, high contrast night time scene in front of a computer screen with two subjects. I’ll show you the coverage, composition, lighting setup, and the tools and techniques we used to get each shot consistent in the scene.
Welcome to The Film Look.
We shot this short scene for an ad spot recently and you guys seemed to like the look of it, so we thought we would show you our approach to creating it, breaking down every step along the way.
Let’s re-create the scene!
Location
The first thing you need is a location. We will be using our studio.
There are two subjects in the scene, and each of them will be sitting at their computer desks for the majority with a short movement from each subject.
180
Because the computers desks are against the wall, we are limited to shooting on just one side, so the 180 degree line is drawn between each character, using the open space of the room as our shooting space.
Coverage
The script for this scene has the following beats:
Subject A on their computer, frustrated by a problem they can’t solve.
Subject B offers a suggestion, so subject A turns around and listens for a moment.
Subject A then turns back to their computer as subject B runs them through the solution.
Subject B approaches the computer and the scene ends when they execute that solution
This is bread and butter stuff. This scene can be applied to a lot of scenarios for your films, so just take what you need and adjust it to suit your movie. Next, let’s cover the shots.
First, we have a Wide Shot in Profile of the whole scene. We need enough room for the subjects to stand without cutting their heads off so we can position the camera quite low angled slightly up. This shot will establish the location and the distance between the two characters.
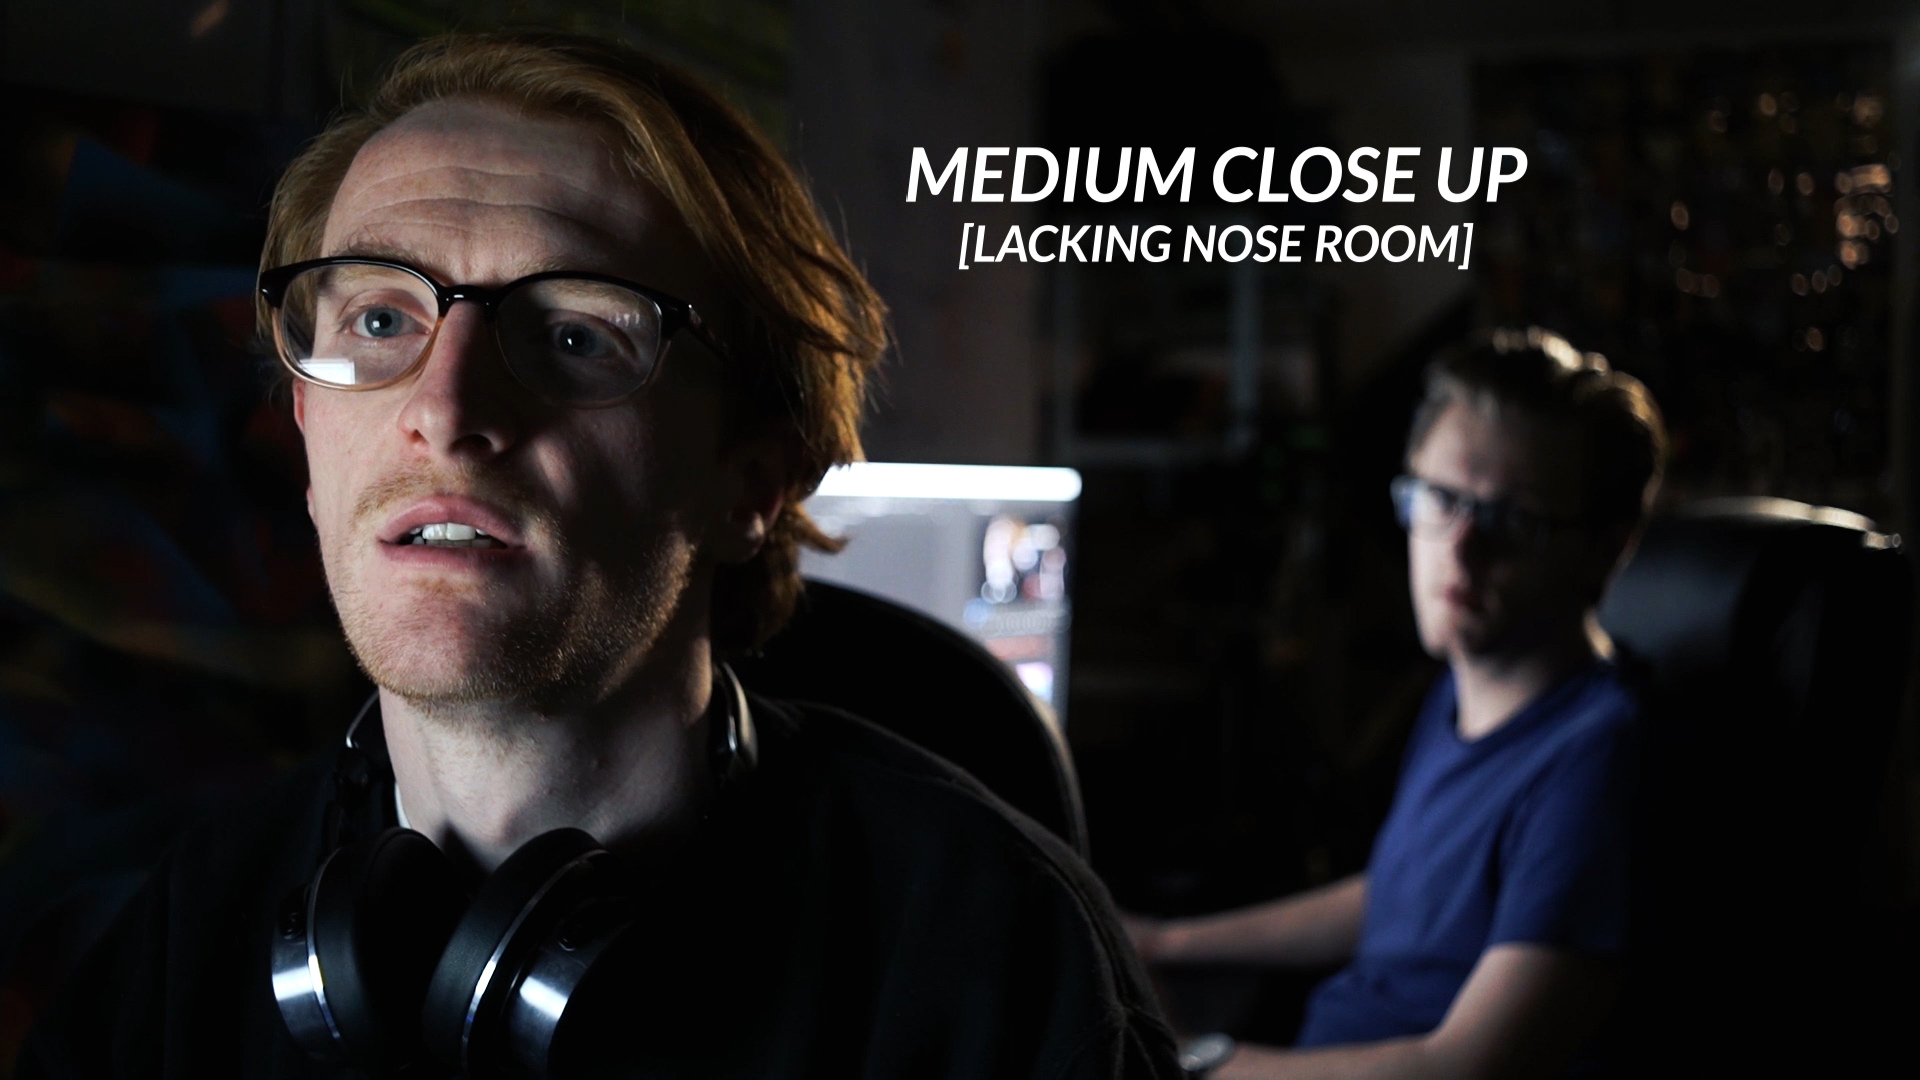
Next we have a Medium Close Up of Subject A, lacking nose room, fitting subject B in the space behind. This shot will put Subject A in a tight box around the frame, emphasising his frustrated situation.
This shot also doubles as a 2-shot at the end of the scene as they both look into the same screen. This shot will finish the scene, so shooting a 2-shot means we can receive both of their reactions to the success or failure at the same time without having to cut between single close ups. It also puts both characters on par with each other.
Then we have a Close Up of Subject A when they turn around to face subject B. This shot also includes a short camera pan to compliment the chair spin, giving it a overly-dramatic/comic feel.
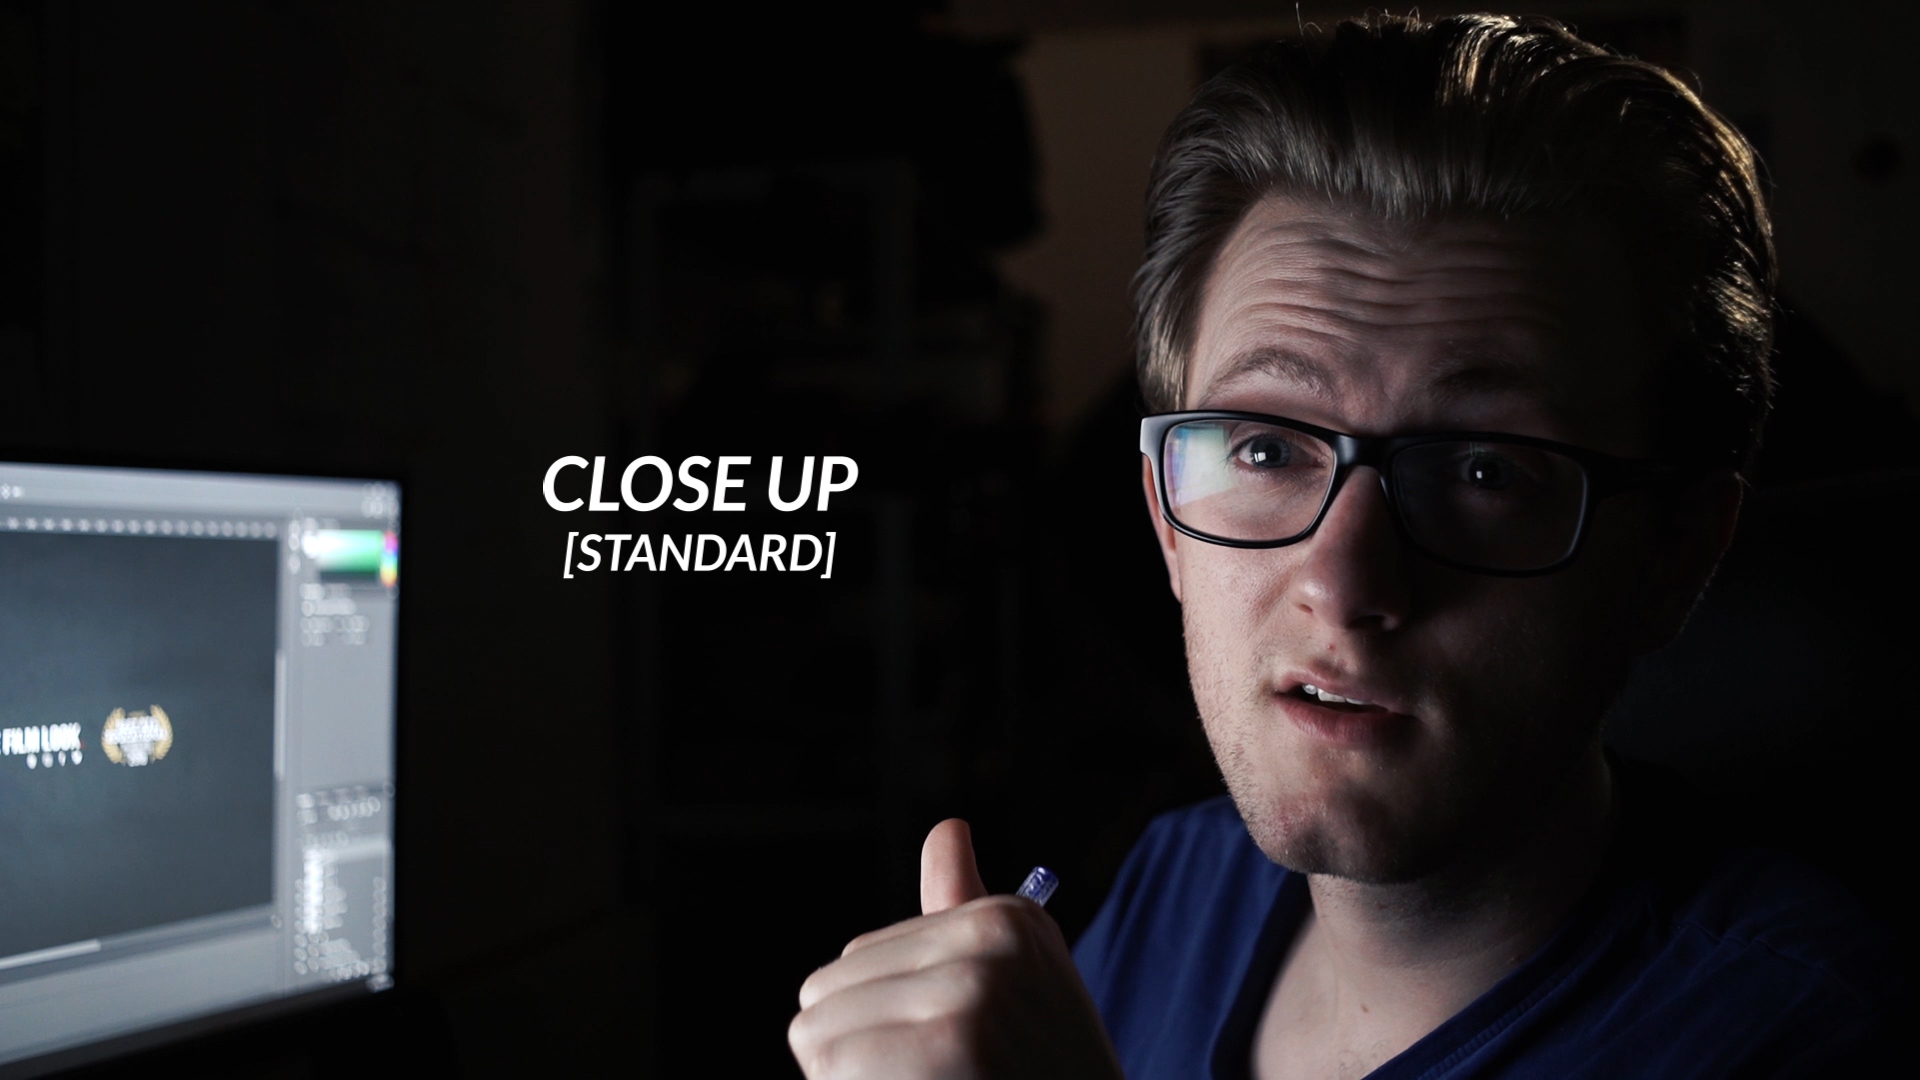
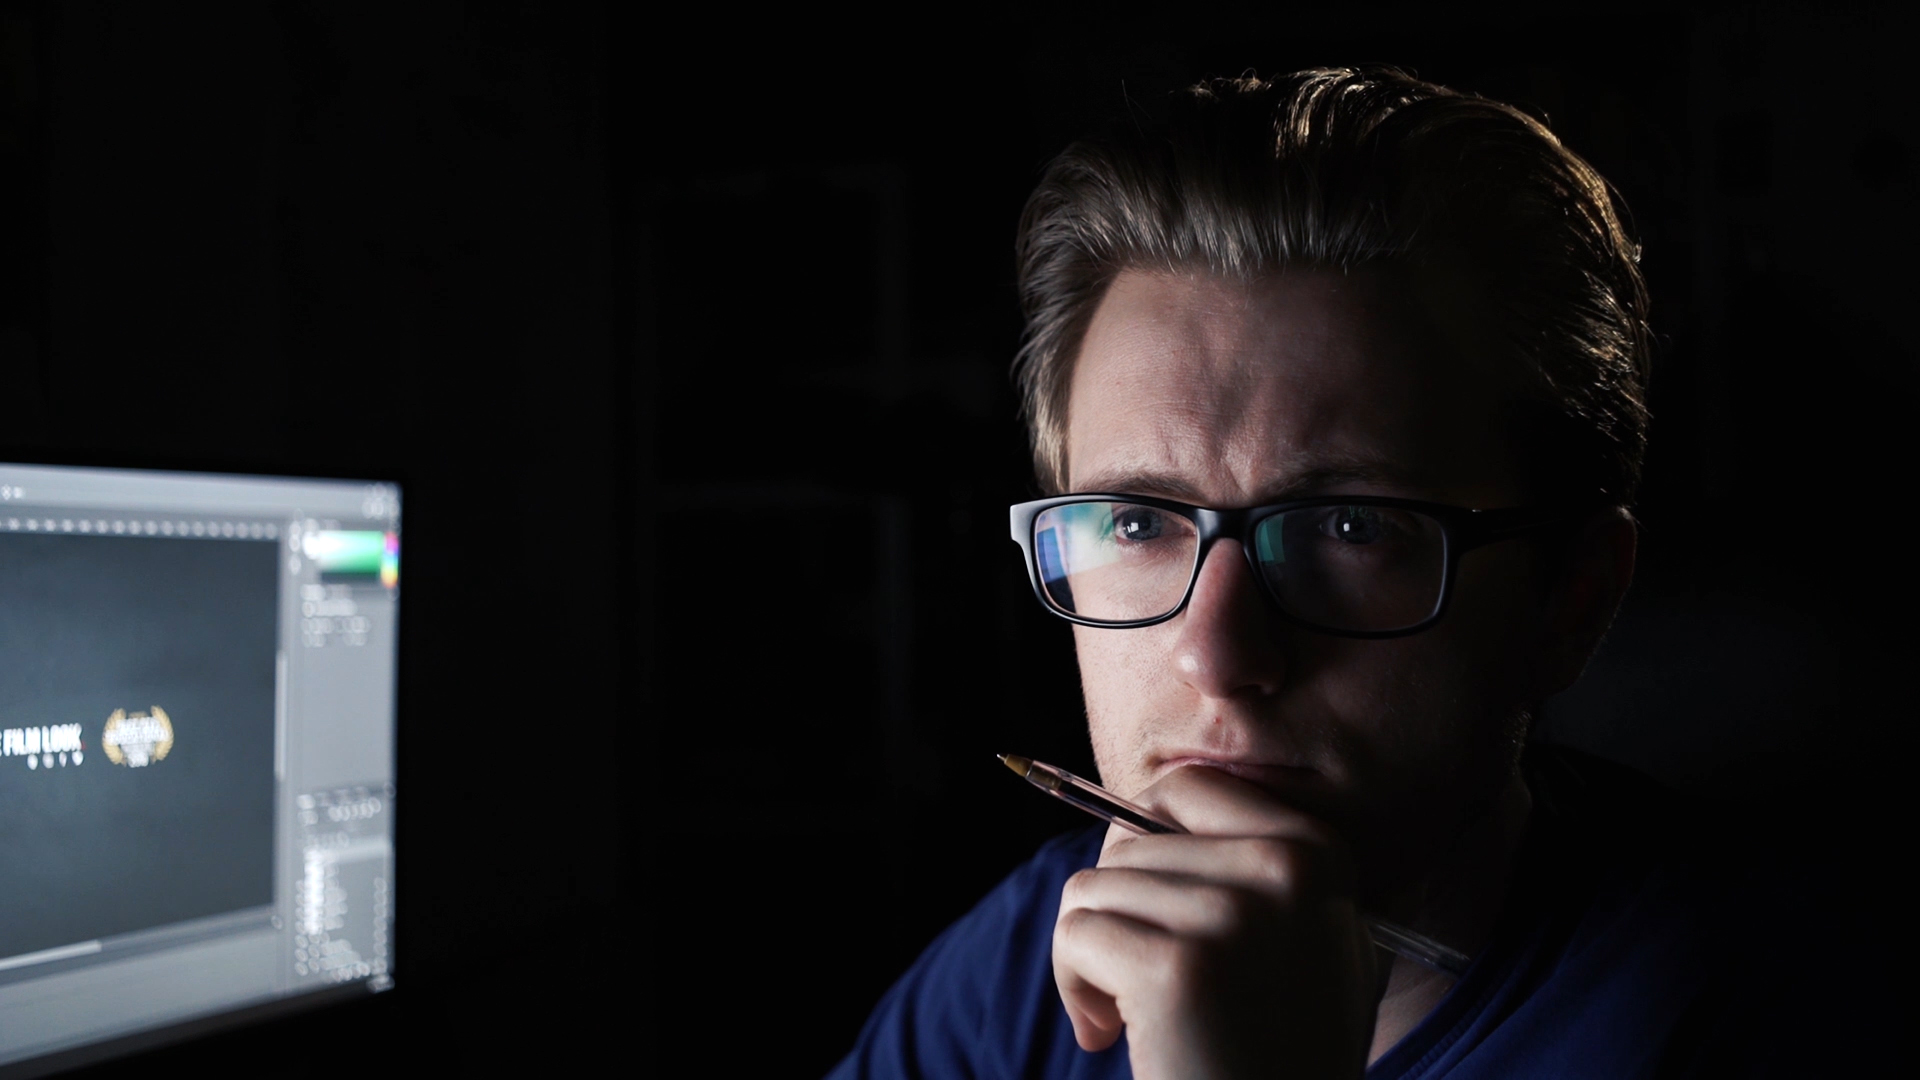
We have Close Ups of each subject at their computers. These are your standard rule of thirds close ups with plenty of nose room in front of the characters.
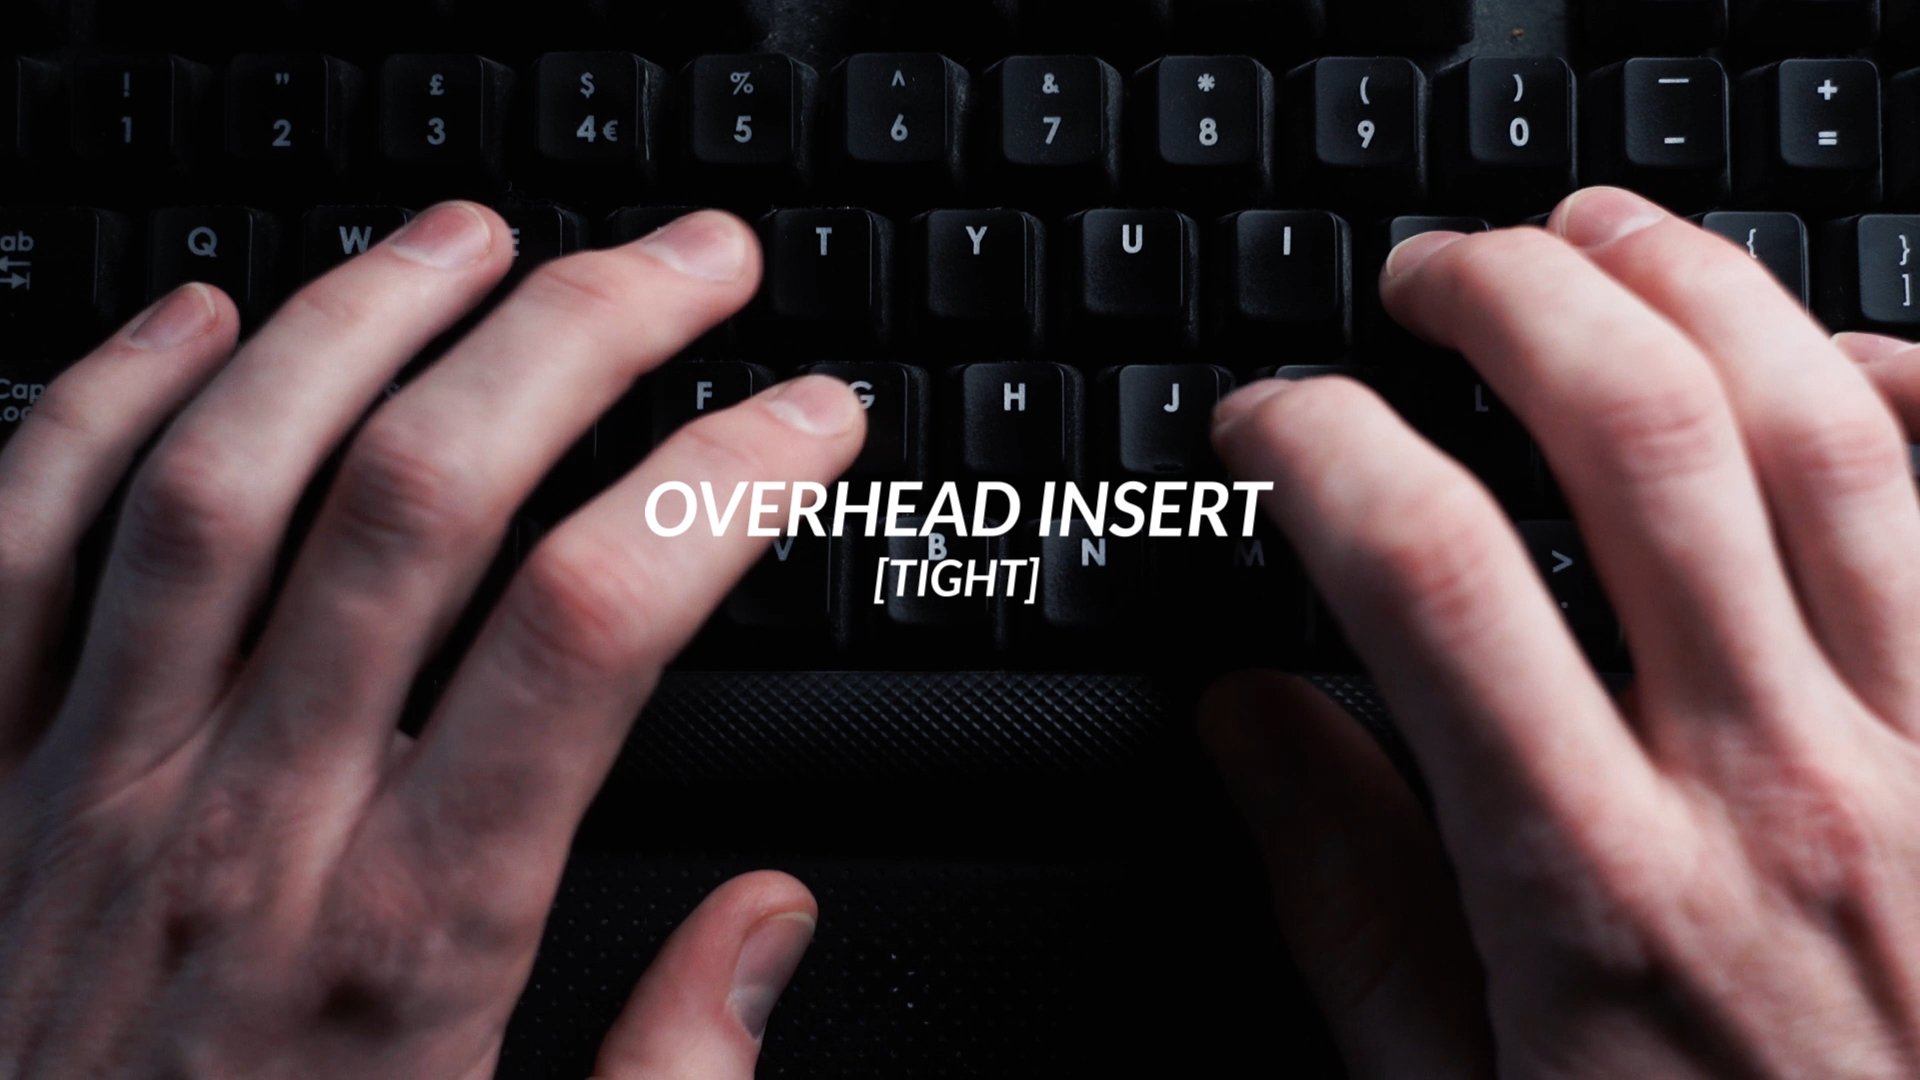
And to finish it off we have an overhead angle of typing on the keyboard.
Overall, this gives us 7 different shots from 5 main angles, so the lighting setup alters only slightly between each angle, which we’re going to cover now!
Lighting
We are shooting this night time scene during the day, so we blocked out the sunlight by fixing a blackout curtain against the window.
We have a video about all the many different uses of blackout curtains here:
Key Light
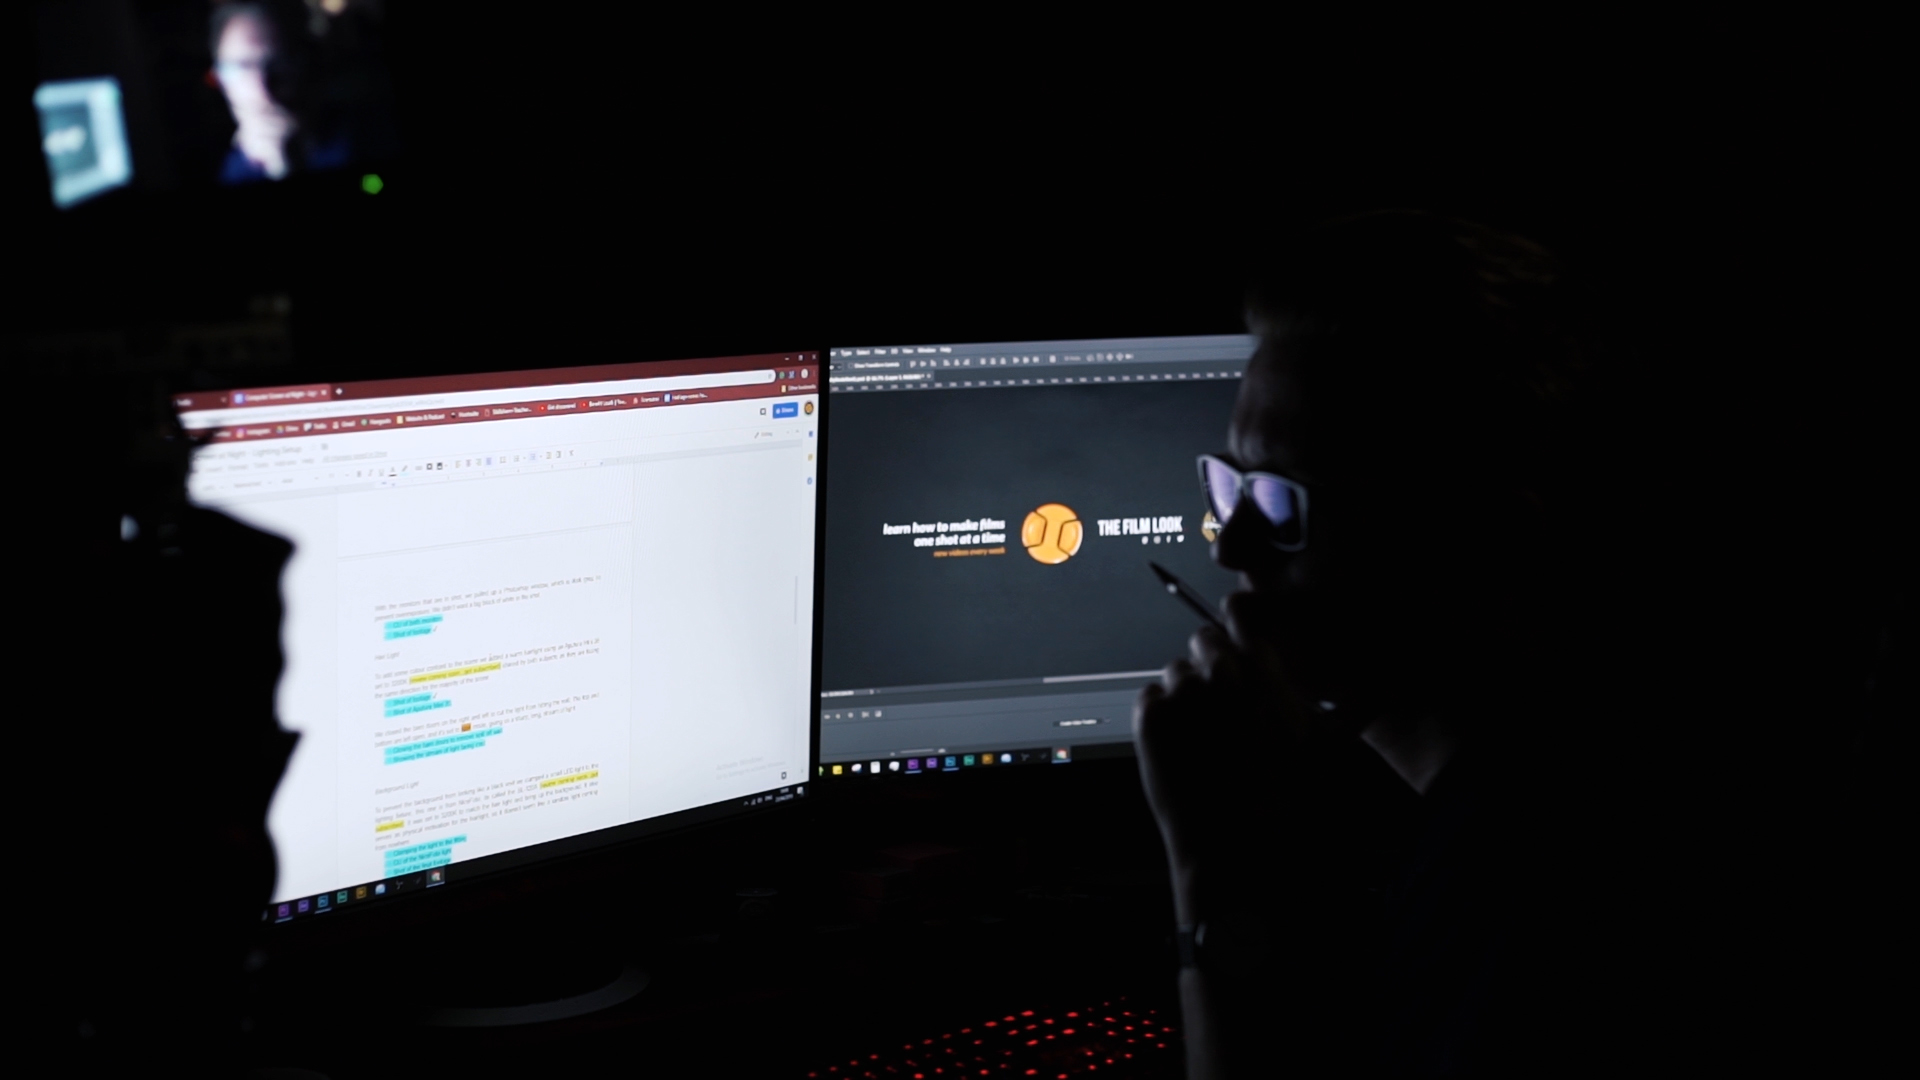
Next is the key light on each subject. We are going for a dark and dramatic look so we lit only the short side of the subjects to add dark shadows to their faces. We used the available light from the computer monitors and loaded up a blank word doc to make it as white as possible. The white balance of the camera is set to daylight to make the light from the monitors appear more blue.
With the monitors that are in shot, we pulled up a Photoshop window, which is dark grey, to prevent overexposure. We didn’t want a big block of white in the shots. This is something we couldn’t avoid in the wide but we fixed in the close ups.
Hair Light
To add some colour contrast to the scene we added a warm hairlight using an Aputure Mini 20 set to 3200K shared by both subjects as they are facing the same direction for the majority of the scene.
The only time we moved the hair light was for this shot here when Subject A turns around. We simply positioned it on the opposite side, behind subject A.
We closed the barn doors to create a long, sharp stream of light to cut the light from spilling onto the wall.
Background Light
To prevent the background from looking like a black void we clamped a small LED light to the lighting fixture, this one is from NiceFoto; its called the SL-120A. It was set to 3200K to match the hair light and bring up the background. The light it provides in the background also serves as physical motivation for the hairlight on the subjects, so it doesn’t seem like a random light coming from nowhere.
Exposure
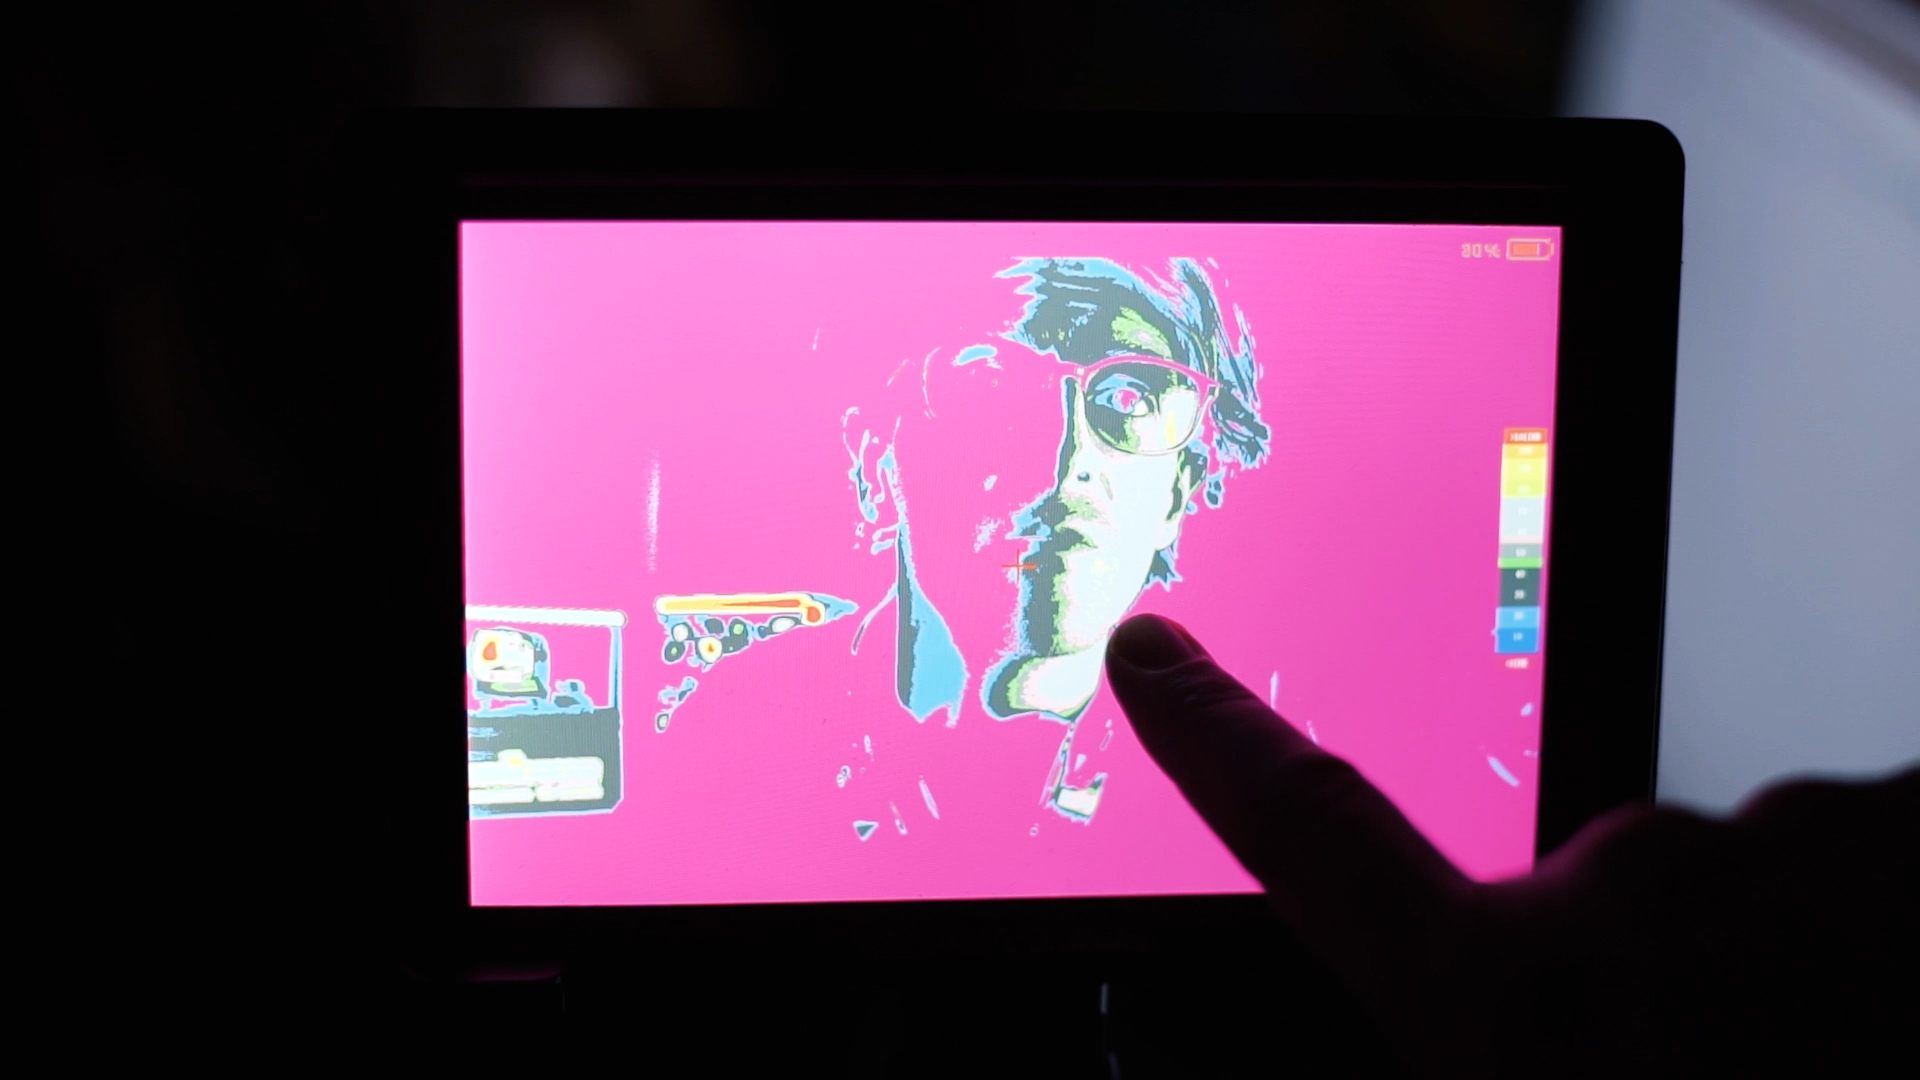
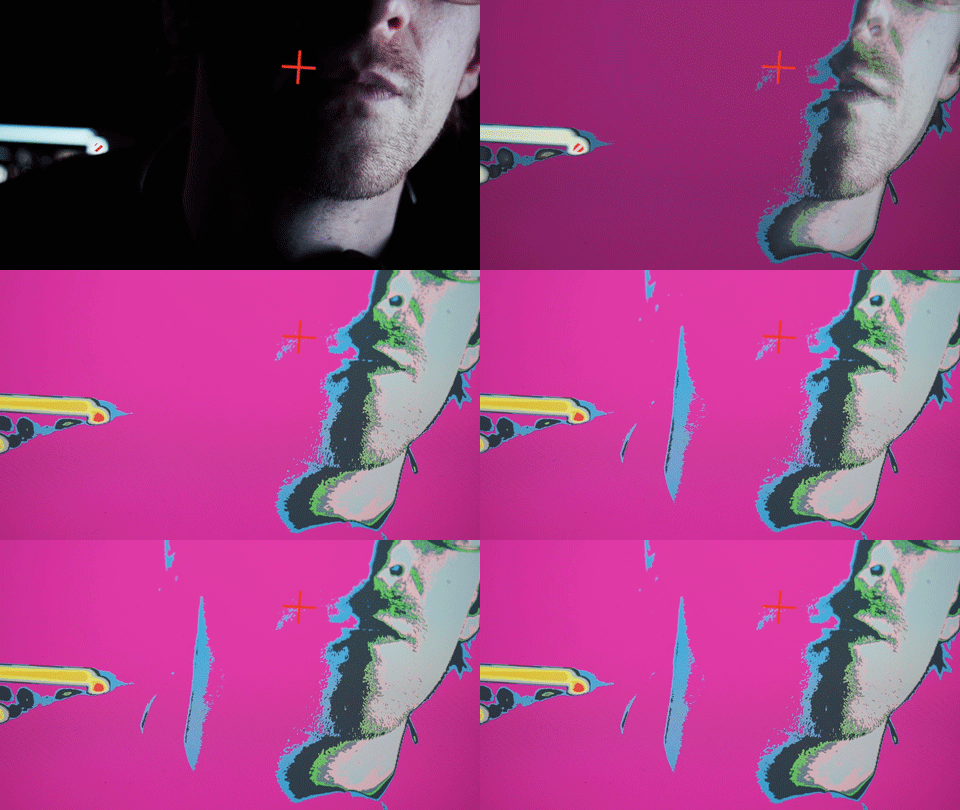
To set exposure and keep it consistent between the shots, we firstly matched the exposure of the skintones for each subject. We used the false color function on our FeelWorld Master MA7 [we did a review here] to place the subject’s faces at approximately 70 IRE, which is a good exposure level for skin on pale faces. Using false colour, we were able to adjust the exposure settings until the subject’s skin showed this grey colour, representing 70 on the scale.
Using the same method, we could make sure the highlight from the hairlight wasn’t too hot, sitting at around 20.
And the exposure of the background light was so low it didn’t even read on the false colour function. So we just eyeballed it, lighting it just enough to make a difference to the background.
Inserts
To light the inserts, we angled the computer monitor down towards the keyboard, and lit it from one side only, giving us some contrast and preventing it from looking completely flat.
Camera & Lenses
We shot this scene on the Sony a7s with a standard picture profile. We used a couple of vintage prime photo lenses; the Helios 44-2 which is a 58mm, a Takumar 35mm, as well as a Canon 24-105mm for the wide establishing shot.
https://www.storyblocks.com/TheFilmLook - In this video, we show how to use a computer screen as a key light to help light a nighttime bedroom or studio scene. We talk through the process of setting up each shot, how we established the 180-degree line, and show all of the other lighting equipment we used to light the scene. We used an Aputure Mini 20c, Aputure Mini 20d, and also a small USB LED light from NiceFoto.
🎥 This episode's kit/gear/equipment:
🇺🇸 US links:
Aputure LS-mini Kit - https://amzn.to/2XCcujw
Aputure LS-mini 20D - https://amzn.to/2UJkjCo
NiceFoto SL-120A LED - https://amzn.to/2GxDwBK
FEELWORLD Master MA7 Monitor - https://amzn.to/2GxebIi
🇬🇧 UK links:
Aputure LS-mini Kit - https://amzn.to/2UGbIAe
Aputure LS-mini 20D - https://amzn.to/2UJkjCo
NiceFoto SL-120A LED - https://amzn.to/2IWk7gw
FEELWORLD Master MA7 Monitor - https://amzn.to/2XIGWZo
🎬 In case you missed it
5 Tips for Nailing the 180° Degree Rule! - https://youtu.be/Fs24DBoT-C8
Pre-Lighting & Test Shooting - https://youtu.be/ExnH2KJSJoo
10 Ways to use Blackout Curtains for Filmmaking - https://youtu.be/nf2Cxz8H4CU
Our YouTube Presenting Setup - https://youtu.be/hEjDyw_aimw
🎧 Listen to our Podcast!
iTunes: https://goo.gl/hikhGF
Android: https://goo.gl/fmsp4s
📞 The Socials
Website: http://thefilmlook.com
Twitter: https://twitter.com/TheFilmLook
Facebook: https://www.facebook.com/TheFilmLook
Instagram: https://www.instagram.com/thefilmlook
(#filmmaking #tutorials #lighting)
DISCLAIMERS:
Some of these links are affiliate links, if you purchase gear via these links The Film Look will receive a small commission, but there will be no additional cost to you. Thank you!


