Last week we showed YOU how to setup a DIY Foley Pit for recording footsteps at home or in a small studio. This week we are showing you how to record them. Everything from microphone placement to mimicking the image for a perfect sync.
I suppose you can call this episode a step by step guide. Let’s record some footsteps! Welcome to The Film Look.
This episode was inspired by The Sound Effects Bible by Ric Viers. We aren’t being paid to talk about the book, we just think its a great resource for those who want to step up up their sound game.
US link: The Sound Effects Bible: https://amzn.to/2sSWEUy
UK link: The Sound Effects Bible: https://amzn.to/2DD9ZXc
So before we hit record there are a few things we need to do in order to prepare for recording footstep Foley.
The first thing we need to do is identify the sound source and its properties by looking at the edit.
The scene we are referencing is this short sequence we filmed in a forest. By studying the scene, you can see that we need the following:
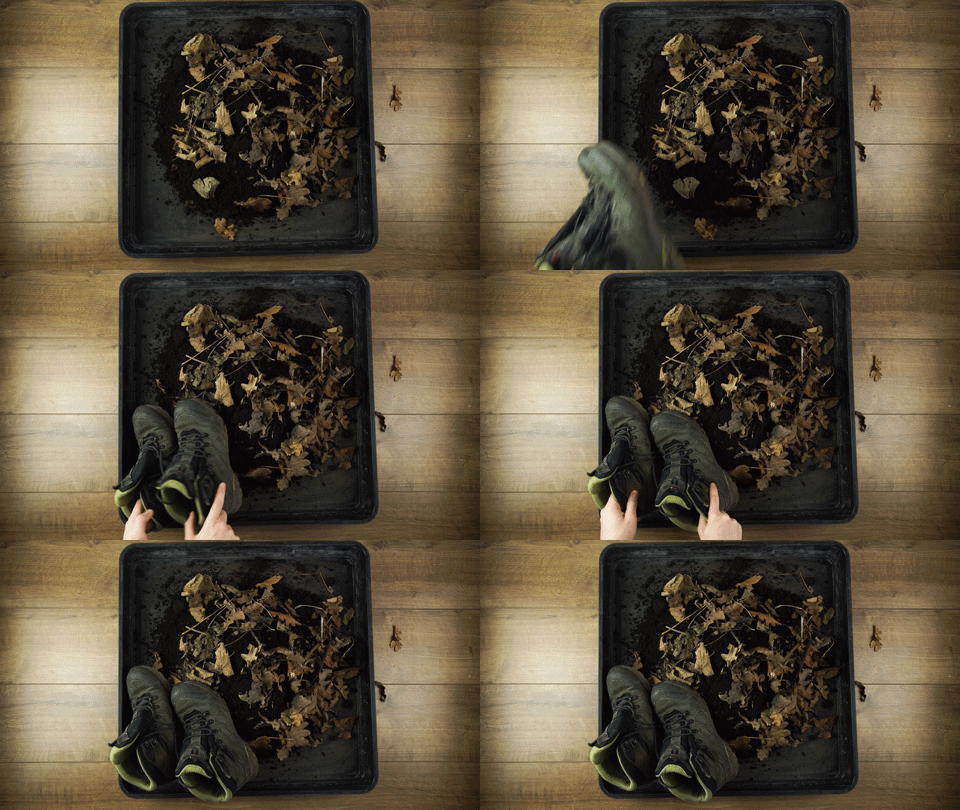
Packed earth for the foundation of the pit
Crunchy dried leaves and twigs to cover the packed earth
And a pair of walking boots to stomp in
To simulate the packed earth, we bought a bag of top soil and patted it down until it was nice and compact. Then we grabbed a bunch of dried leaves from the location and sprinkled them on top. Then we matched the footwear, selecting a pair of walking boots to record in.
Now we’ve built up the surface and chosen matching footwear, we can think about sound-proofing our clothing so we only record the sound of footsteps.
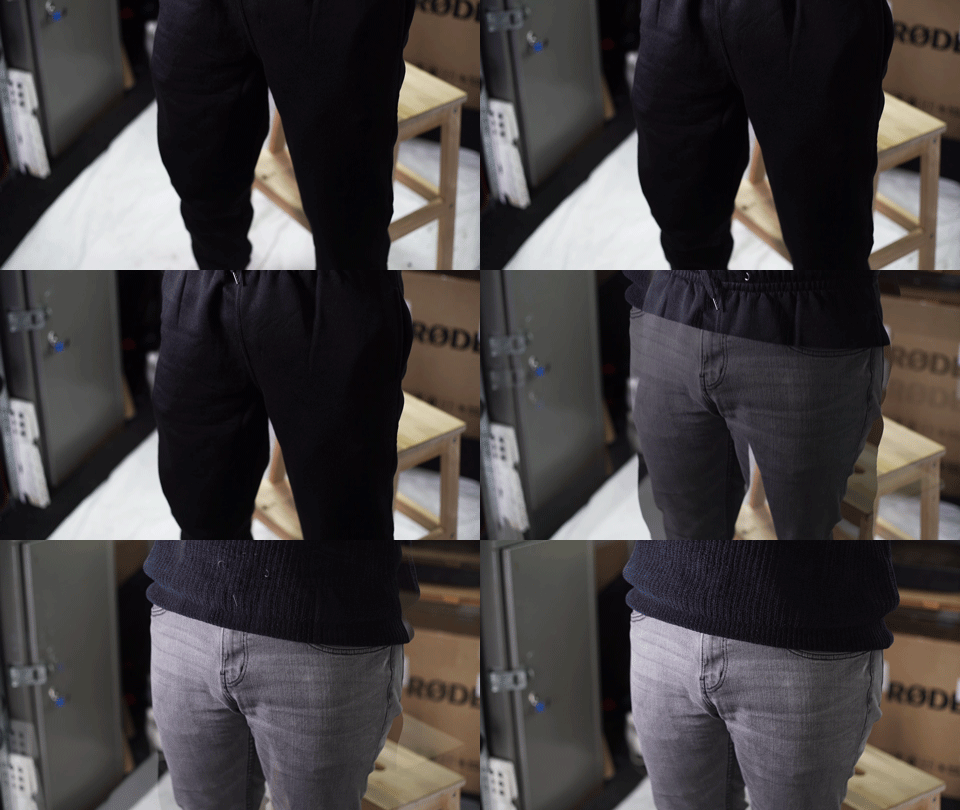
Quiet clothing is a must when you record foley. Sweatpants are the preferred bottoms, but you can also wear jeans as long as they don’t rub or make noise when you move around. As for your top; cotton t-shirts, wool sweaters, but nothing too loose as it might flap around and make a noise.
Avoid anything made of vinyl, polyester, or nylon, as they tend to make crispy, rubbing sounds when you move. Strictly no jewellery, and if you have any zips or laces, get them taped down!
And if your trousers rub against the ankle on a pair of boots, tuck them in or roll them up to minimise unwanted rubbing noise.
Also, don’t turn up to a foley session hungry (or too full). Your stomach grumbles will be picked up by the microphone, and if you’ve eaten too much, you might...you know...fart.
Next we have the position of the microphone. This is an important one, because if its too far away you may lose a lot of detail in the recording and pick up the acoustics of the room. The same goes if the microphone is too close; you risk kicking the mic during a recording, and you may end up capturing more toe than heel or even excess bass during a footstep impact.
The ideal position we’ve found for the microphone is in front of your feet, in the middle between each foot, around 1-2 feet away and 1-2 feet off the floor. This will give you a nice loud recording of the relatively quiet footsteps.
How you mount the microphone is also important. If you are recording in a bedroom or small studio like we are, it’s likely you are standing on some form of wooden floorboard. Because floorboards are a little bit bouncy and hollow underneath, they can produce rumble.
We have the microphone on a mic stand supported with a shock mount. This will greatly reduce the rumble effect and give you a cleaner recording.
In the last episode we also spoke about padding under the foley pit. We use a stack of EVA foam jigsaw panels to pad out the floor underneath the tray. They are firm but bouncy so they soften a hard step just enough to prevent unwanted shock, rumble, and noise.
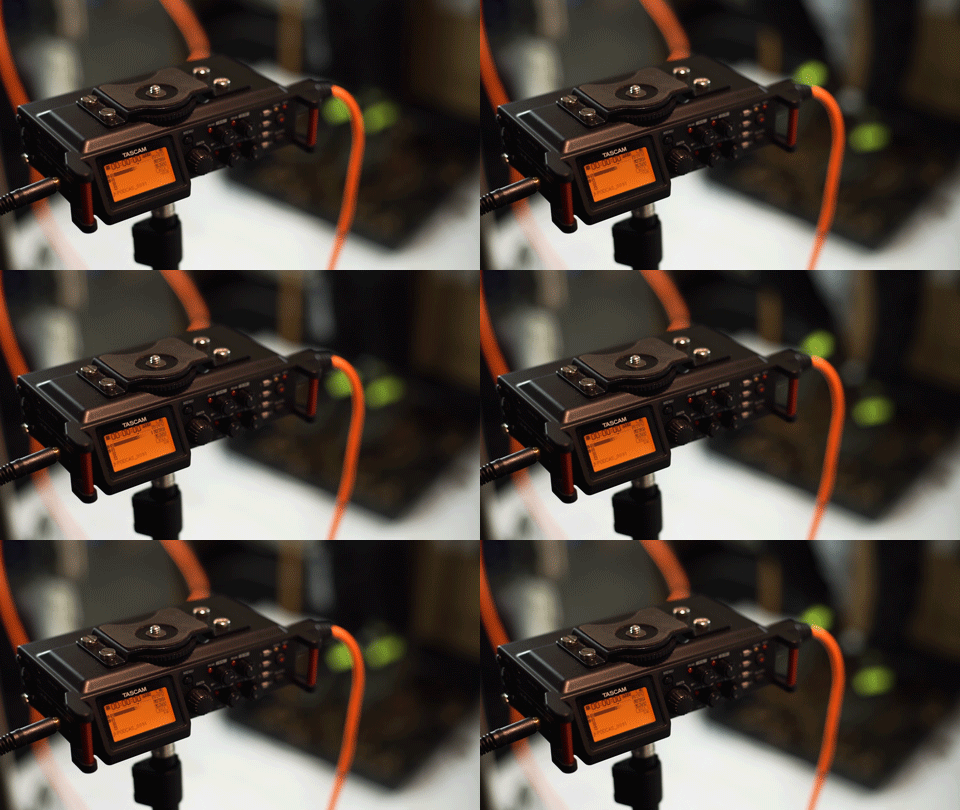
Next up we have levels. Get your microphone in position and try walking on the spot. Set your levels so each step hits around -6dB, also known as recording warm. -6dB will give you a little bit of wiggle room in case a step is louder than usual. It’s loud, it’s clean, and it’s safe.
Once you are ready to record, make a note of the following:
Your footwear
The surface
And the project name
When you hit record, you will want to very clearly state each of these. For example, “Walking boots on packed earth with dry leaves. Footstep Foley for project: LOST IN THE FOREST”.
Like using a clapperboard for syncing production audio to the film, this is called “Slating the clip”.
With video, you have the use of thumbnails and can jog through a clip to see what it is. With audio, you don’t have the luxury of a thumbnail and scanning doesn’t really work, so instead you must preface each clip with clearly state information so you can organise your clips with ease.
After listening to a hundred recordings, you will be happy you didn’t mumble or waste time at the start of the clip.
Now it's time to hit record and mimic the image. For project specific foley, you will want to set up a copy of the edit playing back in front of you. We like to have the edit looping on a laptop.
You can begin the foley session by mimicking the entire scene, I call these “Run-Throughs”. Run through’s will get you warmed up, it will help you practice mimicking the pace of the subject and match the strength of the impact.
With headphones on, you will also be able to hear if you need to adjust the way you step to create the right sound.
I tend to record 5 takes of run through’s for each character in each scene on every surface, trying my best to match their footsteps.
Next are “singles”. Now you’ve warmed up, it’s time to record a lot more footsteps. Only this time you won’t be mimicking the subject in the scene.
Recording singles is easy. You take a single step then wait for the sound to decay into near silence. Then you take another step. And another...and another hundred until you are completely bored of the sound.
Then change how you step. Step harder, step lighter, step with a slight shuffle, go heel to toe, stomp, jump! With each version of these footsteps, try to record at least 60 seconds before changing your stepping method, and try to separate the sound out so you can cut around the silence later on.
By this time, you will have burned off your dinner, so you won’t regret the meal you wolfed down in order to stop your stomach from grumbling!
You will notice that the way you step will drastically change the way a step sounds. When you start mixing, you may notice a footstep doesn’t sound quite right in the scene. Maybe it’s too hard or too quick or needs a shuffle.
This is why you record a ton of singles. You can think of these like footstep b-roll: emergency footsteps which can replace anomalies in the mix, and can be added to your sound library for future projects.
There are three main parts which will determine the way a footstep sounds: the surface you stand on, the type of footwear you choose, and the way you perform a step. Everything else is formatting, etiquette, and quality assurance.
🚀 https://www.thefilmlook.com/store - Step up your sound game with our FOOTSTEPS SOUND PACK. It features 200+ sounds, 9 surfaces, and 6 types of footwear, perfect for your next film project.
🎬 In case you missed it
How to Build a DIY Foley Pit: https://youtu.be/zO2hx7iToNY
$600 Mic vs $60 Mic: https://youtu.be/2VK6lYkK2AM
How to Mix Sound for a Short Film: https://youtu.be/7x5SnoftgUw
🎥 This episode's kit/gear/equipment:
US links:
The Sound Effects Bible: https://amzn.to/2sSWEUy
UK links:
The Sound Effects Bible: https://amzn.to/2DD9ZXc
DISCLAIMERS:
Some of these links are affiliate links, if you purchase gear via these links The Film Look will receive a small commission, but there will be no additional cost to you. Thank you!


