We have a few different DIY methods to diffuse sunlight from a window. Most of the time we use a frosted shower curtain. It’s easy to pin up and does a solid job.
If the window is in shot we sometimes cut out sheets of greaseproof paper and place them inside the frame. This is handy for exposure correction, diffusion, or if you want to disguise the view from outside.
But what if the window has 17 visible panes? What if you want to diffuse the light and disguise the view outside and simply don’t have time to cut out every single sheet for every single pane?
Let me introduce YOU to Diffusion in a Can.
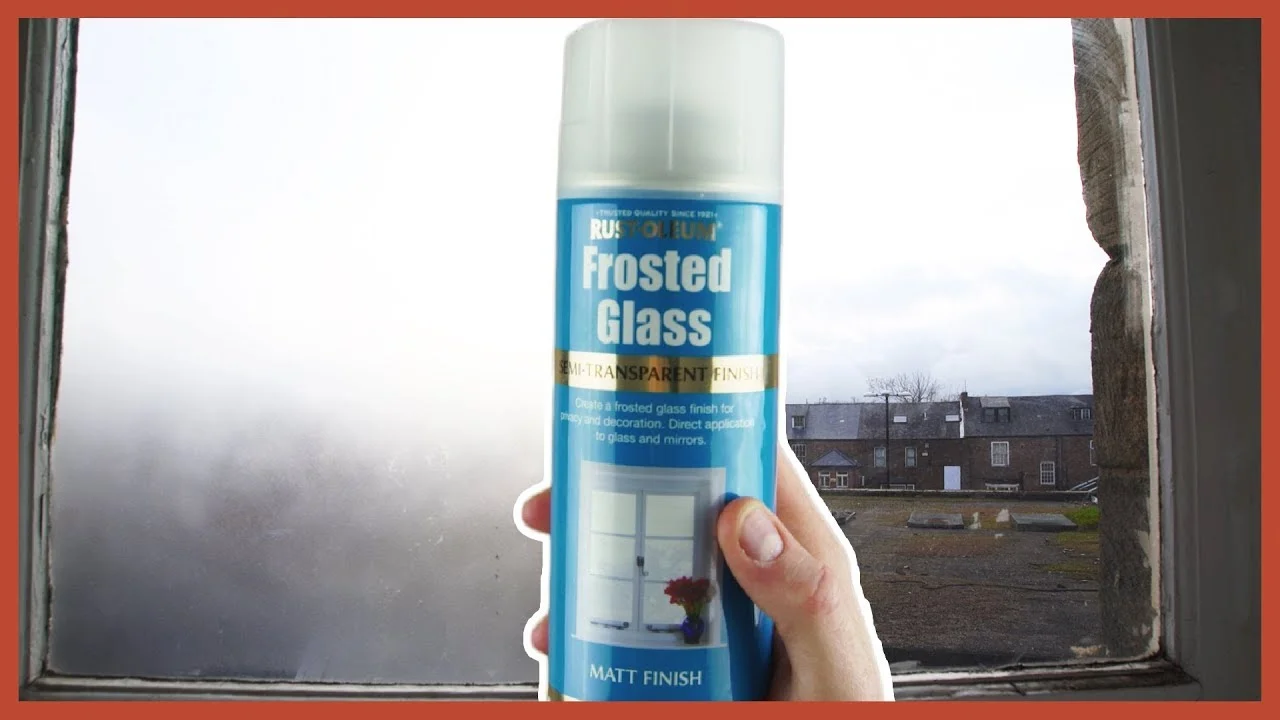
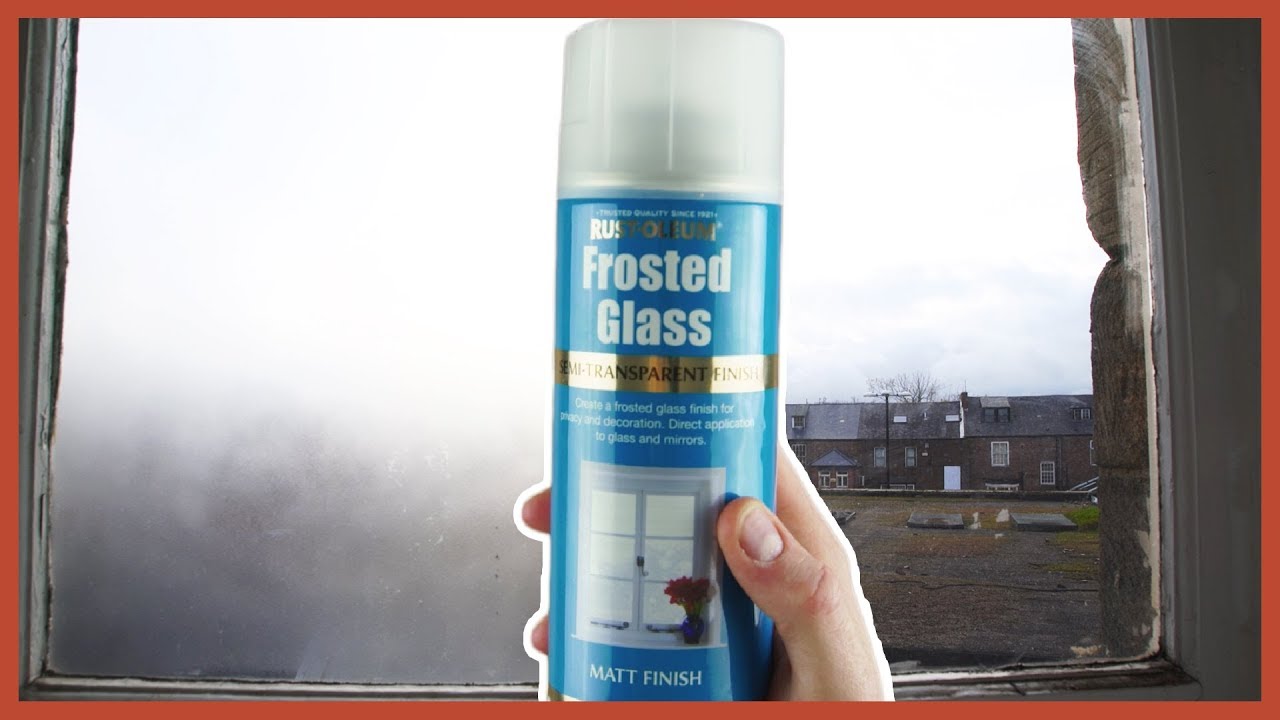
We went shopping for gold spray paint the other day and noticed this, Frosted Glass Spray Paint. Primarily used to give your windows a snowy Christmas feel, we wondered if it could work to diffuse a window from harsh sunlight.
Let’s put it to the test!
To give it a fair test; we blocked out the light in the studio, rigged up a pane of glass, shone an LED light panel through it and recorded a bunch of tests.
We’re going to get a little science-y now with f stops and exposure values. I put a link down below explaining it all if you want to learn more.
NO DIFFUSION is our reference test, and this gives us a light metre reading of f4, 1/48, ISO 200, 24fps, which is essentially same as our settings, so the shot is correctly exposed.
Next we added the frosted shower curtain. You see here that it does a good job of diffusing the harsh light. The light metre gives us a change in value from f4 to f2.8 which means that it has halved the amount of light hitting Rob’s face. This is why our shot is a lot darker - we are not changing the camera settings for purpose of the test.
Then we swapped the frosted shower curtain for the greaseproof paper. Again, this does a good job of diffusing the light and creating softer shadows. The light metre gives us a reading of f2, reducing the light twice as much as the shower curtain. We currently have a quarter of the light coming in compared to our first shot.
The light metre is telling us that in order to expose the image correctly like our very first test shot, we need to add more light; either by changing the settings on the camera, or by adding a brighter light source.
Anyway, let’s see how the frosted glass paint did!
We sprayed several even coats of paint onto the glass and waited around 30 minutes to let it dry.
As you can see, the paint did very little to diffuse this light source. The only difference I can spot is the added roundness of Rob’s shadow. Evidently, the light metre read f4, so it did in fact retain most of the light coming in for our test.
But this doesn’t mean it isn’t diffusing the light. So we tested it on a much bigger source!
For our second test, we put the greaseproof paper and the frosted glass paint head to head to see which can seamlessly diffuse the window faster.
Rob uses the roll of greaseproof paper, scissors, and some sticky tack.
And I used the frosted glass paint and some masking tape to protect the paint work.
The greaseproof paper method took 30 minutes and 41 seconds to complete 6 panes.
The paint and masking tape method took 16 minutes and 24 seconds to complete 6 panes - almost half the amount of time.
Rob admitted that to get a completely seamless effect with the paper, he would have been working on the panes for at least another half hour.
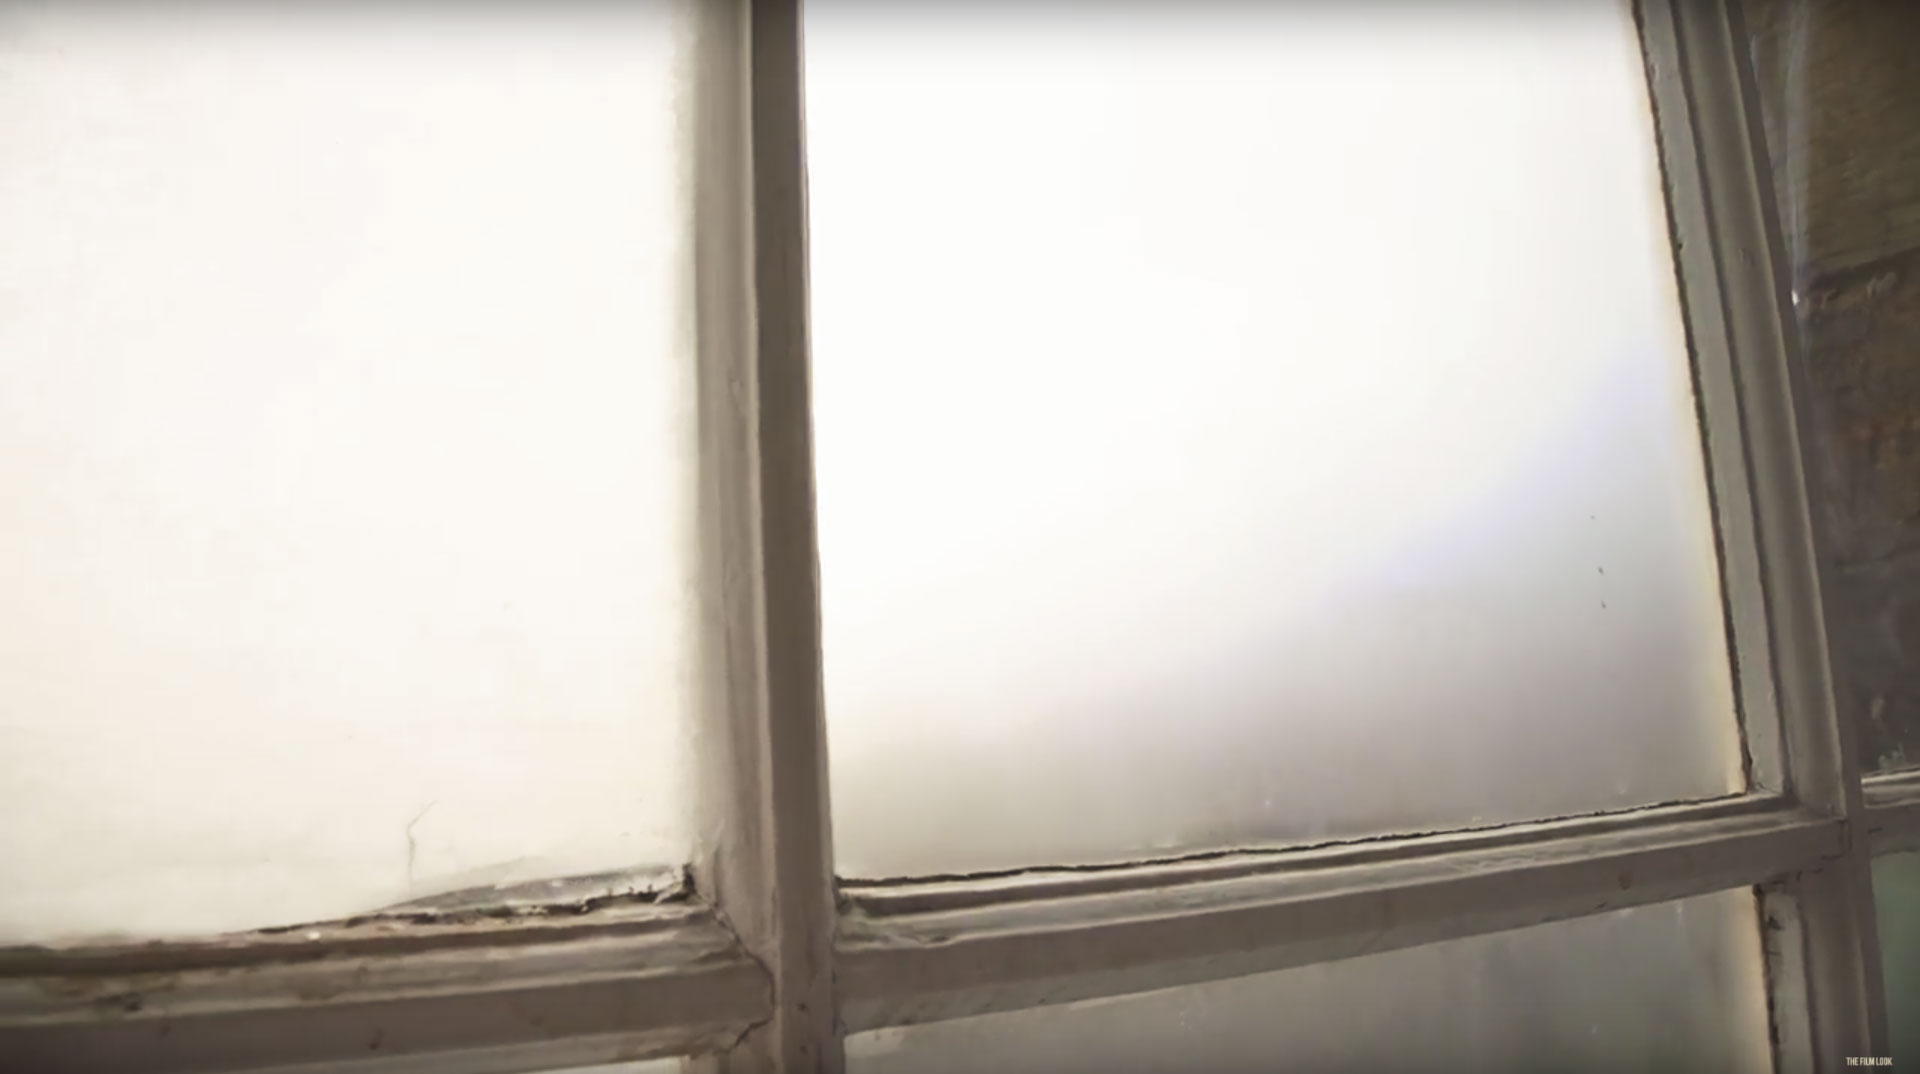
The paint is definitely the quicker option with a more seamless finish. To cap it off, here are some examples of the painted window panes diffusing the direct sunlight. The paint does diffuse pretty well given a large enough surface and a harsh enough light.
At this point you might be wondering if frosted glass paint will do harm to your window. Let me show you just how easy it is to remove using a glass scraper and some window cleaner.
Simply spray the pane with a good amount of window cleaner and leave it to soak in for a few minutes. Then take your glass scraper, and with a little pressure, remove the layer of paint. If it’s wet, it should come off like a layer of cellophane. Grab a towel and wipe any residue off - it’s as simple as that.
So if YOU need a quick, easy, and fairly cheap way to diffuse and hide the view of a window which is in shot, grab yourself some diffusion in a can.
You can find links to the frosted paint and the glass scraper we used in the description below.
This video was Sponsored By
http://bit.ly/corruption-pack - With glitchy overlays, distorted logo reveals and more, RocketStock’s "Corruption" is an ideal way to give your project a dramatic edge.
http://bit.ly/track-blue-blood - Thanks to PremiumBeat for providing the music for this week's episode. Check out Premiumbeat.com to discover a huge range of exclusive royalty free music!
Equipment Links
🎥 This episode's kit/gear/equipment:
US links:
Frosted Glass Paint: http://amzn.to/2gigxl5
Glass Scraper: http://amzn.to/2z7Kb0e
Masking Tape: http://amzn.to/2xFI1DJ
UK links:
Frosted Glass Paint: http://amzn.to/2yjbNTq
Glass Scraper: http://amzn.to/2xGPUOr
Make Tape: http://amzn.to/2xFCz8Z
DISCLAIMERS:
Some of these links are affiliate links, if you purchase gear via these links The Film Look will receive a small commission, but there will be no additional cost to you. Thank you!


