Recently we bought a load of blackout curtains and you wouldn’t believe how useful they have been when making films and content for this channel.
Today we are going to show YOU how we have been using them, and how to roll them up into a burrito like this to store them.
Welcome to The Film Look.
The first main use we’ve had for them is to block out light. In our studio, we place one in front of the window to block out all of the light when we are shooting videos so we have complete control over lighting.
When on set shooting a film, we’ve used them to block out the light from a corridor, so when the door opened it looked dark as the scene was supposed to be at night.
For the same film, we also used them to cover the background of the set, as the walls in the location did not fit the look that we wanted. This scene was set backstage at an event behind a big theatre curtain, so the blackout curtains fit well in the scene.
When we shot our short film the Asylum Groove we built a blackout fort around a window, then lit our actors from the outside. The reason we did this was to show our character's reflections in a window. By controlling what was behind the window, it stopped other reflections from showing up on camera. We even had to add gaff tape up any reflective parts of the camera.
Large Negative Fill
If you need to add negative fill to your scene to create more contrast, you can hang up one of these curtains just out of frame. If you need something a little smaller, the black side of a 5 in 1 reflector works well.
Sound
When we are recording foley sounds in our studio we have used the curtains to build a DIY sound booth, They help to dampen room acoustics and reverb by absorbing sound from bouncing off the walls of the room.
We have a video coming out soon all about this setup, and tips of how to record foley. So if you’re not already consider subscribing.
We have also used them to cover over me when operating the camera as we were pouring water in the scene.
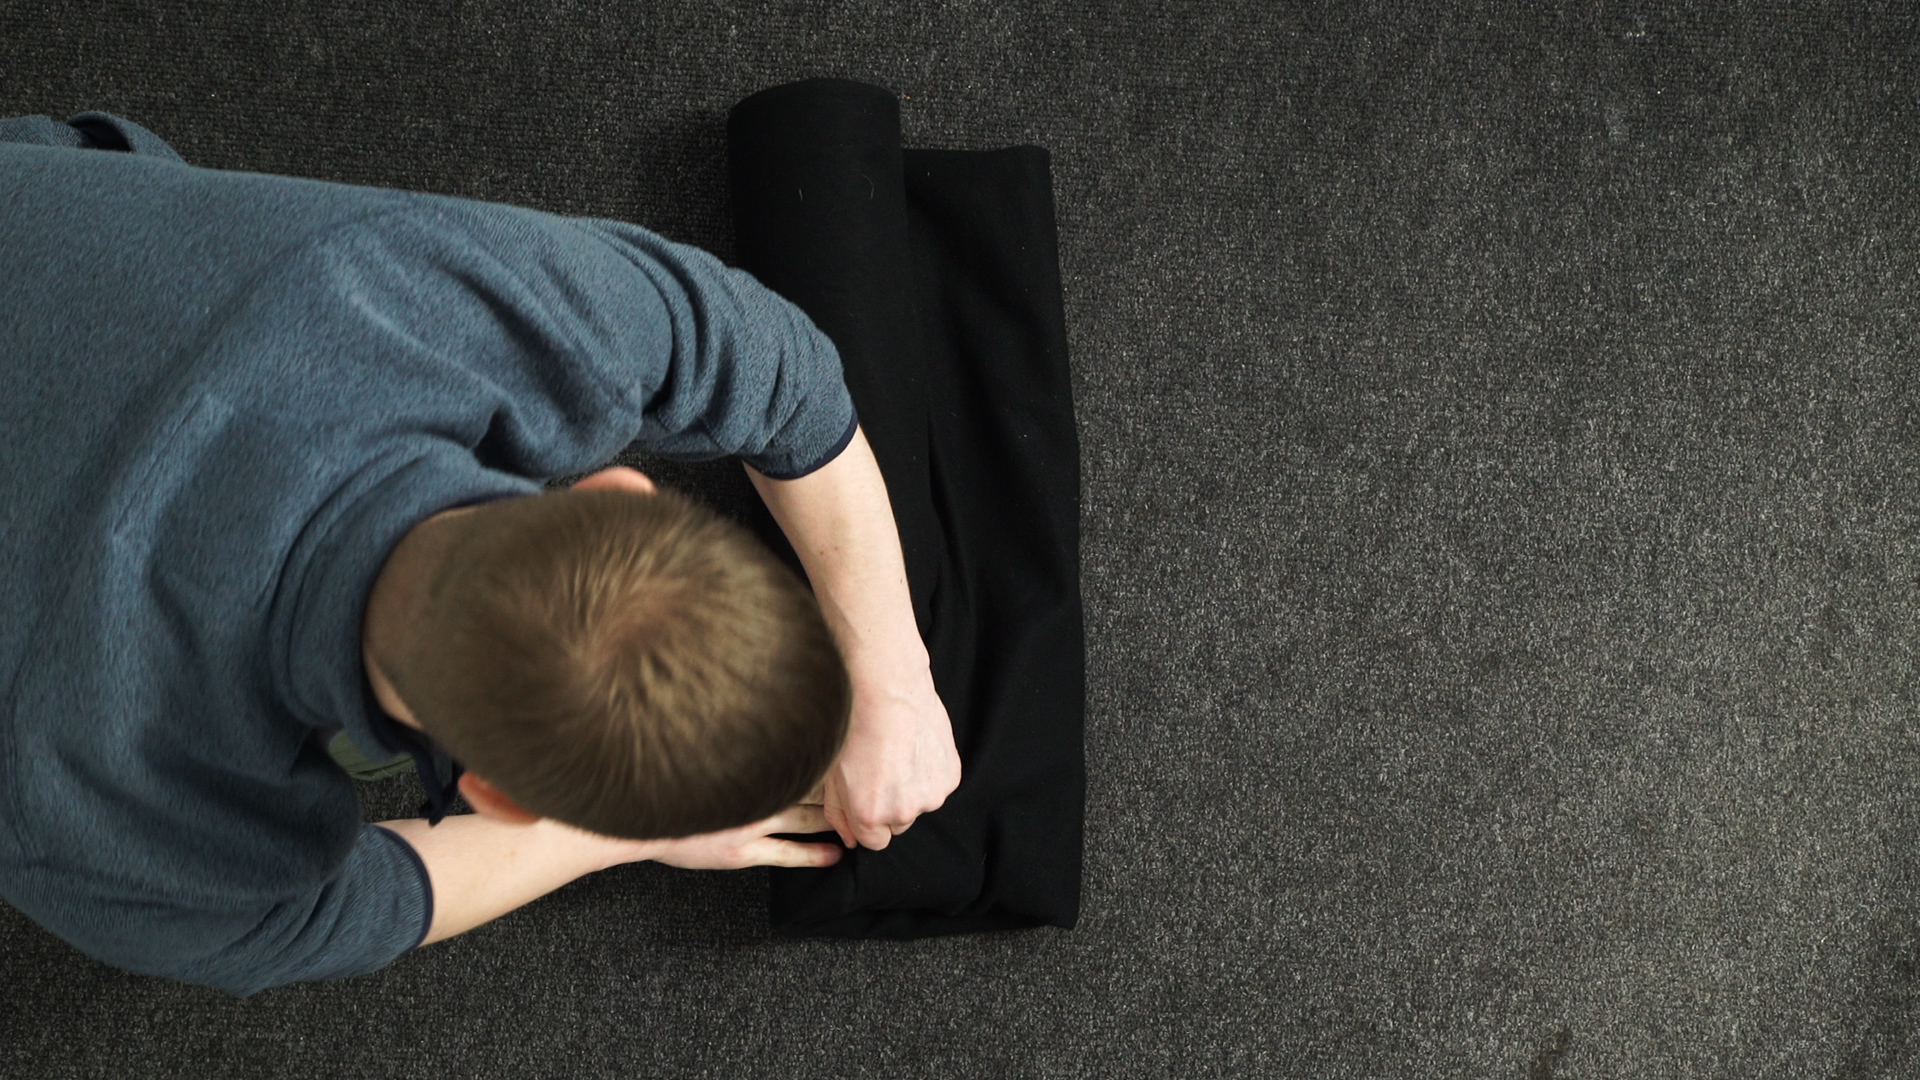
To store them neatly you can roll them up like a burrito. This is a trick we learnt from our first AC Rob, and here is how you do it.
First, you want to layout your backdrop and then fold it in half. If you have a large backdrop keep folding it in half until you have a width of around 60 centimetres or just over an arm's length.
Next, fold one edge over like this. A little more than a hands width will do.
From the edge you started at, fold that into a triangle and start to roll, keeping it as tight as possible.
When you get close to the end, again 60 centimetres or an arm's length. Fold the end of the backdrop towards you in half. Then tuck the rolled end into the pocket you have created.
Start with the thinker side first, which will make it easier to tuck it all in.
Once you’ve done this a couple of times you should be able to roll up backdrops in seconds.
Once they are rolled up like this they are easier to store, they can be used to kneel on, sit on, and if you get some downtime on set, somewhere to rest your head.
The ones we bought aren't fire retardant, but we will not be putting these ones in front of any hot lights. If you need blackout curtains which are fire retardant, look out for ones which are made out of Duvetyne - that should do the trick.
We’ve added links to the ones we bought in the description below, along with the other grip equipment we used to hang them, like c-stands and clips.
The blackout curtains we used were just standard blackout curtains you would buy for your home, so check your local home store or eBay. Someone might be getting rid of some old blackout curtains you can have.
It’s crazy how useful having a bunch of them has been when shooting. If you want to help support this channel give us a thumbs up or down in you don't and remember to achieve it one shot at a time.
DISCLAIMERS:
Some of these links are affiliate links, if you purchase gear via these links The Film Look will receive a small commission, but there will be no additional cost to you. Thank you!


