Production

No Lights | Lighting Setup #2

So what happens if you don’t have any lights, but you need to shoot an interview?

Well this is how we did it.

The title of this video lies a little. We did use a light, but it’s one everyone has access to; the sun.

We wanted to utilise the natural light that comes through our 9 foot window in our studio. So we placed our subject to the left hand side of the window and framing the window completely out of shot.

We could have had the window directly behind our subject, but we would have needed to use lights in order not to overexpose the background. We have a video about this set up here.

Key Light

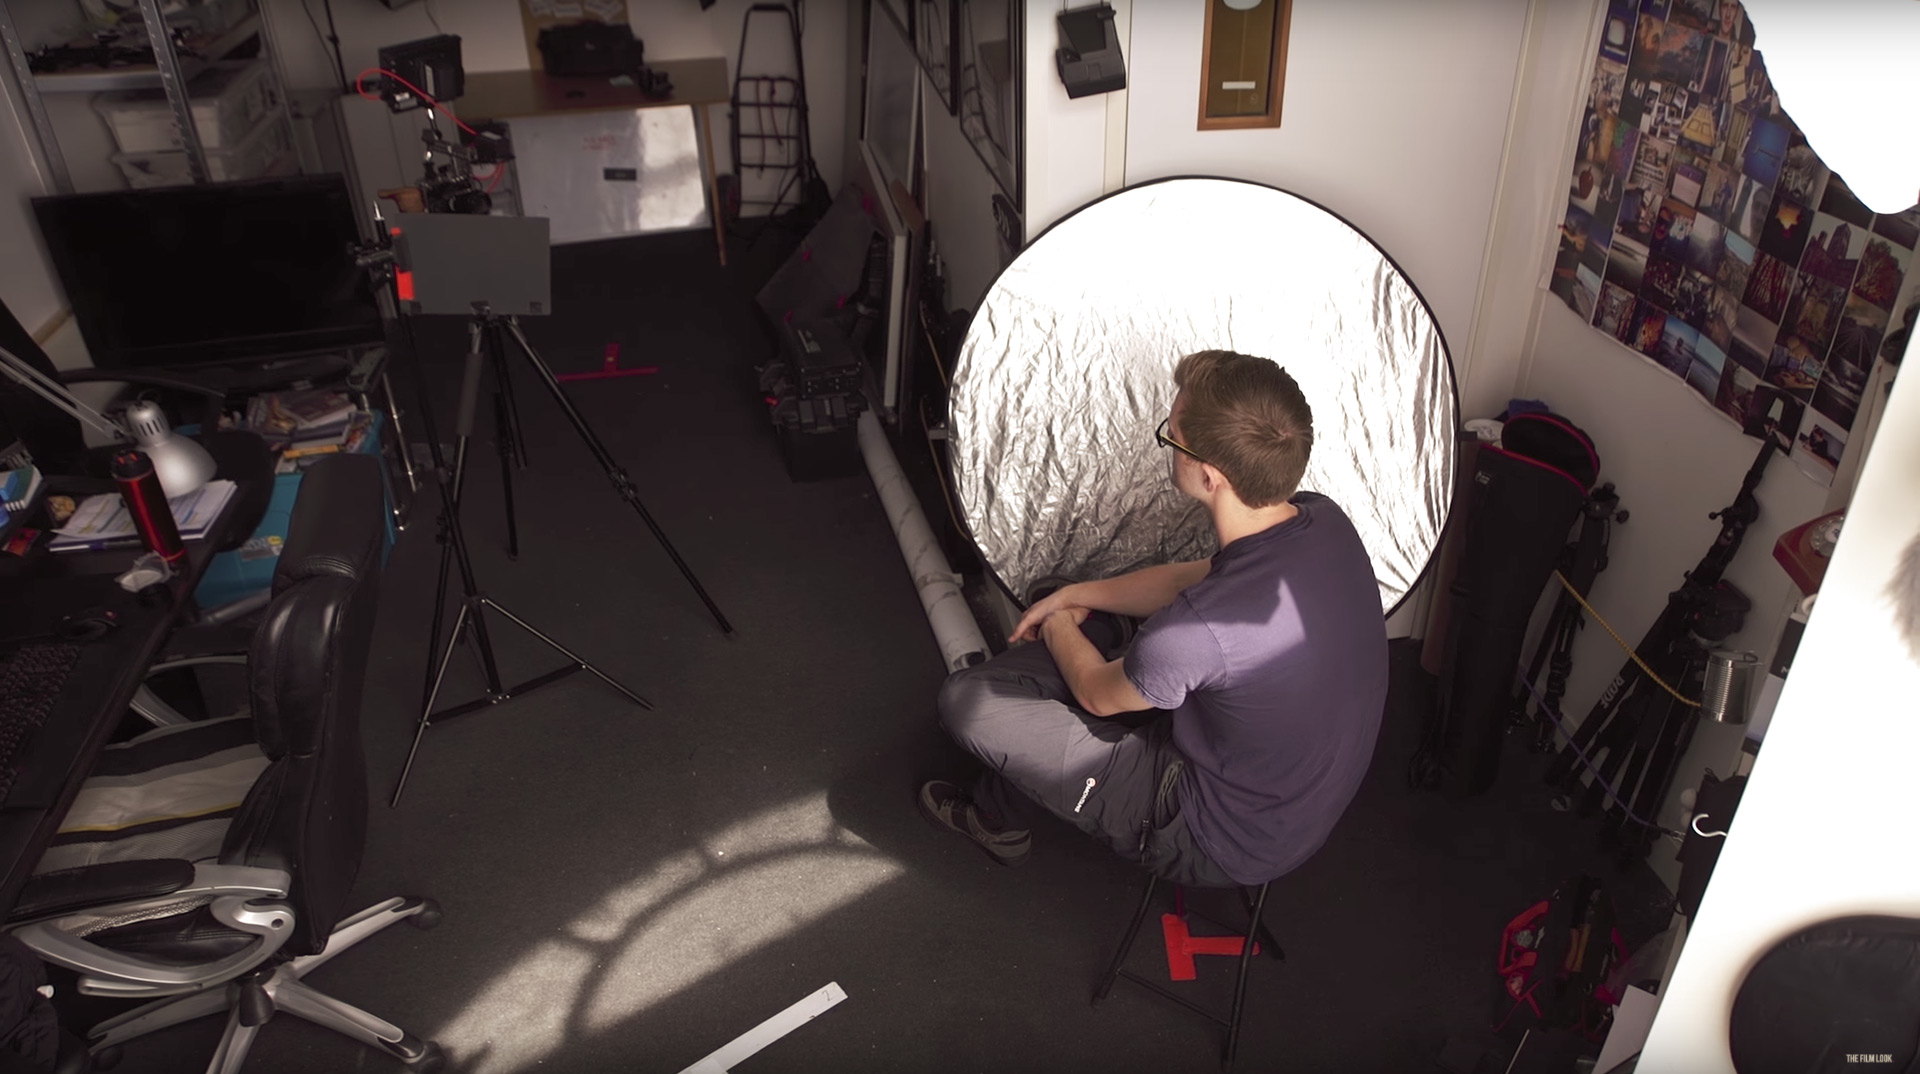
Our key light was the sun. This was our main and only source of light. We shot on an overcast day so the light was already diffused by the clouds, but we pinned a frosted shower curtain against the window to diffuse it even more, giving us a really soft natural light. For reference the window was 2 meters away from our subject.

No-Lights-Lighting-Setup-Key-Light.jpg

Fill Light

To add light to our subjects face we used a silver reflector which was placed just out of frame. We placed it opposite the window so the maximum amount of light would bounce off it and onto our subject face.

Lighting-setup-with-no-lights

Edge Light

Because the sun was our key light, and directly behind our subject, it also acted as an edge light.

No-Lights-Lighting-Setup-Floor-Plan.jpg

Camera

The camera we used was a Sony A7s, 2 meters away from our subject. We used a Jupiter 9 85mm lens set to f4, an ISO of 200, a shutter speed of 1/50, and the white balance was set to daylight.

If you want to learn more about the Jupiter 9 85mm lens, we have a video about it here.

This lens does flare, and the angle we had it on for this setup, it was flaring a lot, taking the contrast away from our subjects face. To get rid of this we set up a small flag on a light stand, to block the light hitting the lens.

The flag we used was nothing expensive. It was just a black piece of card, but it worked great. Hold the card

No-Lights-Lighting-Setup-Flag.jpg

On/Off

Here is what we started with, and what each light modifier is doing.

Lighting-setup-before.jpg
Lighting-setup-after.jpg

This video was Sponsored By

http://bit.ly/synergy-pack - Get professional assets for your video from RocketStock.com. Their "Synergy" video pack is perfect for video editors and animators looking for versatile elements for any type of project. Get this pack now.

http://bit.ly/track-tell-me - Click here to download this episode's track. Check out Premiumbeat.com to discover a huge range of exclusive royalty free music!


DISCLAIMERS:

Some of these links are affiliate links, if you purchase gear via these links The Film Look will receive a small commission, but there will be no additional cost to you. Thank you!
Does it matter what you shoot on?

  • “Story is king.”

  • “I don't care what you shot it on if the story sucks.”

  • “A fancy camera doesn't equal a great film.”

  • Cutouts of these quotes are placed onto the oak board

I certainly agree with these statements. But I strongly disagree with the following:

  • “The camera doesn't matter.”

  • “The camera is less than 5% of a movie.”

  • “There is no point in getting a fancy camera, just shoot it on what you have.”

  • “The camera isn’t important.”

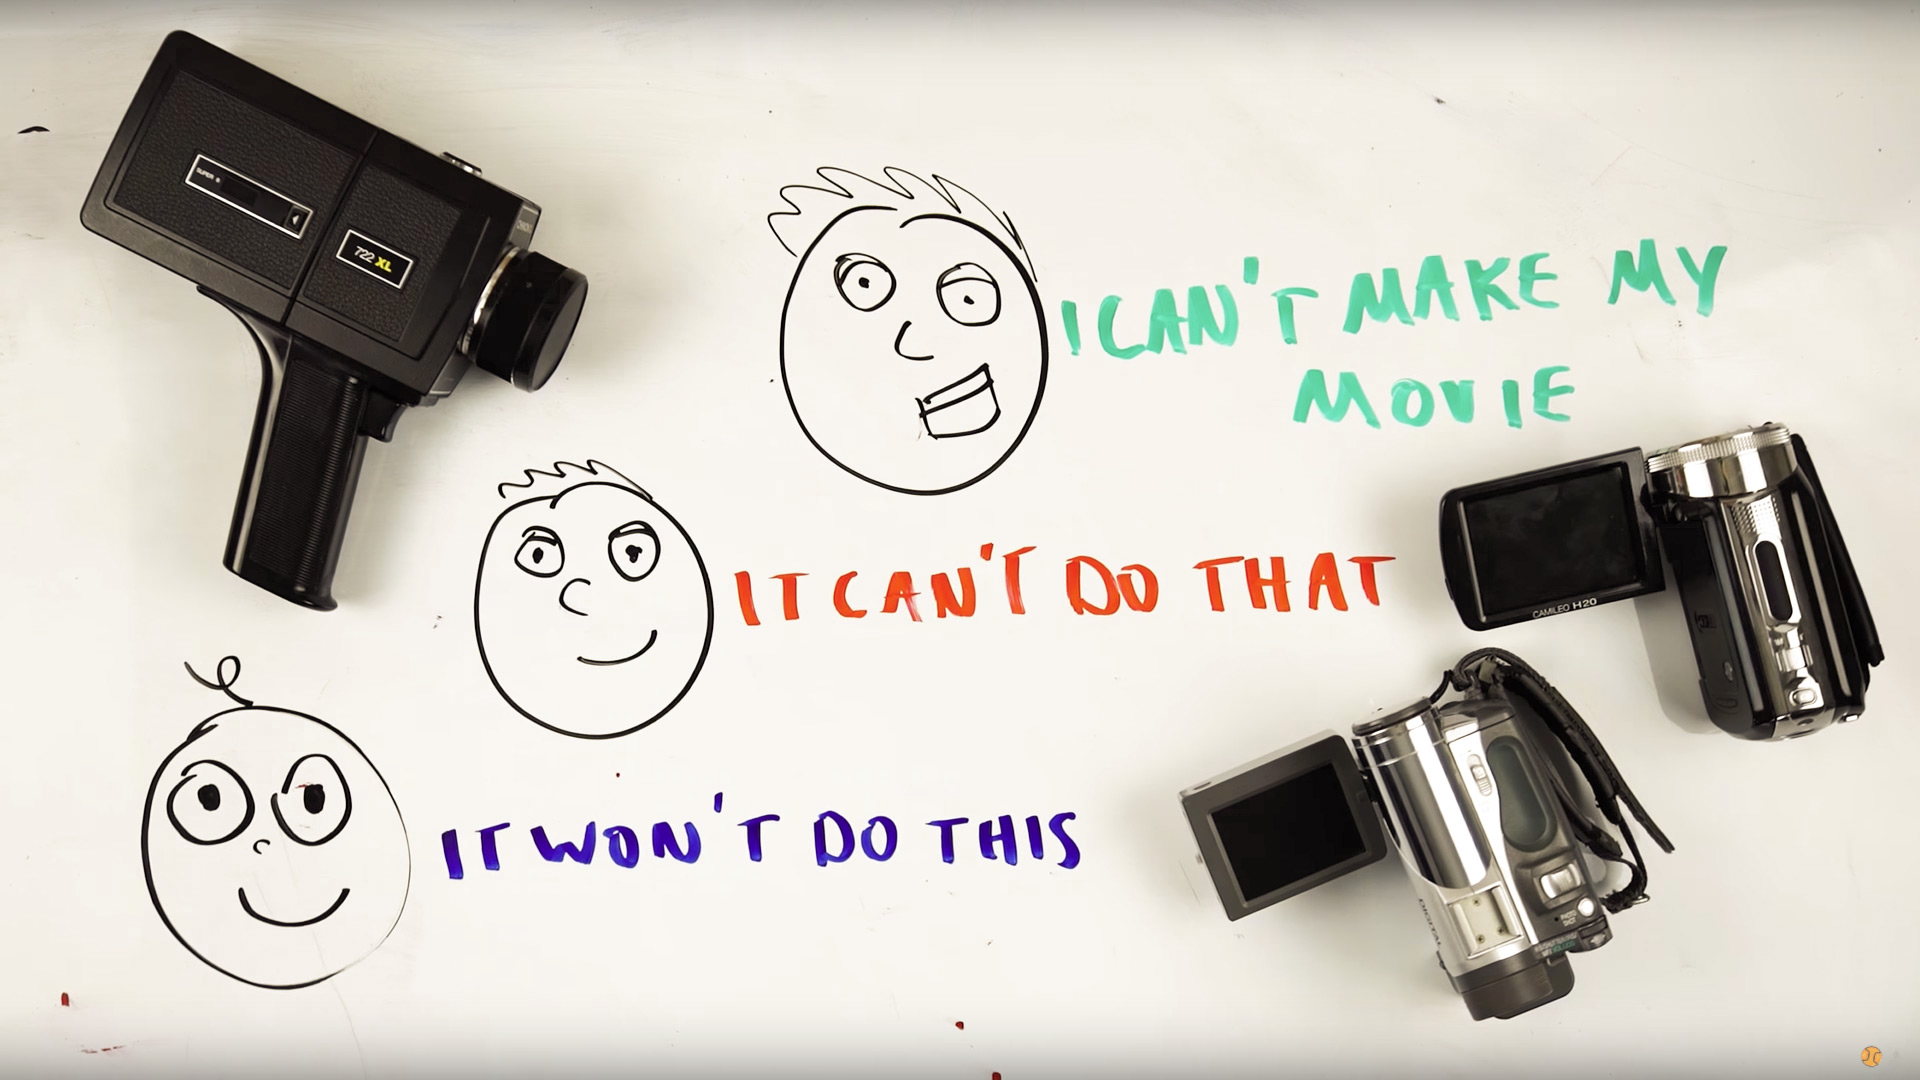
Cameras are the film! What you shoot on does matter! Let me explain myself. 

The camera is the most important tool you have to create a film. Without a camera you have radio. Without camera OR sound, you have a book.

A cheap, easy to use camera does 90% of what a more expensive one does. But it has limitations.

As you grow as a filmmaker, you don't want to have to be fighting the camera to make the film you need to make. You want to be able to harness the tools that camera is giving you.

Does-it-matter-what-you-shoot-on.jpg

Our season 3 film "Keep The Change" was shot all at night. We upgraded from a Canon t3i to a Sony a7s so we could harness it's low light capabilities and create the film without having the tug back at the lack of light. Could we have made Keep The Change on a T3i? No. We could have made A VERSION of Keep The Change, but it wouldn't have been the same film.

Does an expert carpenter solely rely on his saw? No, of course not. The saw might be the tool he uses the most, but he also has very specific tools for certain jobs. He doesn't want to be fighting with his tools when he creates a masterpiece, he wants to have the tools he needs on-hand so he can create his masterpiece without compromise.

A hollywood camera is the same thing. It's the saw... but it's also the chisel, and the plane, and the hammer, the square, the vice, and the tape measure, all in one. A hollywood production team use the big beefy expensive cameras because they need the perfect tool for the job. They don't have the time to fight with their tools. They don’t have time for unreliable equipment.

For them, time is money. Every mistake they make increases shooting time. What costs more: getting the $100,000 camera compared to a $1000 camera, or having to pay Robert Downey Jr another $250,000 for an extra day because your shot was out of focus...because you decided to shoot on a Canon 5d Mark 2, you know...because the camera doesn’t matter.

Does-the-camera-I-use-matter

And it works cheaper even shooting with 2 $100,000 cameras! If you can cover two different angles in a scene you have pretty much split the shooting day in half...still cheaper than getting Iron Man back onto the set.

I am comparing extremes here, but it’s still something we can consider. As indie filmmakers we can’t buy a second camera or super expensive camera, but we can make choices to purchase or rent something which will speed up and aid production, and help tell the story which you need to tell.

Now don't get wrong! I loathe the sentence "Oh your film looks awesome, you must have a really good camera!" That's like telling Gordon Ramsey his food tastes great because his oven is expensive!

But as indie and amateur filmmakers, it's our job to know the limitations of the tools we have available, and to utilize them. Challenge yourself, of course! Embrace the flaws, embrace the indie look. Limitation drives creativity. But don't say the camera doesn't matter, because it does. 

It’s all about the right tool for the right job.


This video was Sponsored By

http://bit.ly/track-funk-soul - Thanks to PremiumBeat for providing the music for this week's episode. Check out Premiumbeat.com to discover a huge range of exclusive royalty free music!


Does it matter what you shoot on

DISCLAIMERS:

Some of these links are affiliate links, if you purchase gear via these links The Film Look will receive a small commission, but there will be no additional cost to you. Thank you!

Low Key | Lighting Setup #1

For our India Film Sound Guide we created this interview lighting setup to talk about what went wrong, so we decided to show how me set it up.


This video was Sponsored By

http://bit.ly/illuminate-pack - RocketStock’s light leak pack, "Illuminate", is sure to impress your viewers. Shot using digital cinema cameras in 4K, it’s an unbeatable way to lift your video to new, cinematic heights.

https://bit.ly/track-easy-roller - Click here to download this episode's track. Check out Premiumbeat.com to discover a huge range of exclusive royalty free music!


Low Key  Lighting Setup #1.jpg
Apture-HR672c.jpg

DISCLAIMERS:

Some of these links are affiliate links, if you purchase gear via these links The Film Look will receive a small commission, but there will be no additional cost to you. Thank you!

Micro Documentary Breakdown

In this video we breakdown how we made our micro documentary Undeveloped. If you want to watch Undeveloped you can find it below.


This video was Sponsored By

http://bit.ly/track-solid - Thanks to PremiumBeat for providing the music in this week's video. Check out Premiumbeat.com to discover a huge range of exclusive royalty free music.


Micro Documentary Breakdown.jpg

DISCLAIMERS:

Some of these links are affiliate links, if you purchase gear via these links The Film Look will receive a small commission, but there will be no additional cost to you. Thank you!

Lighting Setups for Presenting


Presenting like this is a big part of our videos. Now we've experimented with different lighting setups and there's a few that we really like so we thought we'd share with you how we create these setups.

We don't like to shoot on green screens when we're presenting, firstly our studio isn't big enough to light it correctly and secondly we've got some pretty cool things on the walls so why not use them.

We have 5 main setups here at the film look The Film Look, The Film Look standard, The Film Look standard blue, window setup, sit down high key and sit down low key.

We have gaf tapes T positions on the floor so we know exactly where to stand for each setup. Let's start off with The Film Look standard setup this one here.

The-Film-Look-Presenting-Setup-1

It wasn't the first set that we had but once we tried it out we liked it so much that it became our standard Tuesday presenting setup.

So this is how it's done. Firstly the background Rob's collage of Instagram photos gives the shot a blast of colour, our shelving unit has a bunch of cameras we've collected or retired and it splits the frame in half. To get the moody look we block out the window and start lighting from scratch. We use a soft box filled with a set of five 115 watt bulbs placed behind a frosted shower curtain to create a really soft skin balance light. This is set to 5500 K watching the colour temperature saying on the camera.

For some colour difference we used a diffused car light above our heads using a warm household bulb set at 2700 K. This is used as a hair light as well as a background light. The main thing to remember with this setup is to soften the light as much as it can, with the light being so close it needs to wrap around the subject spotlighting it doesn't look so great.

Next we have the film looks standard blue.

The-Film-Look-Presenting-Setup-2-Blue

We altered The Film Look standard setup to add a blue accents to the shot. This is to match the colour design of our series coming out soon called the indie film sound guide. In replace of the soft box and shower curtain we use a china Lantern fitted with a single 115 watt bulb and the colour temperature of the camera is set to 5500K. The can light up in the corner is gifted a blue gel to really sell the blue accent. The household bulb has also been swapped with 115 watt bulb. Since this set up is more stylistic we placed a DIY anamorphic adapter in front of the lens which creates some nice soft lens flares and changes the shape of the bokeh from circular – oval.

To complement the blue light we use a 160 LED, kitted with an orange gel positioned down below and facing forward. This gives us blue and orange lens flares on either side of the frame. Finally we use a reflector in front of the subject angled up from the floor to fill in some light under the chin.

Next we have the window setup.

The-Film-Look-Presenting-Setup-3-Window

We've got this nine foot Victorian window which is great for presenting because it lets loads of light in and it's got these really nice symmetrical frames.

Because of the vast amount of light coming in we have to stop down the exposure with an ND filter to keep the sky from blowing out. As this severely under exposes the subject we have two soft boxes on either fitted with 5 115 watt bulbs each we've position as close as possible to the subject without getting in frame. We also used a reflector in front of the subject angled up from the floor to fill in some of the light under the chin.

Finally we have the sit down setup.

The-Film-Look-Presenting-Setup-4-High_Key

This set up is used more for our Sunday show The Film Look vlogs and is pretty straight forward. Two soft boxes fitted with 5, 115 watt bulbs each. One in front, one in the back. Both are angled at 45 degrees to create some nice shadows some fill and edge highlighting.

For low key version we get rid of the soft boxes and instead place desk lamps on the table behind this is the setup. We used this for an episode of story in the car with me and Rob both in shot. The lamps have been diffused using grease proof paper and that’s it.

The-Film-Look-Presenting-Setup-5-Low_Key

Lighting Setups for Presenting.jpg

DISCLAIMERS:

Some of these links are affiliate links, if you purchase gear via these links The Film Look will receive a small commission, but there will be no additional cost to you. Thank you!

The Lighting in Keep The Change | Season 3: Episode 10

Today, we are going to talk about lights!

To start off, I’ll explain a little bit about the lighting kit we used in Keep The Change:

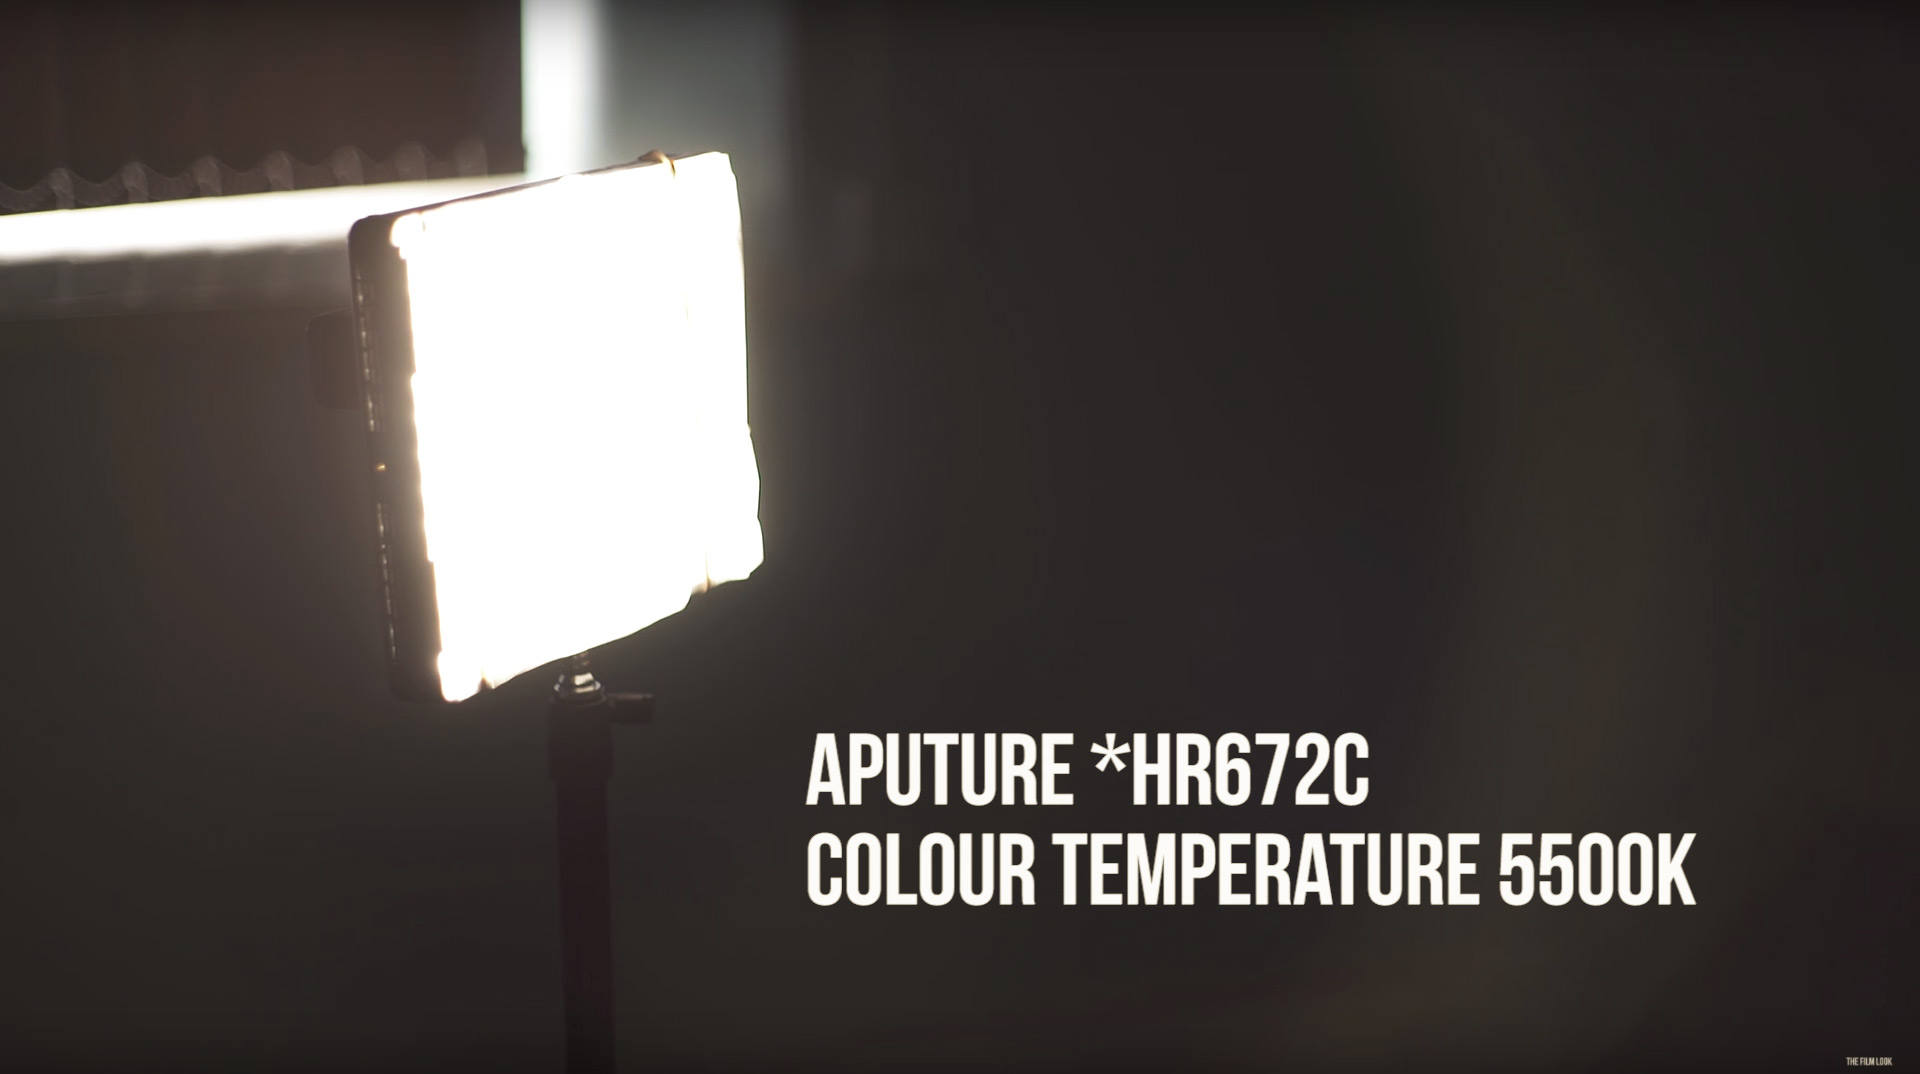
  • The Aputure HR672C, this is the main light we used throughout the film. You can dim it, change the colour temperature, and it is also battery powered which was essential as most of the film was shot outside, away from any power sources.

  • We used a bunch of these 160 LEDs to fit into small spaces.

  • When we needed considerably more light, we used a set of 800 watt lights. They’re super bright and versatile, but they do get really hot so gloves are a must!

  • Other bits of equipment we used were things like diffusion paper to diffuse the light, coloured gels to change the colour of lights, various DIY flags we made out of cardboard to block any unwanted light, an umbrella to diffuse light, reflectors, and lots of clips and duct tape.

Right, so now that is out of the way, let’s talk about how we used them.

The 2 main lighting setups are the car driving scene and the pizza box scene.

How to light a car driving scene.jpg

For the car driving scene, if you hadn’t noticed, he is not actually driving – we have a video talking about that here.

This scene all starts in my garage. We blocked out all of the natural light coming in from outside.

Then we switched on all of the lights you’d expect to see when someone is driving at night – the dashboard lights, and in this case, the driver’s phone screen.

We used a 160 LED panel with orange gel and diffusion paper to enhance the glow of the dashboard lights in order to brighten up the driver’s face.
We did the same thing to enhance the light from the phone screen but swapped out the orange gel for a blue gel.

Lastly, we put a light on the floor in the back of the car to light up the back seats a touch.

We used this exact set up when we shot the scene outside in the car, but we added 2 extra lights on the outside of the car.

A 160 LED with a blue gel to simulate moon light, and the Aputure panel to enhance the street light on the right hand side.

The pizza box scene.

The lighting of keep the change.jpg

The main source of light in this scene is the light above the table. So we started here.

The idea was to create a beam of light which only casts on the middle of the table, giving a focus point for the character to place the pizza box down.

We originally tried to do this with the 800 watt light, using the barn doors to flag the light and create that focused beam.

The problem with using this light is the light that spills out of the back, through the gaps to let out excess heat.

We could have covered the gaps in black wrap, but fixing an incredibly hot light right above the actor covering the ventilation points was a disaster waiting to happen.

The next best option was the Aputure LED panel. It doesn’t really get hot, but unfortunately we don’t have a set of barn doors for it.

So, what we did, was build a platform for the light to sit on, then made a hole in it so we could use the barn doors from the 800w light.

With a little bit of trial and error we had something that produced this.

Aputure-LED-panel.jpg
Aputure-LED-panel_1.jpg

The setup does not look pretty, but it worked exactly how we wanted it to.

The next light we set up was a back light.

For this we used one of the 800w lights, added an orange gel, and dimmed the light just enough so it would add a harsh edge light.

Edge-Light.jpg

The light coming from the pizza box was achieved by placing a 160 LED panel in the pizza box covered in an orange gel, then we pumped smoke into the box and lifted the lid using fishing wire as a pulley. 

In order to create a harsh light rising up and hitting our actor’s face, the 160 LED we used in the pizza box just wasn’t bright enough.

So we placed the 800 watt light under the table, and using a bunch of cardboard, we were able to block out all of the light hitting the walls and have it only land on our actor.

Then we used another piece of cardboard and lifted it up near our actor’s face to replicate the light coming from the pizza box.


The Lighting in Keep The Change.jpg

DISCLAIMERS:

Some of these links are affiliate links, if you purchase gear via these links The Film Look will receive a small commission, but there will be no additional cost to you. Thank you!
Fake Driving and a Car Breakdown | Season 3: Episode 9

In Keep The Change, we see our character, Stu, travelling from left to right when going from scene to scene, which is the traditional direction for characters to move forward in films.

When he is in the car, however, we ran into some shooting problems.

We made this film in England, and if you don't know, in England we drive on the left hand side of the road.

This means the driver’s seat is on the right hand side of the car. So, having the camera shooting from the passenger side towards the driver’s side would result in our character facing the wrong direction. He'd be facing the left, looking backwards.

Fake-Car-Driving.jpg

Well, that's an easy fix, just have him travelling from right to left throughout the film, right?

The problem with this; it starts messing with film grammar. What's film grammar? Well, films have a language, not a spoken language but a visual one, and when you start changing the 'words' in this language (such as a character's travelling direction), it can impact on an audience member's enjoyment of the film.

It’s not just films that do this either. Most, if not all, platform games run from left to right.

So anyway, this was an issue. And we had 2 options. Option 1, shoot the film with our character moving from right to left, breaking traditional film grammar.

Or option 2: find a way to shoot from the driver's side. Option 2 is a lot more difficult, but it might provide better results in the end. Plus, it's a learning process.

In the end, we took the challenge.

Shooting-whilst-driving.jpg

The next problem was, how do we film our actor Liam driving the car?

Use another car and shoot from the window alongside it? Too dangerous.

Stick it on a trailer? Too expensive.

Put a camera on the dashboard? Not enough room.

So instead, we tried our best to fake it.

We considered a lot of things when trying to fake the driving of a car.

You'll see others achieving this effect by using lights to act as street lights, beaming them across the car from front to back and repeating the process.

We tried this, but because of the small space and the white walls of Rob's garage, we ended up light up the walls and it would spoil the effect. So that method didn’t work for us.

Shooting-at-night.jpg

Instead, we shot an establishing shot of the car driving past at night on a country road that had no immediate street lights. This helped establish the scene and the environment once we cut into the car.

Then we dressed the car with items which would move when the car is travelling. A bobble head and a pine fresh. Then we rocked the car gently to fake the bumps of the road.

Unfortunately, Rob’s car being rocked in his garage didn’t sound like it was driving on a road.

So we grabbed the microphone, got back in the car, and drove around, recording the car at different speeds, and we put the rumbling noise of inside the car back into the film.

Doing it this way was never going to be perfect, but it worked for the short time we see him in the car.

To achieve the pot hole effect, we used the wiggle expression in After Effects to generate a camera shake and added a bunch of different sounds, such as: going over a speed bump, the engine switching off, and radio jitters.

For the limited time and no real budget, this was our best option. Obviously with more cash, using a car shooting rig or a trailer would be a lot better.

And if we had a larger space to work in, using lights to fake street lamps would have sold the effect a lot better too. But, you gotta work with what you have!

Anyway! Now that we had the car driving and hitting a pot hole, it was time to make it look like it was totalled. This is where the smoke machine comes in.

The whole idea for Keep The Change started because we wanted an excuse to use a smoke machine.

We wrote the scenes around the techniques we wanted to demonstrate with the smoke machine, and wrote the over lining story around the scenes, working the opposite way to usual, which was a learning process in itself!

So, here's what you'll need:

Firstly, a car. Luckily, Rob's old Peugeot 106 helped sell the effect of a breakdown because it’s…well it’s not brand new.

Fake-a-car-break-down.jpg

Secondly, you’ll need a smoke machine. I found this one on sale at a costume shop just after Halloween, so it was really cheap.

It runs on 230 volts, so it has to be plugged into a mains socket. We have a caravan battery for wireless power, but an extension cord will work just as well (as long as you can find a socket).

So now that you are powered; position the smoke machine under the engine and angle it pointing up or use some sort of funnel to direct the smoke up through the engine.

We used a nozzle from an airbed pump and duct taped it on. Give the smoke a good 10 seconds to build up under the bonnet, and you’re good to go.

Fake car smoke.jpg

We also used the smoke in the last scene to fill the room with haze. Blast it a few seconds, then waft it to fill the room. This helped achieve the light rays from his phone light and gave the room a hazy glow.

We also pumped a little bit in through the back of the pizza box to create a steamy vapour when it opened up.


Fake Driving and a Car Breakdown.jpg

DISCLAIMERS:

Some of these links are affiliate links, if you purchase gear via these links The Film Look will receive a small commission, but there will be no additional cost to you. Thank you!

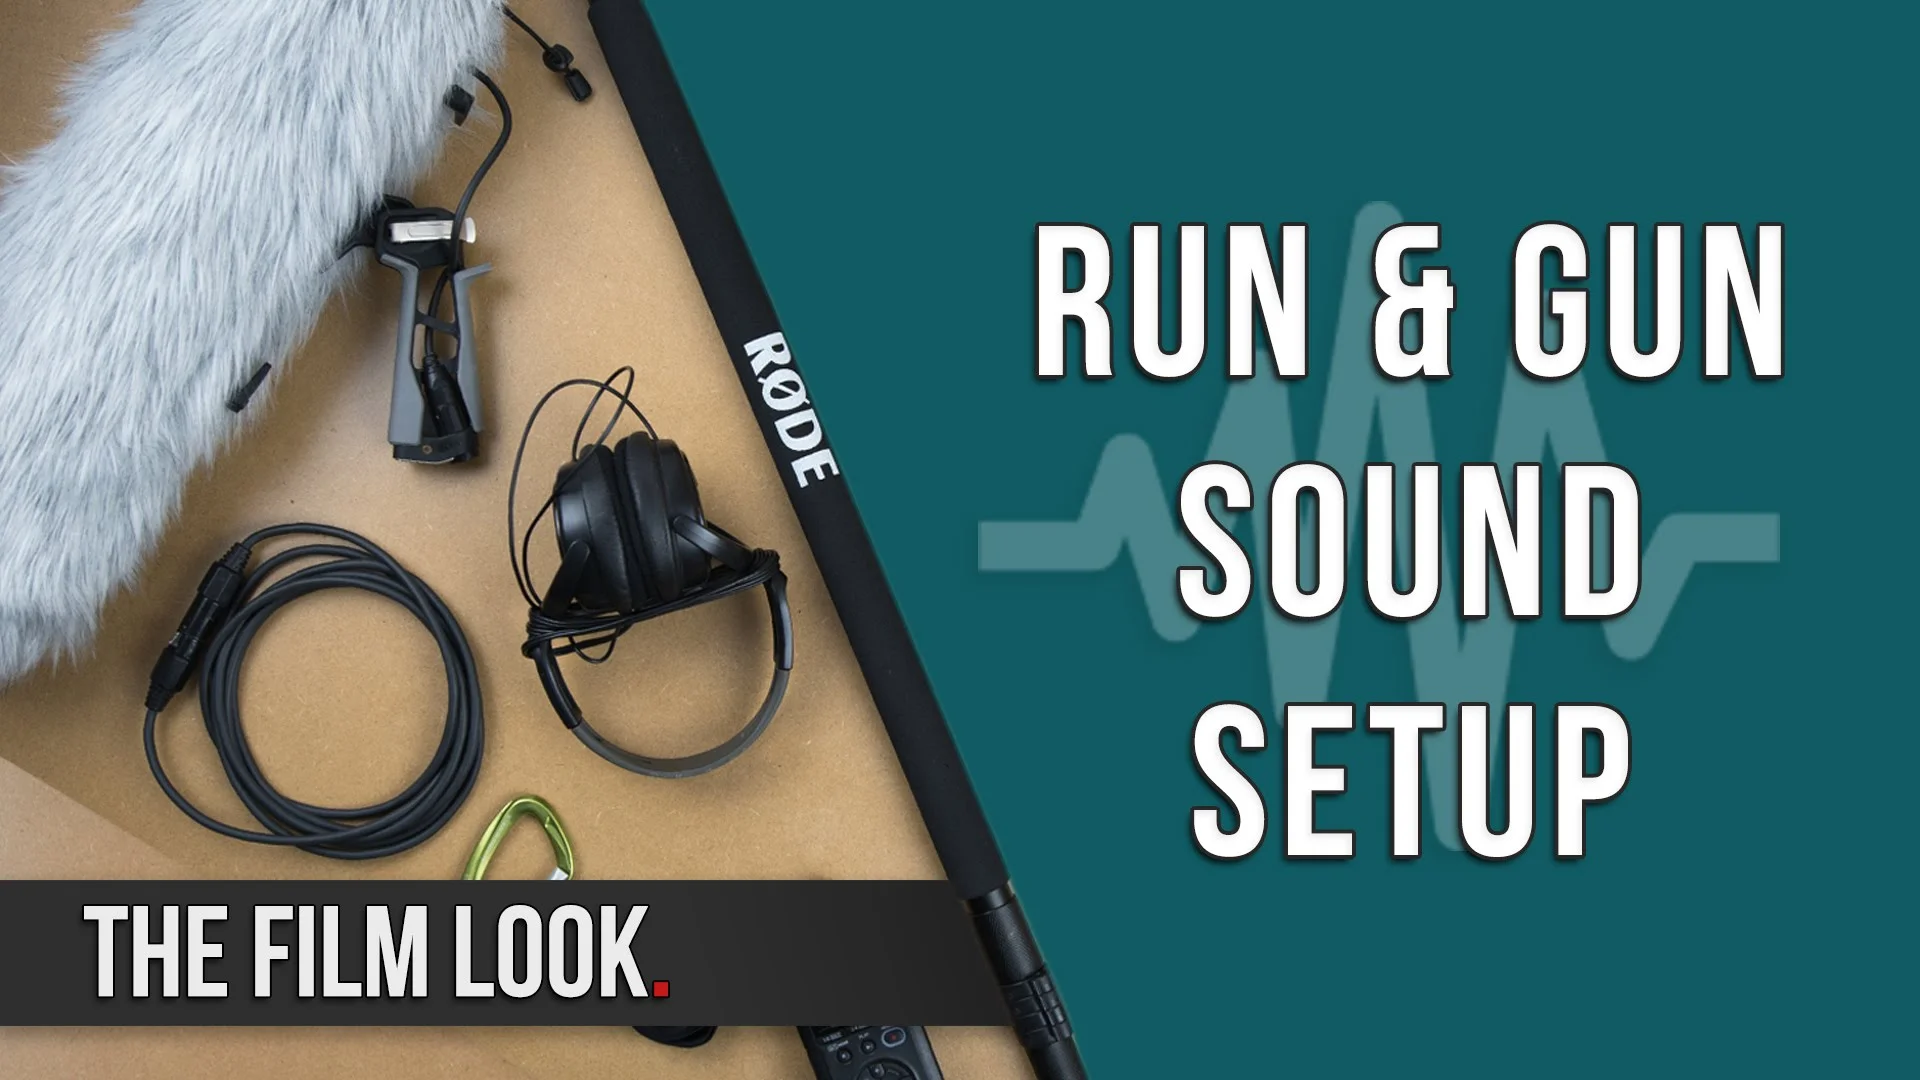
Run and Gun Sound Setup | Season 2: Episode 6

Here at the film look, we often double up and sometimes triple up on crew roles. As well as directing Corpse, I was also the sound recordist for the film. So I needed a quick and easy way to go from a sound guy to a director and I think I found a decent solution.

This is my run and gun sound recording setup.

Shotgun mic, housed in a furry blimp, with a pistol grip. A micro boom pole ready on standby.

Run-and-Gun-Sound-Setup.jpg

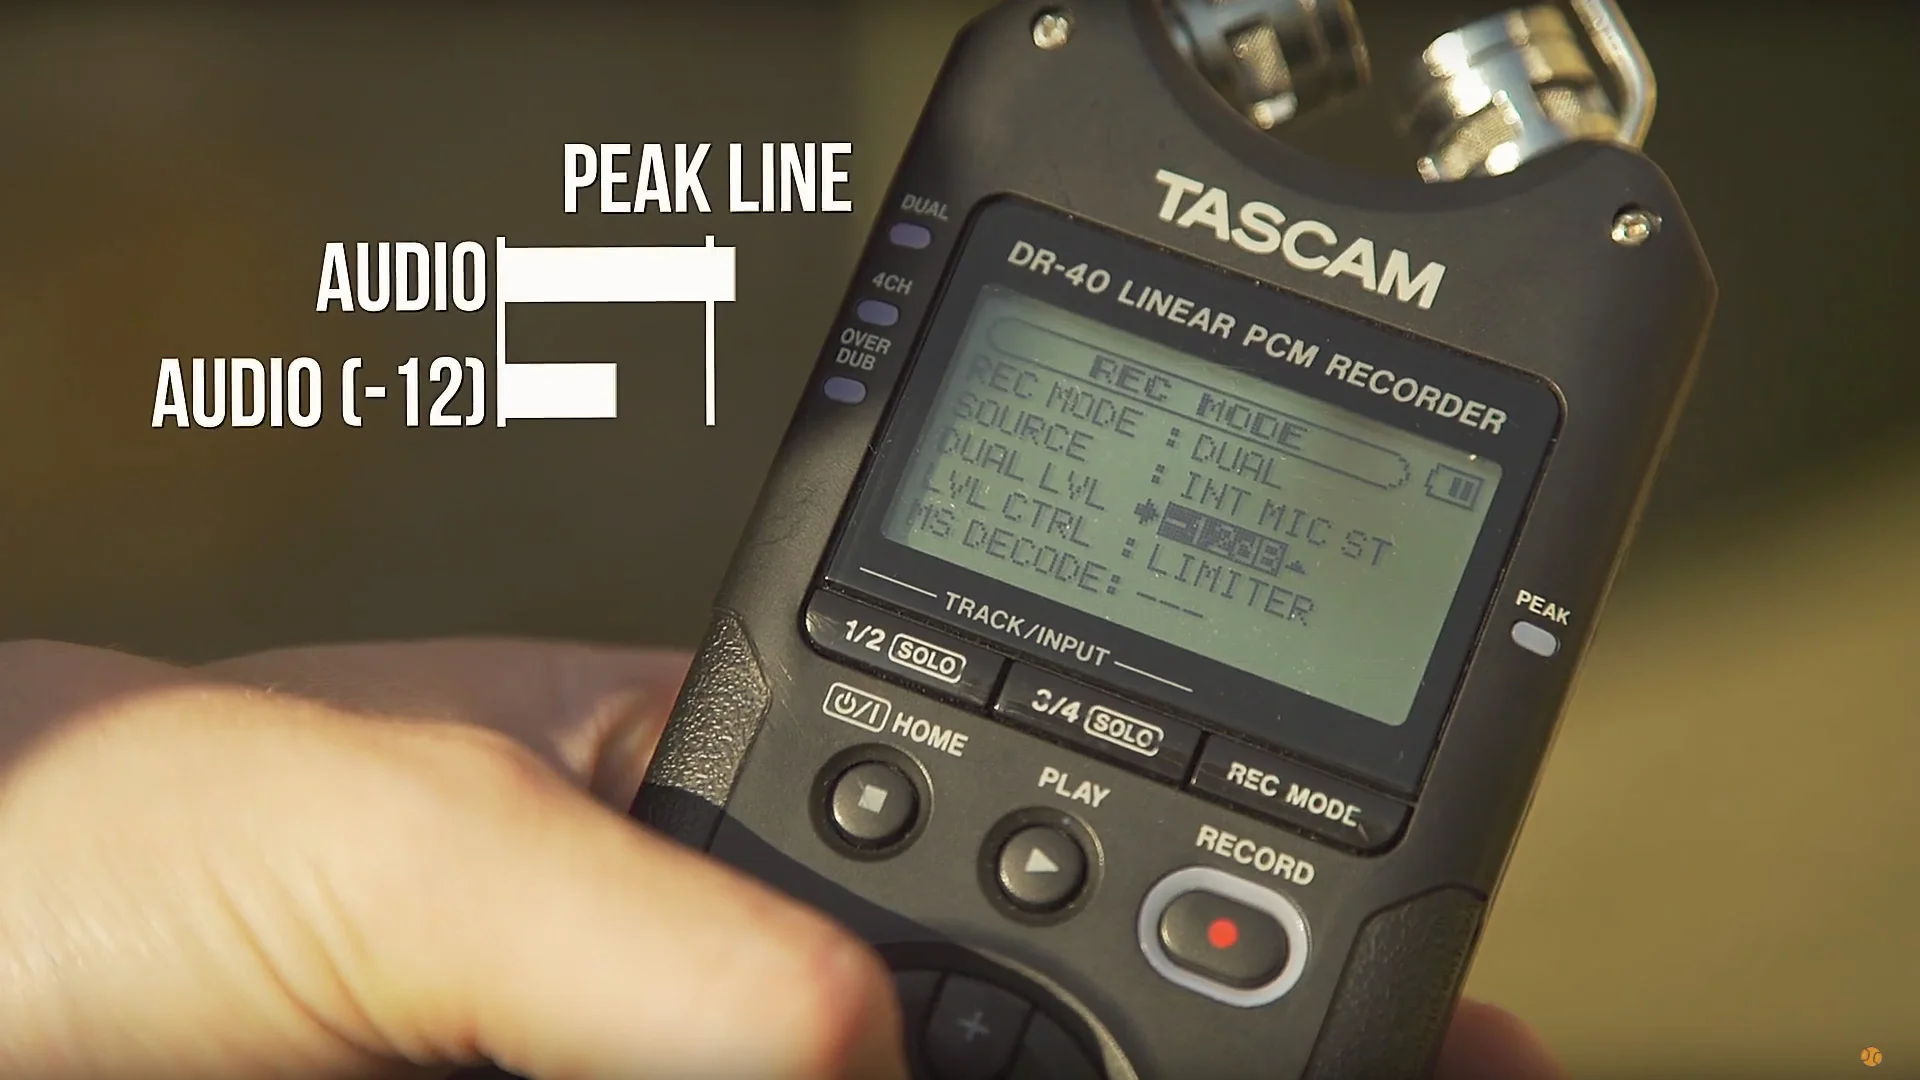
Tascam dr40, tied to my belt, set in dual record mode. It records a 2nd audio file 12db under. This is really handy incase you clip the audio and don't have time for another take.

Tascam-DR-40-Peak-Line.jpg

A carabiner, attached to my belt loop, ready to clip the blimp and the XLR leads away when I needed to use both of my hands.

This setup was fast and efficient, and was used on every shooting day once I figured it out.


Run and Gun Sound Setup.jpg

DISCLAIMERS:

Some of these links are affiliate links, if you purchase gear via these links The Film Look will receive a small commission, but there will be no additional cost to you. Thank you!